Ac p – Triton ARGO G60 Installation Manual User Manual
Page 17
17
ARGO G60 I
NSTALLATION
M
ANUAL
6. Ensure the cabinet is as level as possible given the fl oor conditions. Use a bubble level to verify this. If
a bubble-level is not available, the cabinet can be “rocked” gently from front-to-back and side-to-side to
check the need for leveling.
7. Use a torque wrench and 3/4” [19mm] socket to tighten each nut to 60 foot-pounds (required to establish
the maximum pull-out strength of the anchors). If a torque wrench is not available, use a ratchet wrench
and 3/4” [19mm] socket to tighten the nuts three full turns beyond hand tight. DO NOT overtighten.
8. Once the nuts are tightened as specifi ed in Step 7, install a second nut on each bolt, to act as a jam nut,
and tighten down fi rmly.
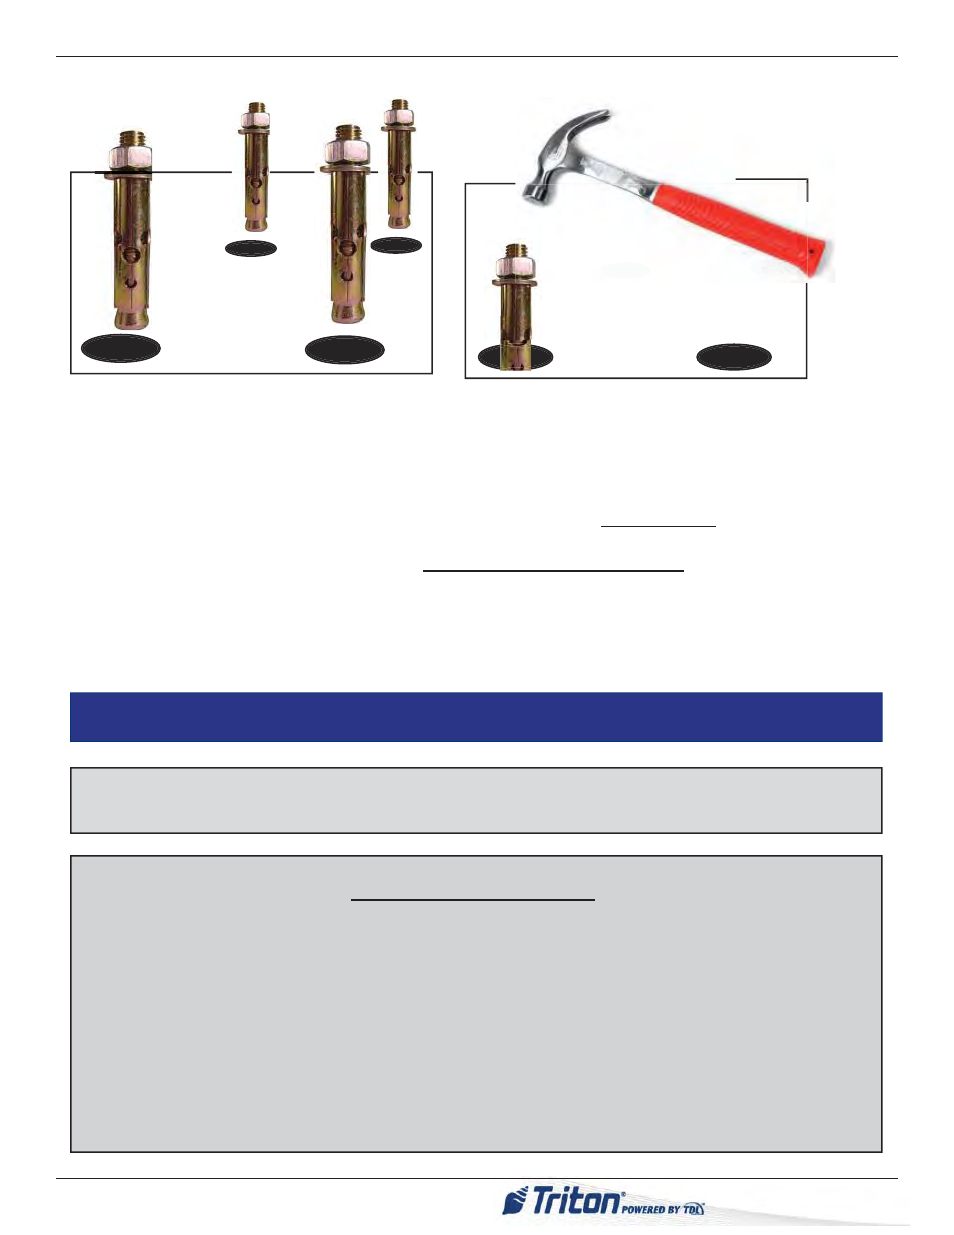
Use anchor bolt in each mounting hole
Hammer bolts snuggly into drilled holes
NOTE: Before you start, unlock and open the control panel. Verify that the power
switch on the unit’s power supply is in the OFF (0) position.
Close the control panel.
Power Outlet Accessibility
Whether you are installing a new AC socket outlet or plan to use an existing outlet to supply power to the
ATM, make sure the following requirements are met:
1. The outlet is located near the equipment. Extension cords are not recommended.
2. AC power for the terminal should come from a dedicated source with an isolated ground. The ATM
is designed to work on an IT (Isolated-Terra) type power system having phase-to-phase voltage not
exceeding 120 or 240 volts.
3. The outlet is easily accessible and will not be blocked once the equipment is installed and anchored.
R
OUTE
AC P
OWER
AND
C
OMMUNICATION
C
ABLE