Vestil LAD-RF User Manual
Page 13
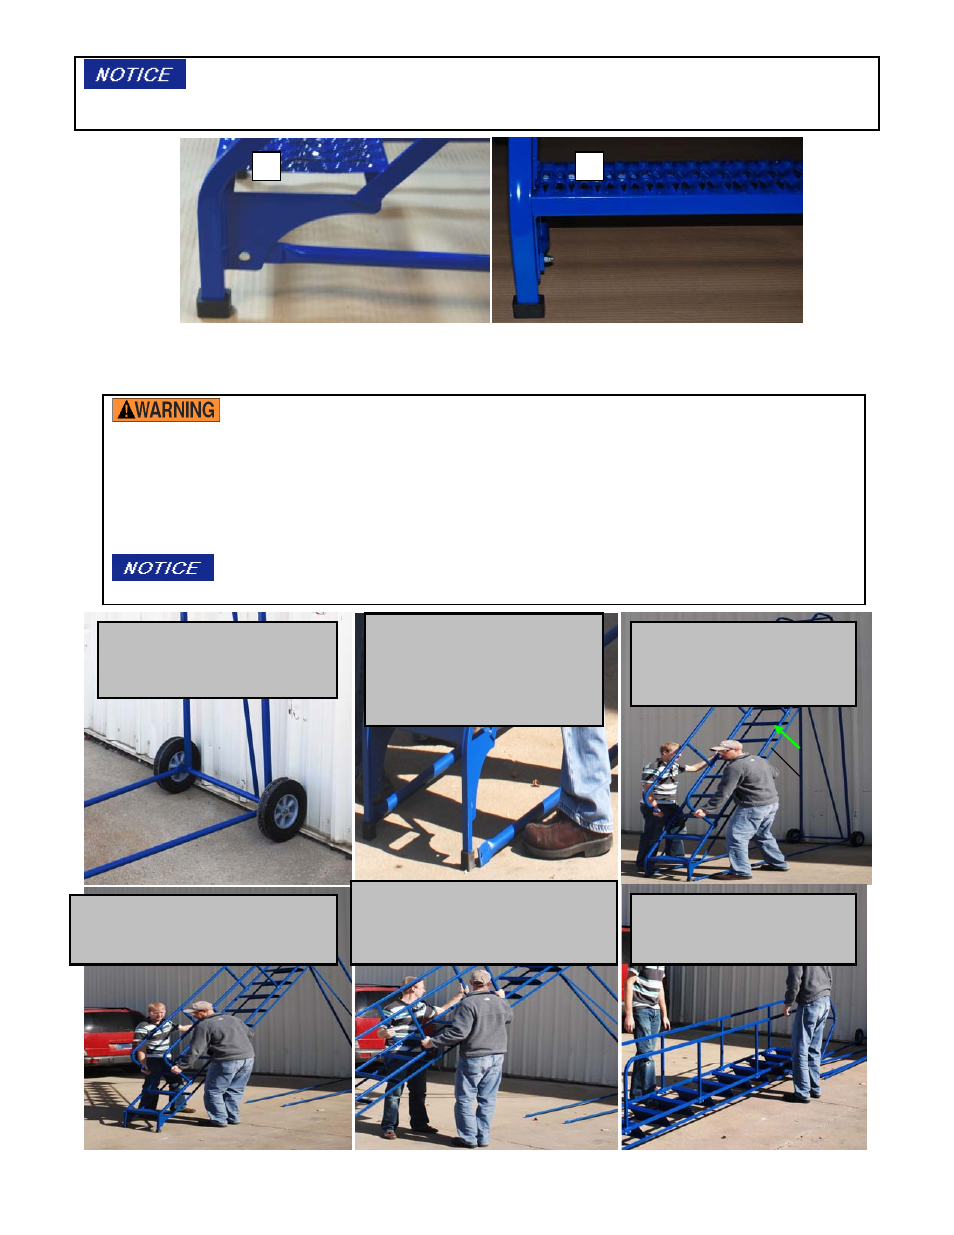
The braces can be attached to either the inside or outside of the step frame brackets. Photos 5
and 6 demonstrate attachment to the outer side of a bracket; photos 7 and 8 show a brace fastened to the inner
side of a bracket.
7
8
Check all of the lock nuts prior to use. Tighten any nuts that are loose.
To Raise & Collapse the Ladder:
We recommend that at least 4 persons work together to collapse the ladder. If too few
people participate, the ladder may not be controllable as it lowers. To ensure worker safety, obey all of the
following rules, otherwise serious personal injury could result:
• Remove all debris including slippery materials from the area before beginning the process.
• DO NOT participate if you have any weight-lifting restrictions or other physical conditions that could
effect your ability to control the ladder.
• DO NOT attempt to lower the ladder in an area where contact with energized electric wires might occur.
• DO NOT stand or move underneath the ladder at any time during the collapsing procedure.
At least 30ft. by 10ft. of floor space is required to raise or collapse the ladder. You will need
two 1/2in. crescent wrenches.
2. Disconnect the horizontal
braces from the step frame
brackets. 1
person
should
hold the ladder while the other
disconnects the braces.
1. Position the ladder so that
the wheels abut a solid wall
that is AT LEAST 8 feet tall.
3. Grasp the ladder: put 1
hand on the handrail and the
other hand on the siderail of
the step weldment.
Siderail
5.
The two persons closest to the foot
of the ladder should continue to hold
onto the ladder while the other 2 take
positions closer to the platform.
6. Continue to lower the
ladder until the platform
rests on the ground.
4. Lift the front legs and walk
sideways (a few steps) away from
the wall; then set the ladder down.
13