Figure 3, Figure 4 – Robertshaw 9615 User Manual
Page 4
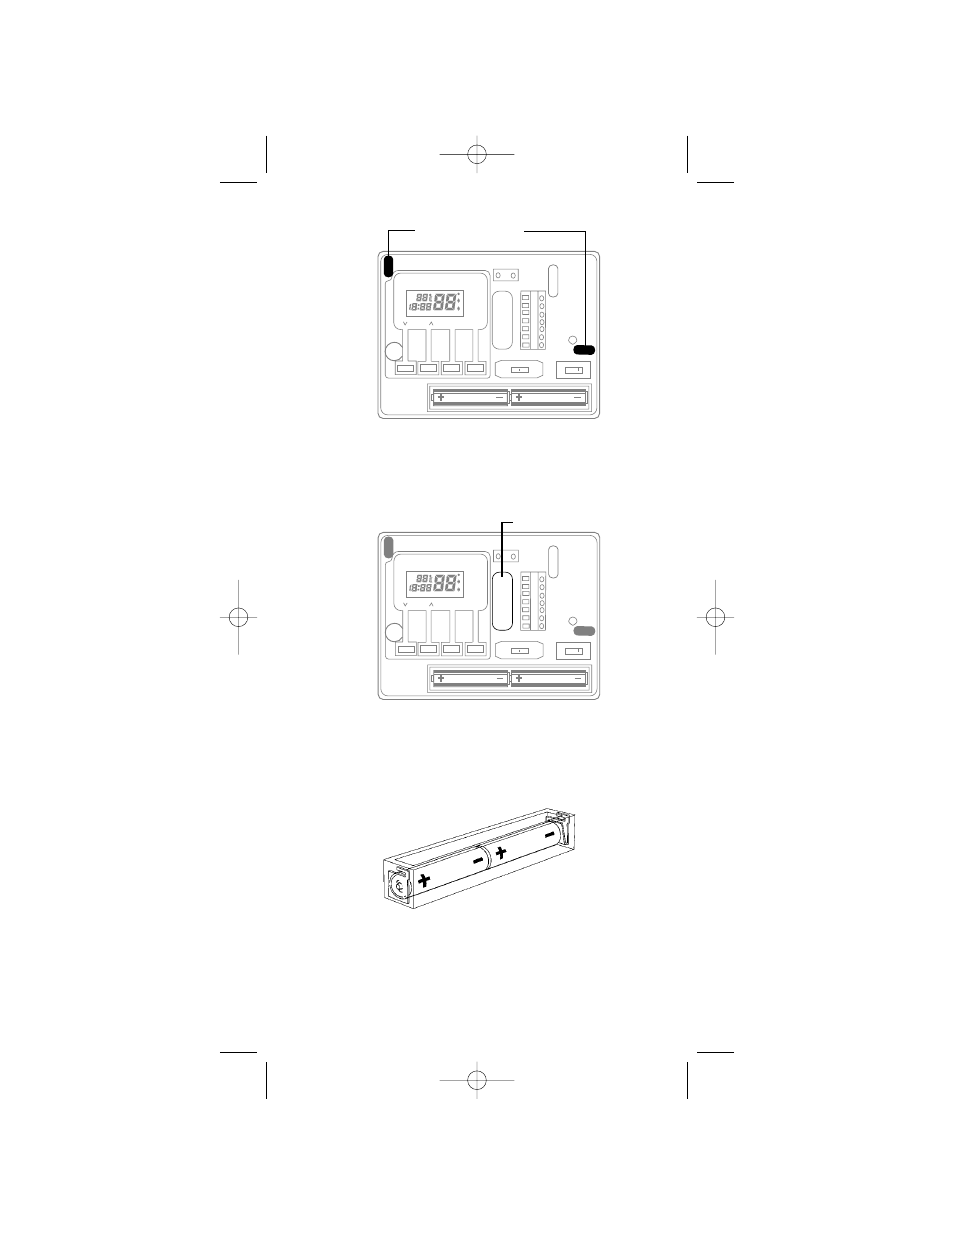
FIGURE 3
7. Drill the marked holes using a 3/16" drill bit. NOTE: Enclosed plastic
anchors do not require a drilled hole for drywall.
8. Tap plastic anchors into the holes.
9. Align base with plastic anchors and feed wires through opening.
See Fig 4.
FIGURE 4
10. Secure base to wall with supplied screws.
11. Connect wires to terminal strip. Refer to wiring diagrams on other
side of this sheet. Make sure wire connections are secure.
12. Install two "AA" ENERGIZER brand batteries or equivalent into bat-
tery compartment. Be sure to match positive (+) ends of batteries
with positive (+) battery terminals in the battery compartment.
13. Replace cover onto thermostat by snapping into place.
14. Turn on power to system. Test thermostat as described in the
following section.
4
PROG
MAN
Y2
Y1
W1
G
W2
FAN AUTO ON
COOL OFF HEAT
CHANGE
SET
PROG/MAN
AM
PM
MORN DAY EVE NITE EER
O
B
C R
MOUNTING HOLES
PROG
MAN
Y2
Y1
W1
G
W2
FAN AUTO ON
COOL OFF HEAT
CHANGE
SET
PROG/MAN
AM
PM
MORN DAY EVE NITE EER
O
B
C R
OPENING
110-737 3/11/04 8:15 AM Page 4