PASCO ME-8089 Computer-Based Centripetal Force Accessory User Manual
Page 6
Centripetal Force Accessory
Model No. ME-8089
6
®
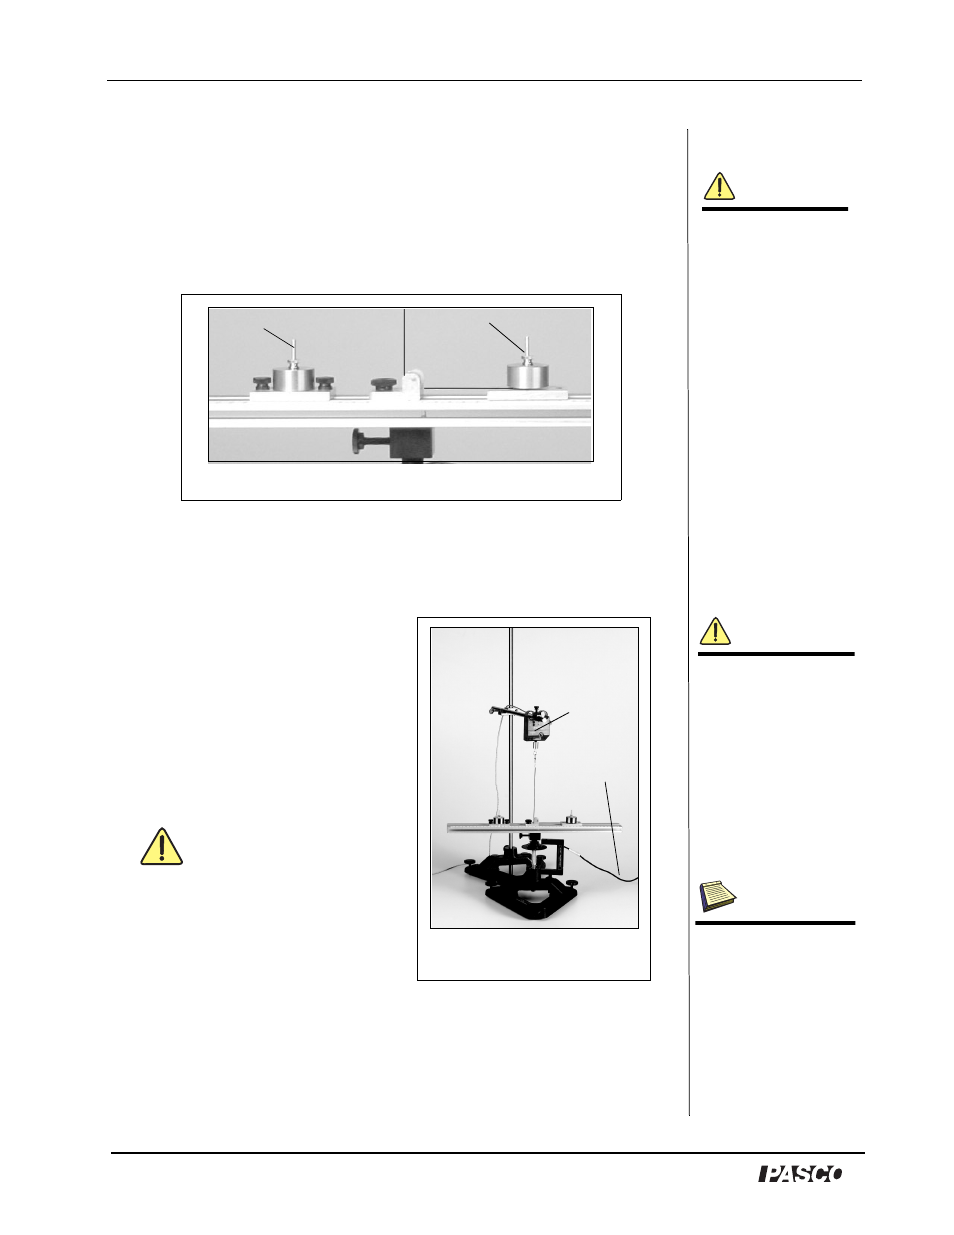
Note: Always lay down the cable before adding the mass.
14. Add a mass over the cable on the sliding mass holder; then tightly
screw on the knurled nut to hold the mass in place (Figure 4).
15. Add a mass to the fixed mass holder and use a knurled nut to hold
the mass in place. (WARNING: Keep the thumbscrews tight or
the mass holder will slide off during the rotation.).
16. Move both the fixed and sliding mass holders the same distance
from the center on the platform (You can choose any arbitrary
radius).
17. Plug the Force Sensor into a a
PASPORT or ScienceWorkshop
computer interface.
CAUTION: Keep all cords away
from the rotating arm. The rotating
arm must be free to move 360
degrees without hitting any objects
in its path.
WARNING: Do not stand
next to rotating arm or look at the
rotating arm at eye level. To avoid
possible injury from the rotating
arm hitting the body, keep at least 1
foot distance from the rotating arm.
18. Open the appropriate DataStudio file on the experiment setup disk.
19. Launch DataStudio and click the Start button to begin collecting data.
Sliding Mass Holder
Fixed Mass Holder
Figure 4: Mass Holders
Figure 5: Complete Setup
for Experiments
to interface
Force
Sensor
Note: To calibrate the
ScienceWorkshop Force
Sensor, follow the
instructions provided in
the documentation
included with your
Force Sensor or in the
DataStudio online help.
Calibration of the
PASPORT Force Sensor
is not required.
However, you can tare
the PASPORT Force
Sensor by pressing the
Zero button without any
weight attached.
Note: PASCO’s PASPORT
Force Sensor (PS-2104)
requires a PASPORT
interface; PASCO’s
ScienceWorkshop Force
Sensor (CI-6746) requires
a ScienceWorkshop
interface.
Note: DataStudio setup
instructions (for either
PASPORT or Science-
Workshop sensors) are
available in Appendix A.