PASCO WA-9899 Ripple Tank System User Manual
Page 20
®
R i p p l e T a n k S y s t e m
E x p e r i m e n t 3 : D i f f r a c t i o n
20
Procedure: Straight Barriers
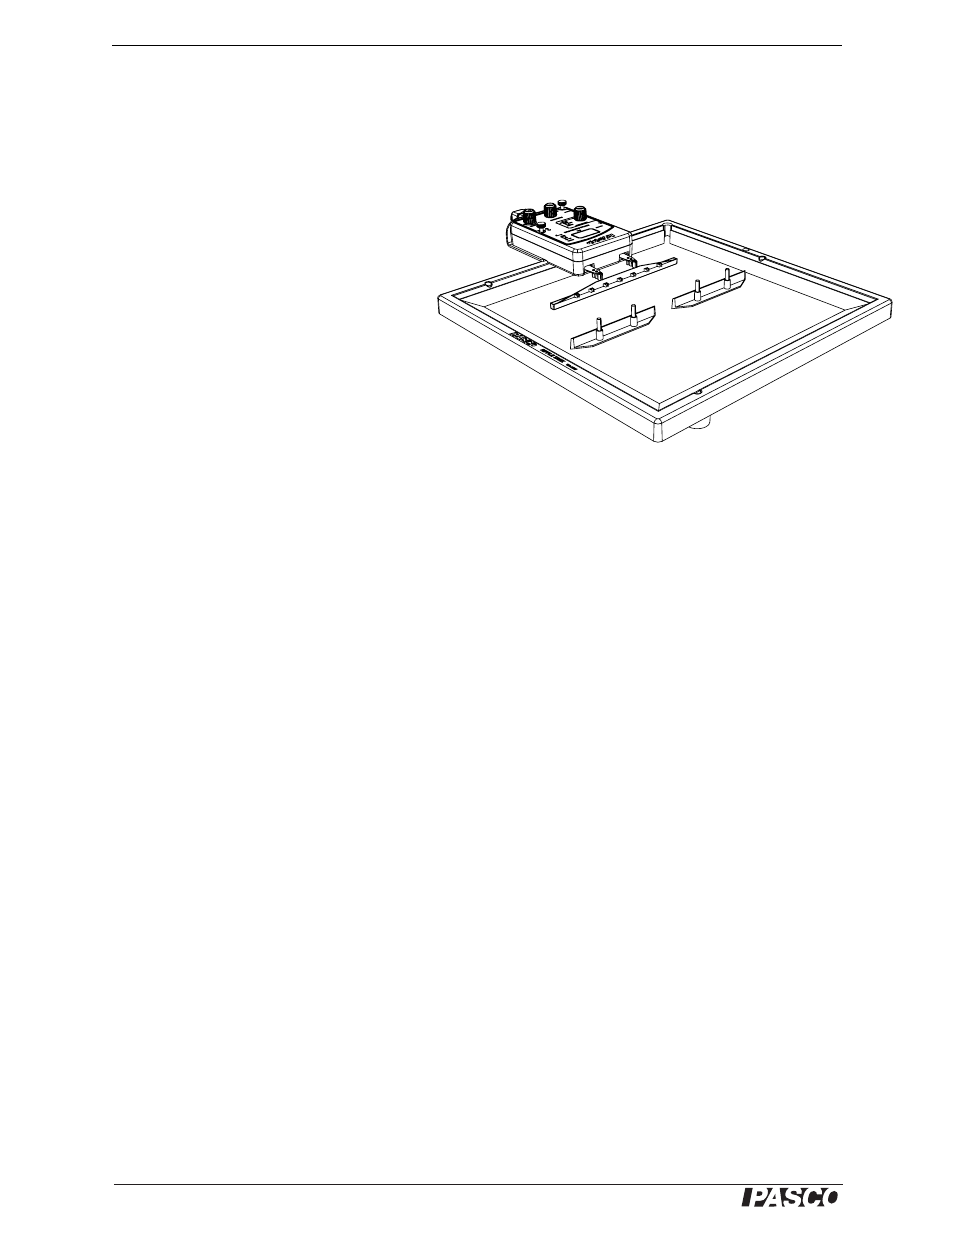
1.
Arrange the two long barriers in the water so that they are about 3 cm apart and
parallel to the plane wave dipper as shown in Figure 3.2. Set them so that they are
about 5 cm from the plane wave dipper.
2.
Turn on the ripple generator and the
light source. Adjust the amplitude as
needed to make a clear wave pattern.
3.
On the paper below the tank, trace the
outline of the two long barriers.
4.
Sketch the wave fronts and the rays that
represent the waves as they spread out
when they pass through the slit between
the barriers.
5.
Change the slit width to about 1.5 cm
by sliding the two barriers closer
together.
6.
Sketch the new rays that represent the waves as they spread out when they pass
through the slit.
7.
Keep the same slit width of 1.5 cm, but increase the frequency of the ripple gen-
erator and observe what happens to the wavelength and to the angle of spreading.
Questions
1.
Is the angle of diffraction (spreading) for the narrower slit (1.5 cm) more or less
than the angle for the wider slit (3.0 cm)?
2.
How does the increase in frequency affect the wavelength?
3.
How does the increase in frequency affect the angle of spreading (amount of dif-
fraction) as the wave fronts move through the slit?
Procedure: Solid Object
1.
Return the frequency of the ripple generator to 20 Hz.
2.
Place the mini barrier in the gap between the long barriers and then remove the
long barriers.
3.
Sketch the resulting wave pattern as the wave fronts go around the mini barrier.
4.
Increase the frequency of the ripple generator as before and observe what hap-
pens to the wave pattern.
Questions
1.
What happens to the plane wave fronts as they pass by the mini barrier?
2.
How does the increase in frequency affect what happens to the plane wave fronts
as they pass by the mini barrier?
Figure 3.2: Position of Long Barriers