B) correct! (a) wrong – Controlled Products Systems Group 1042001 User Manual
Page 10
Page 10
December, 2003
422 Operator And
455 D Control Panel Installation Manual
Before reinstalling the locking cap, you must be sure
that the top of the brass key assembly in the locking
cap is flush with the top of the black plastic locking cap
(see Figure 7). If the key assembly is not flush, turn the
locking cap assembly over and press down on the unit
until the brass key assembly snaps back into place.
WARNING!
If the brass key assembly is not
properly seated in the locking cap assembly,
you risk damaging, even eliminating, the
Manual Release function of the operator.
Next, reinstall the locking cap (without the key) with
your 3 mm hex key and the two screws.
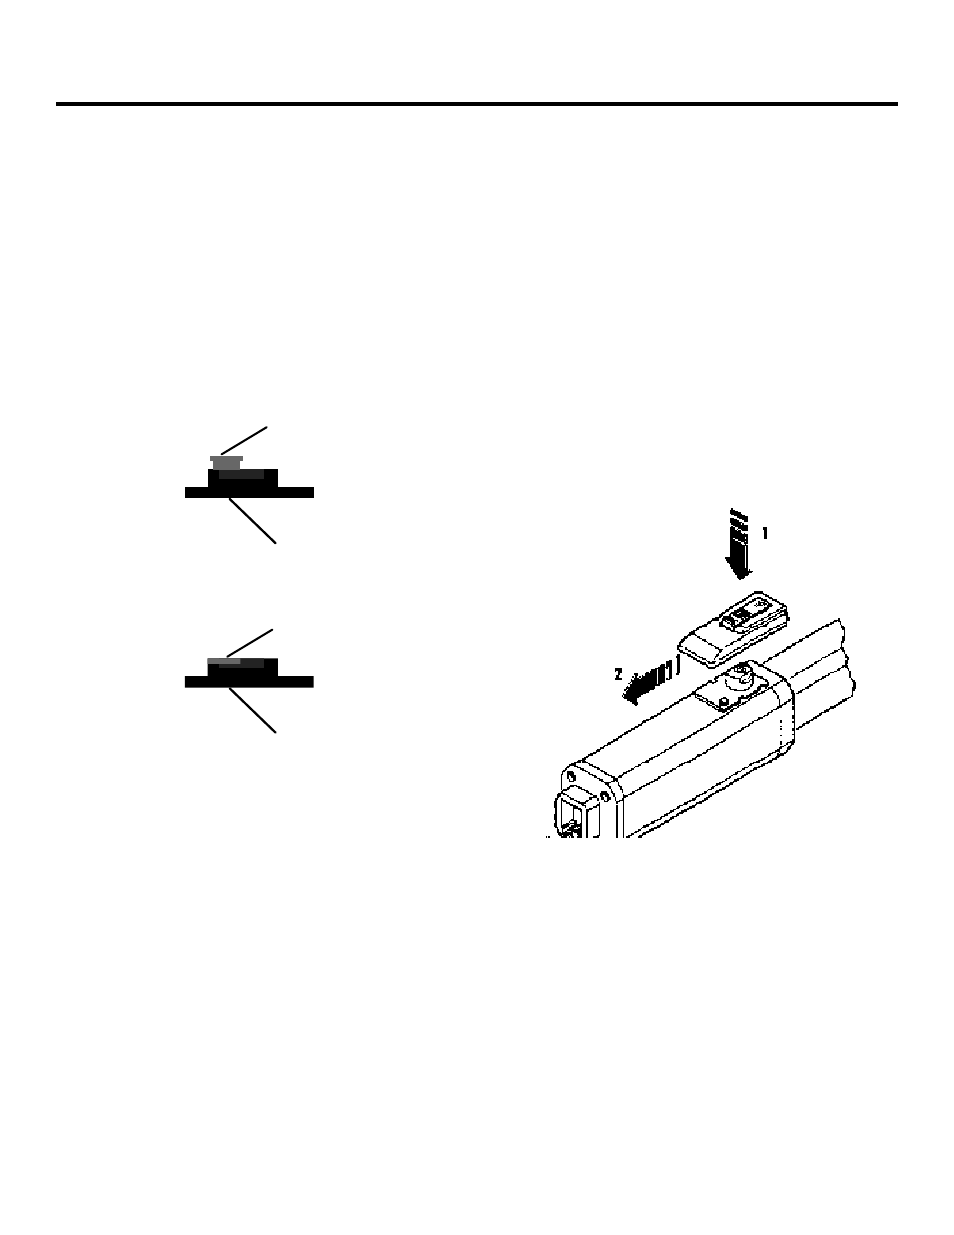
Now you can install the locking cap cover as shown in
Figure 8. Snap the cover on before you attempt to slide
the entire cover in the direction of the arrow. If the
cover does not snap into place, you are unable to slide
the cover into position.
Brass key assembly
Black plastic locking
cap assembly
Brass key assembly
Black plastic locking
cap assembly
(b) Correct!
(a) Wrong!
Figure 7. The brass key assembly in relation to the black
plastic locking cap, side view: (a) do not install in this
orientation and (b) install the locking cap only when the top
of the brass key assembly is flush with the black plastic
housing of the locking cap assembly.
Figure 8. Install the locking cap cover
B
LEED
THE
O
PERATOR
Air bubbles in hydraulic fluid cause erratic performance
in a hydraulic system, so you must rid the 422 Operator
of that air to insure smooth operation.
If you have removed the vent screw, the 422 operator
should bleed itself. Running the operator should remove
any air from the system. If the operator runs smooth
throughout the swing, no attempt to further bleed the
unit is necessary.
If the operator runs erratic, perform 10 bleeding opera-
tions. One bleeding operation consists of automatically
opening and closing the gate and then pausing for two
minutes. The 2-min pause allows the air bubbles to es-
cape through the vent screw hole.