Datamax-O'Neil H-Class Powered Internal Rewind Option User Manual
Page 8
6
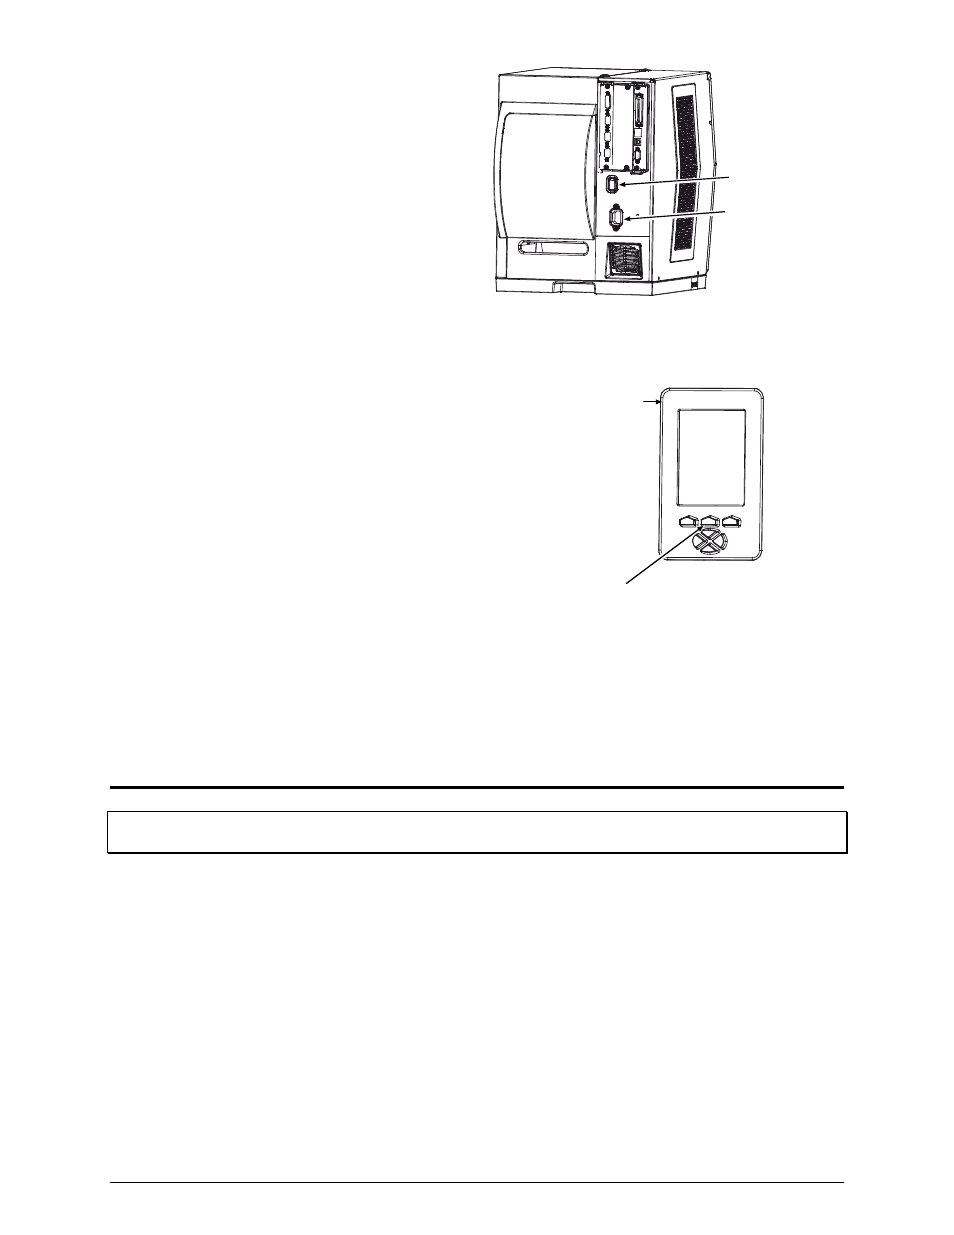
C) Plug the power cord into the AC Receptacle
and turn ‘On’ the Power Switch.
(Depending upon its database configuration
and other attached devices, the printer may
sense and enable the option. In this case, the
Rewinder will slowly turn for about thirty
seconds.)
AC Receptacle
Power Switch
D) Press the FEED Key on the Front Panel while
watching the Rewinder Hub, and then proceed
according to your observations:
If the Rewinder Hub turns, this completes
the installation; or,
If the Rewinder Hub does not turn, proceed
to Step 4: “Configuring the Printer.”
FEED
Key
Front Panel
Step 4: Configuring the Printer
Note: In the following procedure, consult the Operator’s Manual for detailed front panel instructions.
Configure the printer for the option, as follows:
A) Press the MENU Button on the printer’s front panel.
B) Using the DOWN Button, scroll to PRINTER OPTIONS then press the RIGHT Button.
C) Using the UP Button, scroll to REWINDER then press the ENTER Key.
D) Using the DOWN Button, scroll to ENABLE then press the ENTER Key.
E) Press the EXIT Key then, at the SAVE CHANGES? prompt, select YES to complete the installation.
F) Turn
the
Power Switch ‘Off’ and ‘On’ to reset the printer and complete the configuration.