Using dual element transducers, B-scan mapping (time-based), High-temperature surfaces – Atec Olympus-45MG User Manual
Page 4

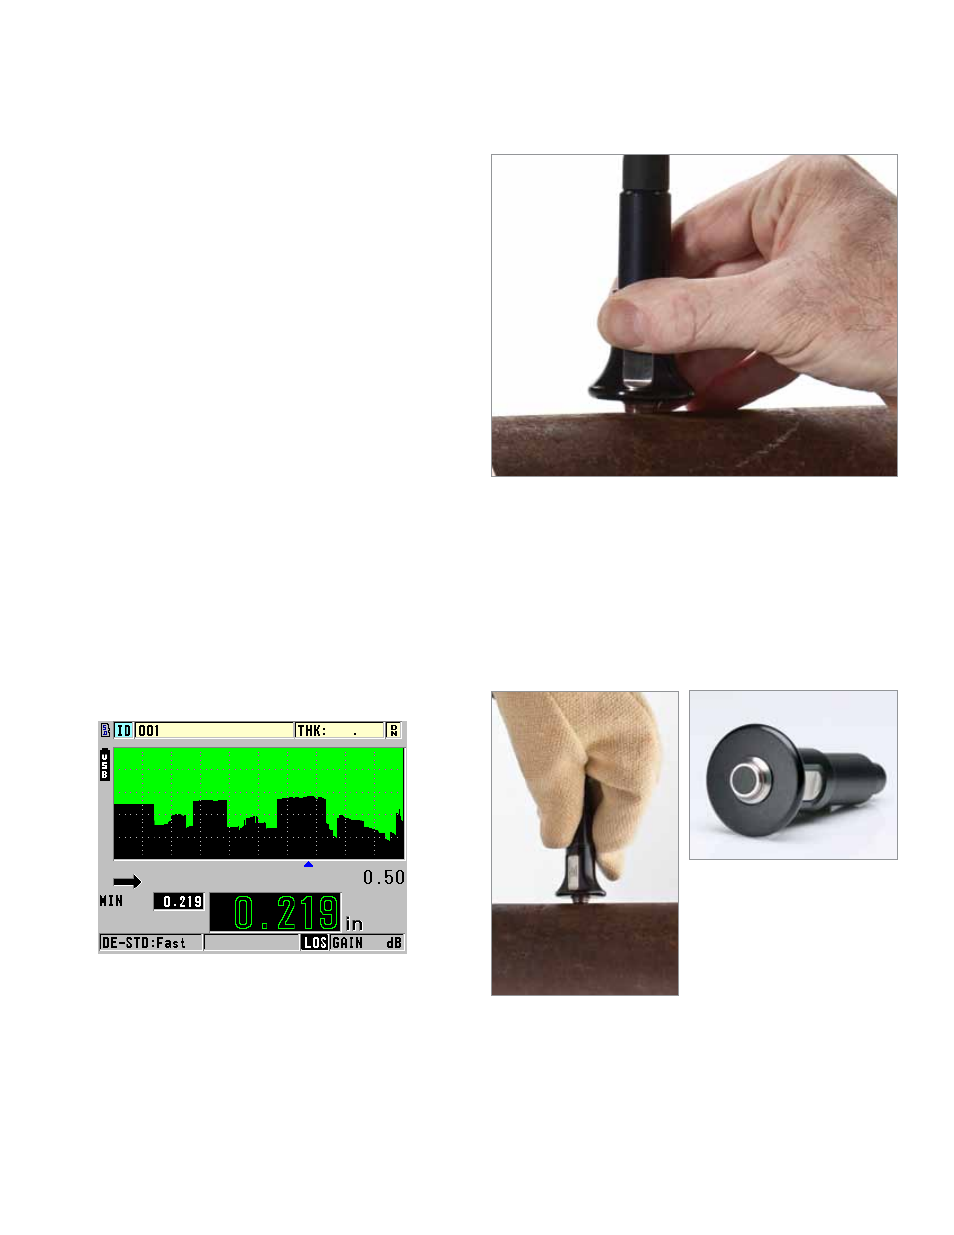
D790-SM Transducer on high-temperature
pipe
Thickness Measurements on
Internally Corroded Metals
using Dual Element Transducers
One of the major applications of the 45MG is measuring
the remaining thickness of pipes, tubes, tanks, pressure
vessels, ship hulls, and other structures affected by corro-
sion or erosion. Dual element transducers are most com-
monly used for these applications.
•
Automatic Probe Recognition for standard D79X series
dual element transducers
•
Calibration Doubling warning when echo doubling may
occur during calibration
•
The Echo-to-Echo / ThRU-COAT
®
option allows for
measurements on painted and coated surfaces
•
high temperature measurements; up to 500 °C (932 °F)
B-scan Mapping (Time-based)
The 45MG gage B-scan feature converts live thickness
readings into cross-sectional images drawn on the display.
This standard feature is very helpful in viewing the changes
in thickness measurements over a distance. The B-scan
is activated as soon as the transducer makes contact with
the surface of the material. The Freeze Minimum function
is used to display the minimum thickness of the scanned
area. The optional 45MG datalogger can store up to
10,000 thickness readings in a single B-scan.
high-Temperature Surfaces
The 45MG is ideally suited for making stable thickness
measurements on hot material surfaces (up to 500 ºC or
932 ºF) with the D790 series transducers (D790, D790 -SM,
D790-RL, and D790-SL). The Zero Compensation feature of
the 45MG enhances the accuracy of measurements on hot
surfaces by compensating for temperature changes in the
transducer delay line due to thermal drift.
Indoor display setting, B-scan mode
4
