Measurement accuracy – Atec Anritsu-MA2445A User Manual
Page 9

9
Measurement Accuracy
Power measurement accuracy can be split into several parts.
The table below shows how the measurement uncertainty is
composed for several power sensors. The source is presumed
to be a 16 GHz, 12.0 dBm signal with a source SWR of
1.5:1.
The uncertainties can be calculated as an RSS term as each
parameter is independent. Alternatively they can be added
together for a worst-case analysis.
MA2440D
MA2491A
MA2470D
Instrumentation Accuracy
0.50%
0.50%
0.50%
Sensor Linearity
1.80%
3.50%
1.80%
Noise, 256 Avg.
0.00%
0.00%
0.00%
Zero Set and Drift
0.00%
0.00%
0.00%
Mismatch Uncertainty
3.84%
4.49%
4.49%
Sensor Cal Factor Uncertainty
0.79%
1.59%
0.84%
Reference Power Uncertainty
1.20%
1.20%
1.20%
Reference to Sensor Mismatch Uncertainty
0.23%
0.31%
0.23%
Temperature Linearity
1.00%
1.00%
1.00%
RSS, Room Temp
4.51%
6.06%
5.09%
Sum of Uncertainties, Room Temp
8.36%
11.59%
9.06%
RSS
4.62%
6.14%
5.18%
Sum of Uncertainties
9.36%
12.59%
10.06%
The Instrumentation accuracy of 0.5% is a very small
component of the overall uncertainty budget and describes
the linear voltage measurement accuracy of the power
meter.
Sensor linearity
describes the relative response over the
dynamic range of the sensor, and is included when the sen-
sor is measuring power levels relative to the 0 dBm calibra-
tor reference level. Temperature linearity is included when
operating the sensor at other than room temperature.
Noise, Zero Set and Drift
are all measured on the lowest
power range of the power sensor. Different types of power
sensors have different noise characteristics. Noise can be
reduced by averaging.
Mismatch uncertainty
is typically the largest component of
the uncertainty budget – caused by the different impedances
of the device under test and the sensor. To help resolve this
issue, the sensor has been designed to have a good return
loss over a wide frequency range, typically achieving
significantly better results than the specification. In many
cases the major contributing factor is the match of the
source under test.
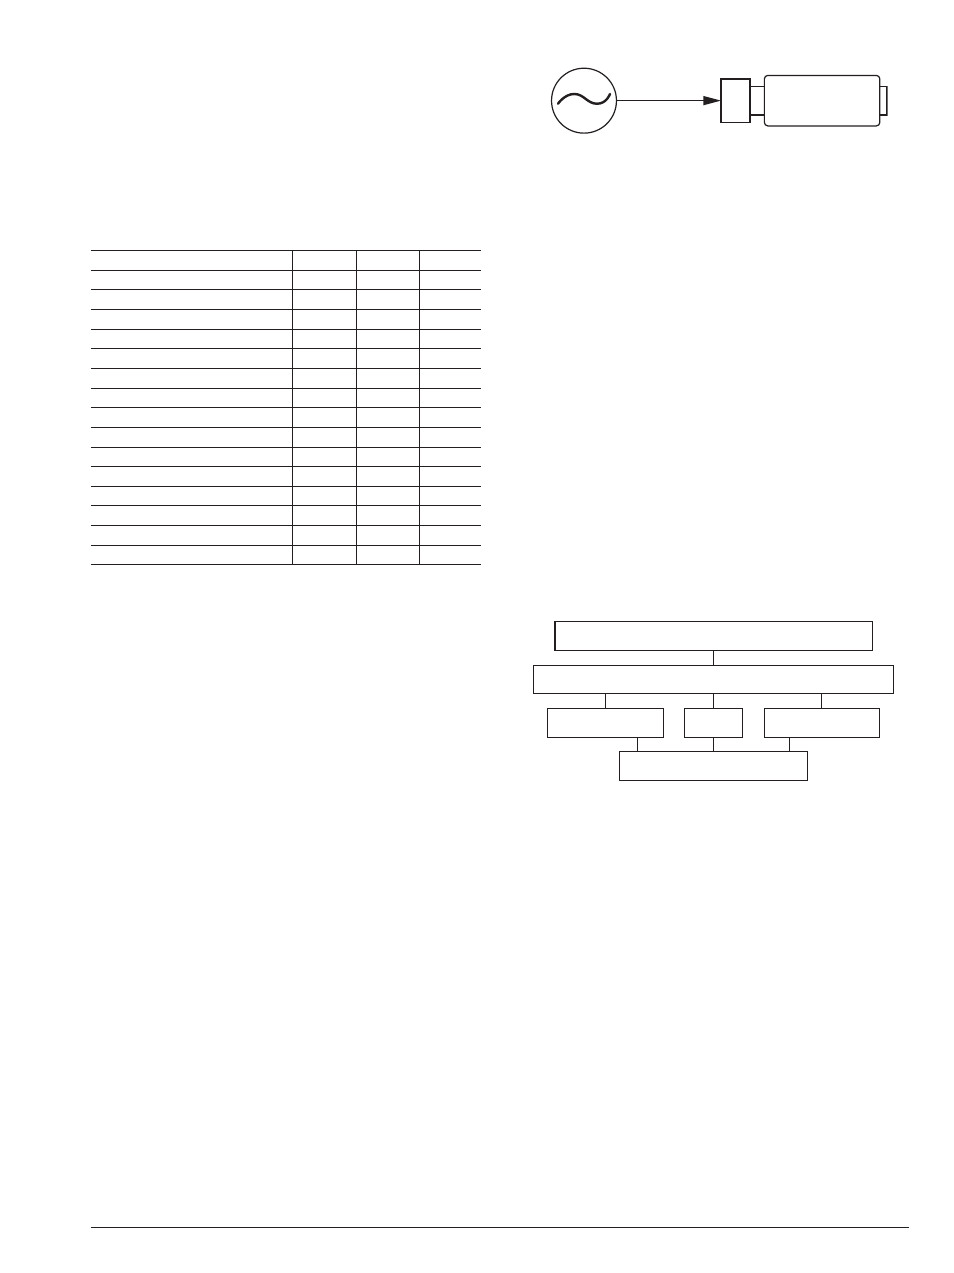
Mismatch is easily calculated in either dB or percentage terms from the source’s and
sensor’s respective reflection coefficients.
The source match of the device under test can be improved
by the use of precision attenuators with good return loss or
by the use of external levelling with a high directivity
coupler or splitter.
Connector damage has significant accuracy and repeatabili-
ty effects, and is also the most common cause of sensor
damage – although it is frequently undetected. Every
MA2400A/D Series includes a hex nut connection for
application of a calibrated torque wrench. Torque wrenches
assure compliance with the quality requirement and result in
more consistent measurements.
Sensor calibration factor uncertainty
identifies the accuracy
of the sensor's calibration relative to a recognized standard for
absolute power level. Sensor calibration factor uncertainty is
included in accuracy calculations for any absolute power
measurement (in dBm or Watts) and for relative power
measurements if the signals are different frequencies.
ML2400A Series is NIST traceable for more accurate, dependable measurements.
Reference power uncertainty specifies the maximum
possible output drift of the power meter's 50 MHz,
0.0 dBm power reference between calibration intervals.
Reference power uncertainty and reference to sensor
mismatch uncertainty do not generally impact relative
power measurements.
See the Anritsu website (www.anritsu.com) for more
information and tool to calculate measurement uncertainties.
Power Sensor
Reflection Coefficient = Γ
2
Reflection Coefficient = Γ
1
P
0
% Mismatch Uncertainty = 100 [(1 ± Γ
1
Γ
2
)
2
–1]
dB Mismatch Uncertainty = 20 log (1 ± Γ
1
Γ
2
)
NIST, National Institute of Standards and Technology
Anritsu, Microwave Measurement Division Standards Labs
Anritsu Service
Factory
Customer Cal Lab
Power Meter End User
