0 installation – Alpha Technologies FlexNet MPS48-12M - Technical Manual User Manual
Page 15
15
021-514-B2-001, Rev. A
4.0 Installation
4.1 Unpacking the MPS48-12M
Locate the top-side of the product carton and open.
Remove the mounting bracket and enclosure. Inspect the
MPS48-12M for shipping damage.
Verify each carton contains:
• MPS48-12M
enclosure
• Mounting
bracket
•
Mounting hardware for bracket installation (4)
•
Screw gaskets (4)
•
3/4" 3-hole strain relief fi tting
•
1/2" strain relief fi tting
• Plastic
ties
•
Quick Start Guide
4.2 Enclosure Installation, Wall-mount or Wooden Pole-mount
Most codes require the base of the enclosure to be located a minimum height from the
ground. Always verify height restrictions before proceeding.
The majority of poles are the property of the local utility. Before installing an enclosure, the location and method of
mounting must be approved by the utility.
ATTENTION:
Recommended Tools and Materials:
• Ratchet with 7/16" socket
• Level
• Phillips
screwdriver
•
Two 1/4" x 2-1/2" (7mm x 60mm) lag bolts with fl at washers
• Stud
fi nder (optional)
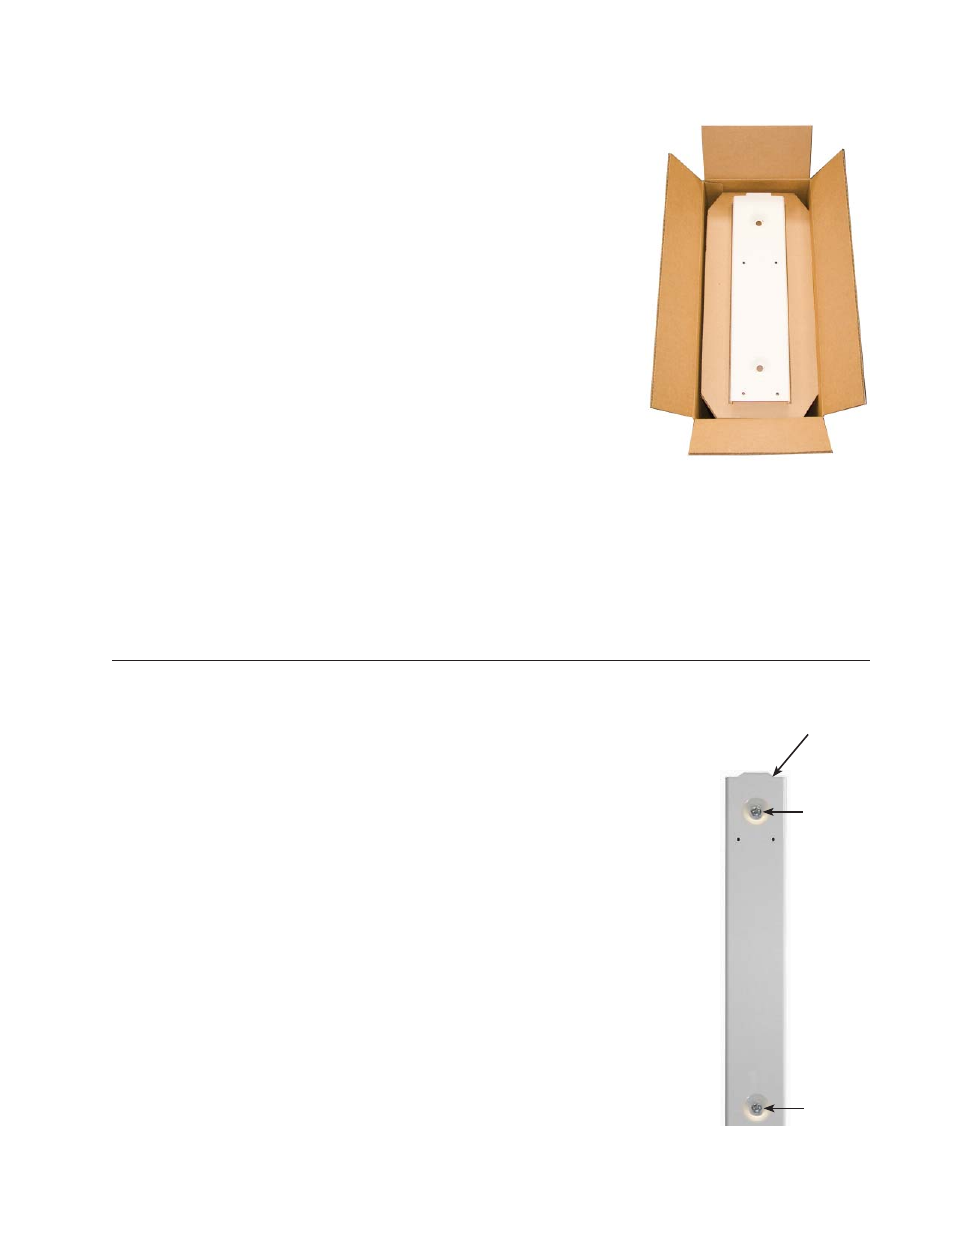
Installation Procedure:
1. Remove the mounting hardware from the inside of the bracket,
and position the bracket on a wall or wooden pole capable of
supporting 40 lb (18kg). Use a backing plate if necessary.
2. Plumb the bracket with the tab facing up.
3. With the tab facing up, secure the bracket to the wall using two
customer-supplied 1/4" x 2 1/2" lag bolts. The hardware must sit
fl ush inside the bracket dimples for proper installation.
Lag Bolt
Lag Bolt
Tab