Record settings, Manual record – ABUS TVVR20001 User Manual
Page 84
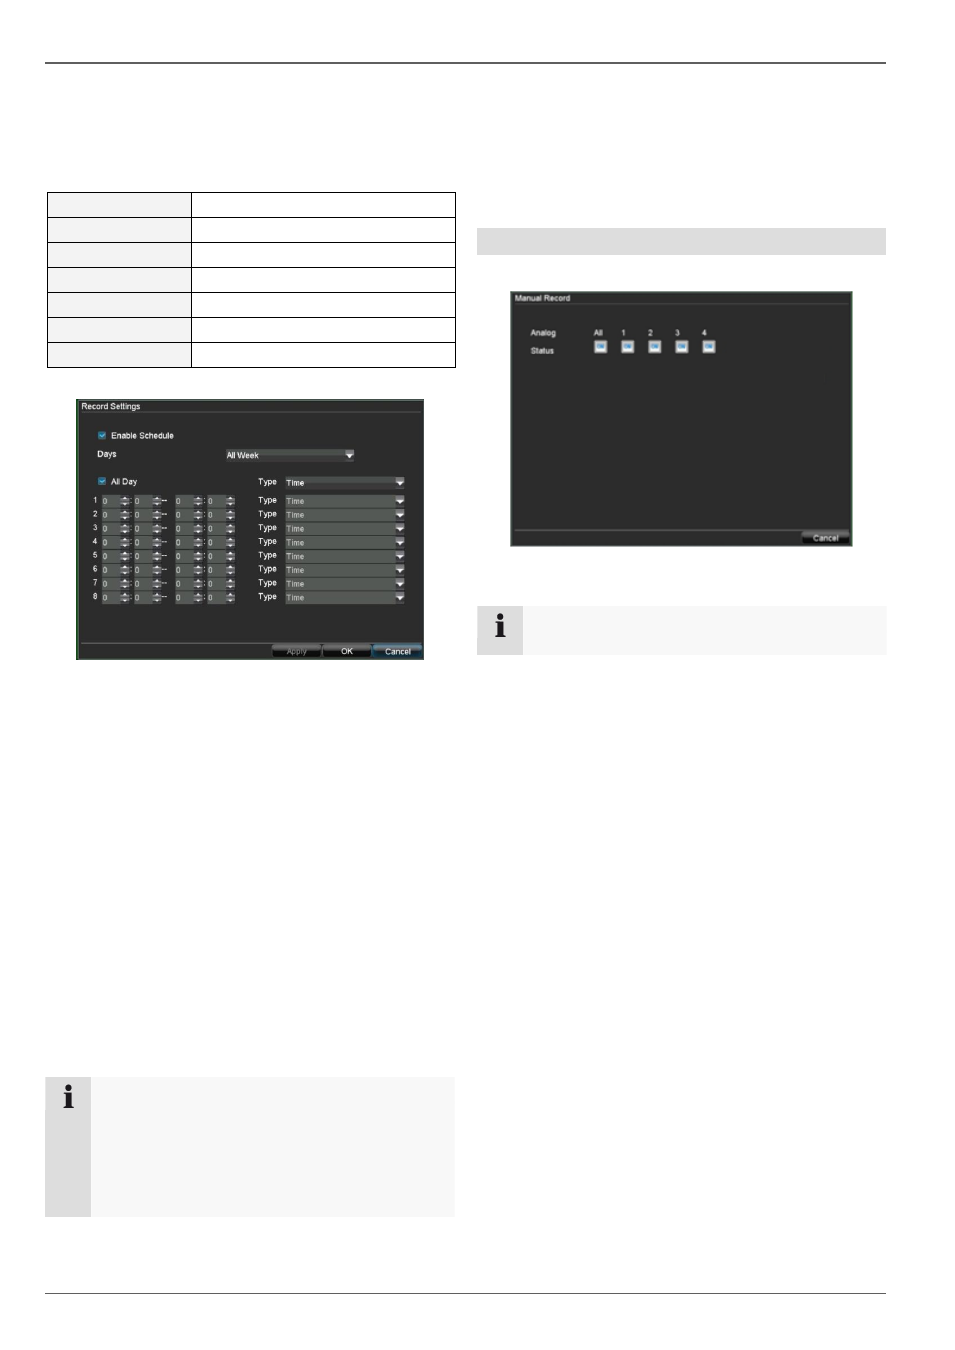
Record Settings
22
In the OSD, the hours of the respective days are listed
from left to right (the days are listed from top to bottom).
A colour key is shown underneath the days (i.e. the re-
cording periods in the schedule are shown in colour ac-
cording to the trigger (recording types)).
Colour symbol
Key
Blue
Normal recording: Period in hours
Green
Motion detection
Light blue
Motion detection and alarm
Red
Alarm
Grey
No selection
Green and red
Motion or alarm
1.
Select the camera to be set up, then click on “Edit”:
2.
Tick the “Enable Schedule” box.
3. In the drop-
down menu next to “Days”, either specify
the day to be set or select “All Week”.
4.
Tick or untick the “All Day” box. When “All Day” is se-
lected, defined times cannot be entered. The setting
then applies for the entire day.
5. To ma
ke specific time settings, untick the “All Day”
box.
6. Specify the recording type in the drop-down menu:
Time
Motion detection
Alarm
Motion detection or alarm
Motion detection and alarm
7. When making a specific time setting, you can define
up to 8 time periods (each from 00:00 to 00:00). The
times in the individual periods must not overlap.
Note
The “Time” recording type defines the time win-
dow where a recording is made.
The other events (e.g. motion detection and/or
alarm) only trigger the recording after the specific
event has occurred.
The camera settings can be copied and applied to all
cameras in the “Schedule” tab.
Select the camera under “Copy” (or select “All”),
then confirm by pressing “Copy”.
8. Exit the settings in the recording screen by pressing
OK.
Manual Record
1. Press REC to start manual recording:
2. Select the camera to start manual recording by click-
ing the corresponding button.
Note
Click “All” to record all connected cameras.