Starting the program – Extron Electronics DXP DVI Pro Setup Guide User Manual
Page 40
34
DXP DVI Pro and DXP HDMI Series • Remote Control
3.
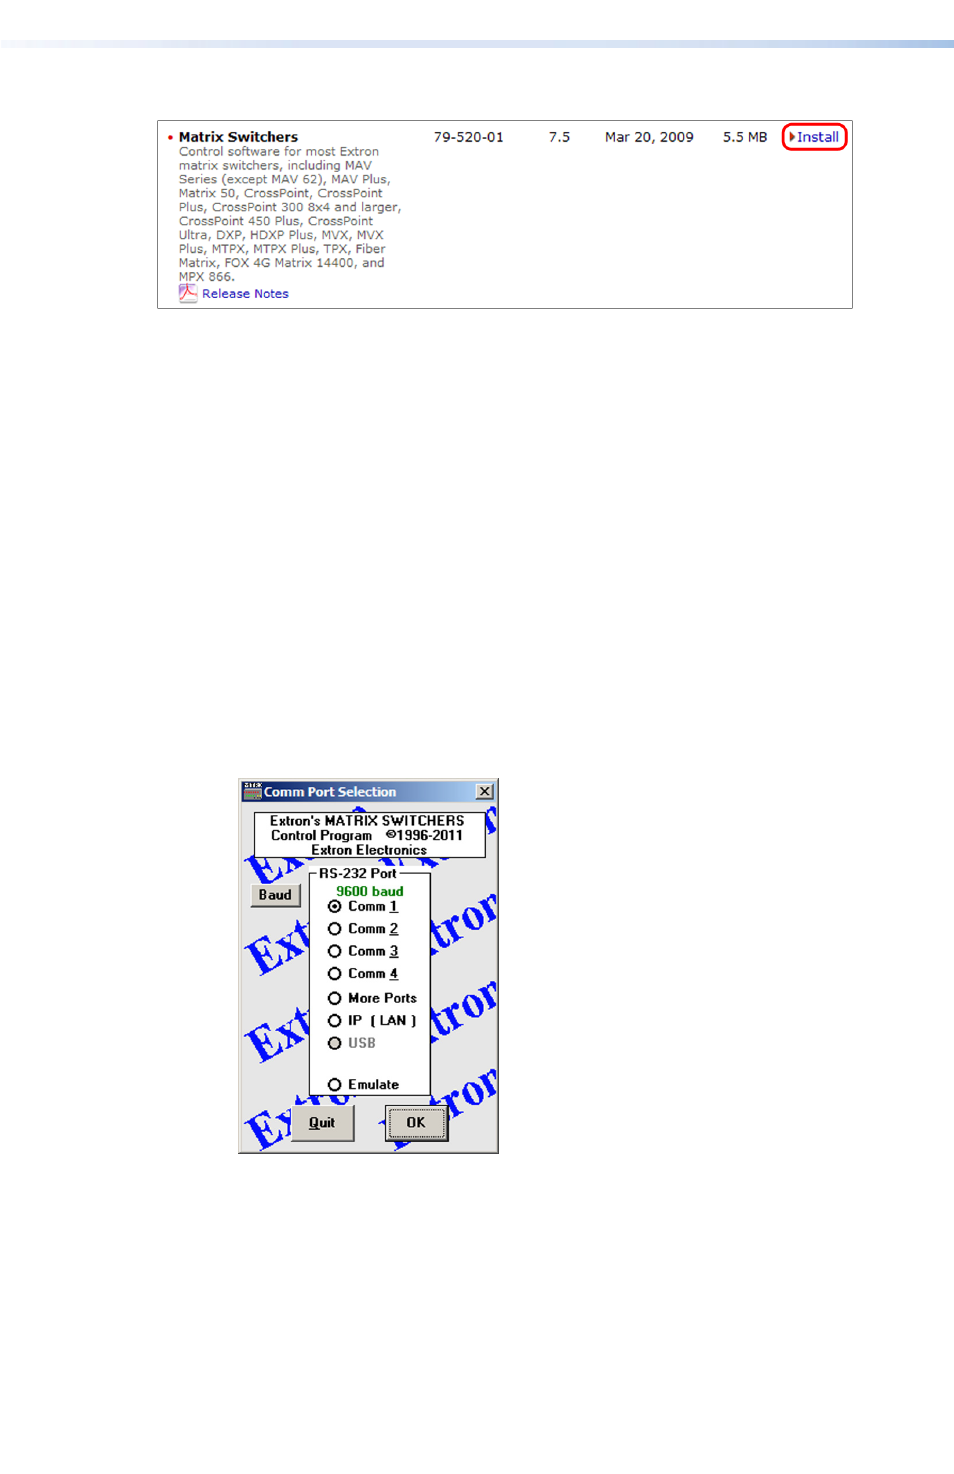
Scroll to the Matrix Switchers Control Program and click Install.
Figure 21.
Matrix Switchers Control Program Install Link
4.
Follow the on-screen instructions. The installation program creates
a C:\Program Files\Extron\Matrix_Switchers directory and
an “Extron Electronics\Matrix Switchers” group folder. It installs
the following four programs:
•
MATRIX Switcher + Control Program
•
MATRIX Switcher + Help
•
Uninstall MATRIX Switcher
•
Check for Matrix Updates
Starting the Program
1.
To run the Matrix Switcher program, click Start >
All
Programs > Extron Electronics > Matrix Switchers >
MATRIX
Switcher + Control Pgm. The Comm Port Selection
window appears.
Figure 22.
Comm Port Selection Screen
2.
Select the Comm (serial) port that is connected to the switcher or
select IP [LAN].
3.
If you selected a Comm port, check the baud rate (shown in green
above the ports list). If you need to change it, click the Baud
button and double-click the desired baud rate option on the
drop-down menu that opens.