Installation, cont’d, Device configuration – Extron Electronics CTL208CM User Manual
Page 10
CTL208CM Control Panel Module • Installation
CTL208CM Control Panel Module • Installation
Installation, cont’d
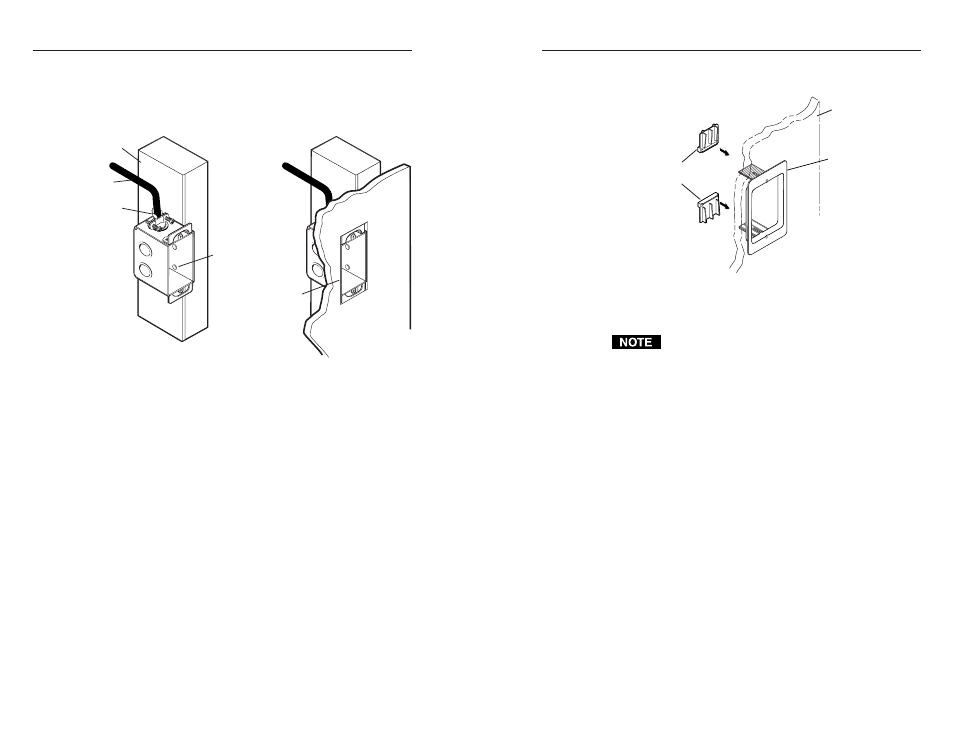
clips that fasten the ring to the wall or furniture (figure 2-
4).
Push Mounting
Tabs Forward
Wall
Extron
IN9181 Wall
Mounting Bracket
Figure 2-4 — Attaching a mounting bracket to a wall
Device Configuration
The rear of the control panel module will be inaccessible
after installation.
1
.
Cable the control panel module and set the DIP switches.
See Rear Panel Setup in this chapter.
2
.
Program the buttons. See chapter 4, Serial Communications,
to program the control panel module.
3
.
Test the control panel module before installing it into the
wall box.
2-7
2-6
5b
.
If you are using a wall box
, insert the wall box into the
opening, and attach it to the wall stud or furniture with
nails or screws, leaving the front edge flush with the outer
wall or furniture surface (figure 2-3). The illustration
applies to both two-gang and four-gang wall boxes.
Wall opening
flush with
edge of box
Installation
Cable
Cable Clamp
Screws or Nails
Wall Stud
Figure 2-3 — Attaching a wall box to a stud
If attaching the wall box to wood, use four #8 or #10
screws or 10-penny nails. A minimum of 1/2 inch (1.3 cm)
of screw threads must penetrate the wood.
If attaching the wall box to metal studs or furniture, use
four #8 or #10 self-tapping sheet metal screws or machine
bolts with matching nuts.
6
.
If you are using a mounting bracket
, follow the directions,
if any, that came with the mounting bracket to attach the