Rough Country 262.22 User Manual
Page 6
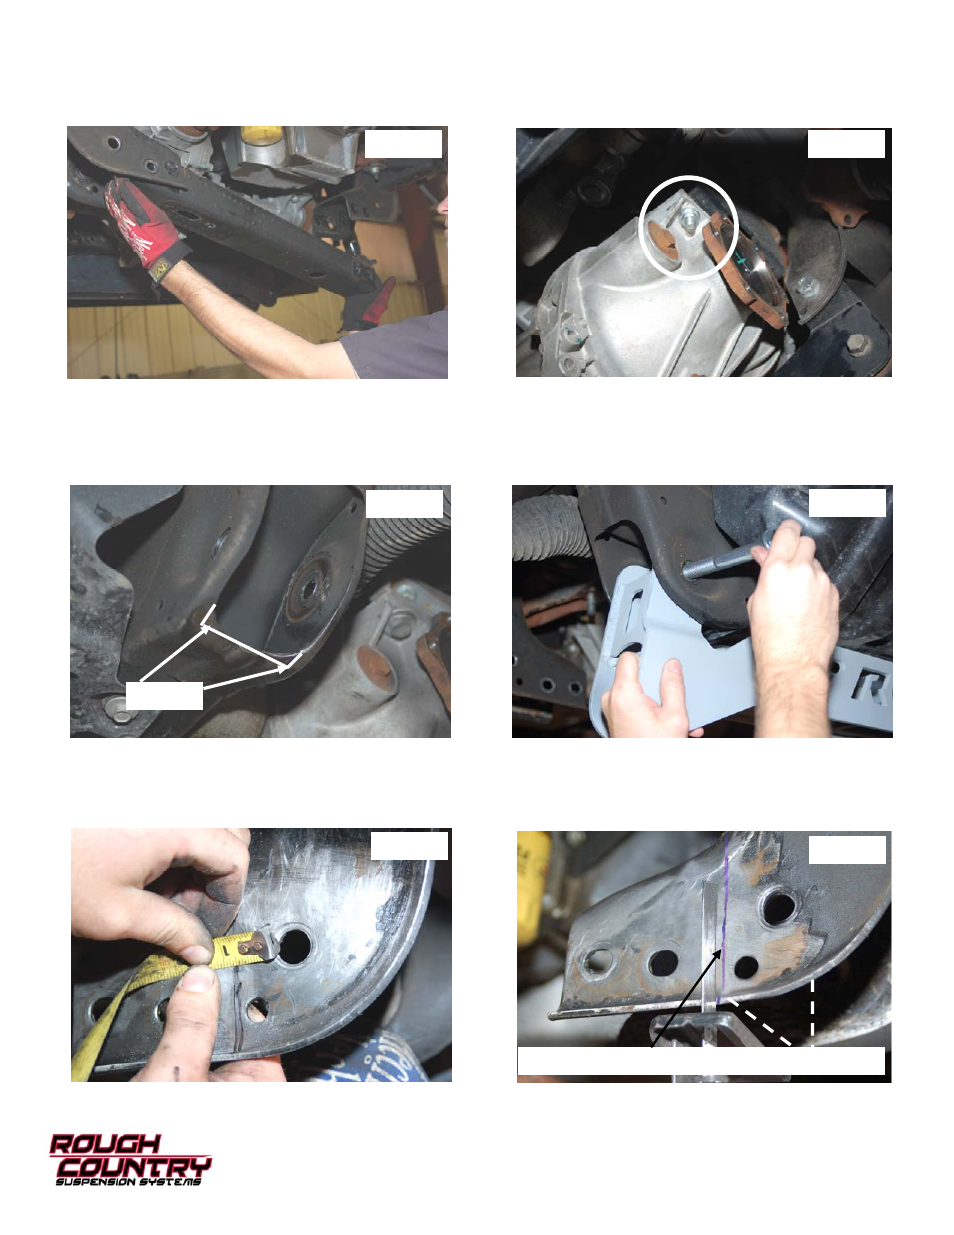
18. Remove the four rear cross member bolts and remove the rear cross member brace as shown in Photo 13 using a
18mm wrench.
19. Using a 18mm socket remove the 4 differential bolts (2 each side) securing the differential to the frame. See Photo 14.
Retain the hardware for reuse.
20. Slowly lower differential assembly to the ground.
21. Trim the lower control arm mount on the frame as shown in Photo 15. Trim only enough to allow for installation of new
front RCX cross member.
22. Install the front cross member as shown in Photo 16 with the supplied 5/8” x 4 1/2” bolts, nuts /washers. Do not tighten
at this time.
23. On the drivers side rear lower control arm pocket, measure over 3/4” from the edge of the hole on the rear frame where
the cross member was removed in step 10 and mark area to be cut as shown in Photo 17. Please note the area needs
to be cleaned of any oil, grease and/or undercoating. These coatings can be flammable.
24. Cut area with reciprocating saw as shown in Photo 18.
Photo 13
Cut here
Photo 14
Photo 15
Photo 16
Photo 17
Photo 21
CUT TO MAKE ROOM FOR DIFFERENTIAL