Rough Country RC611 User Manual
Page 8
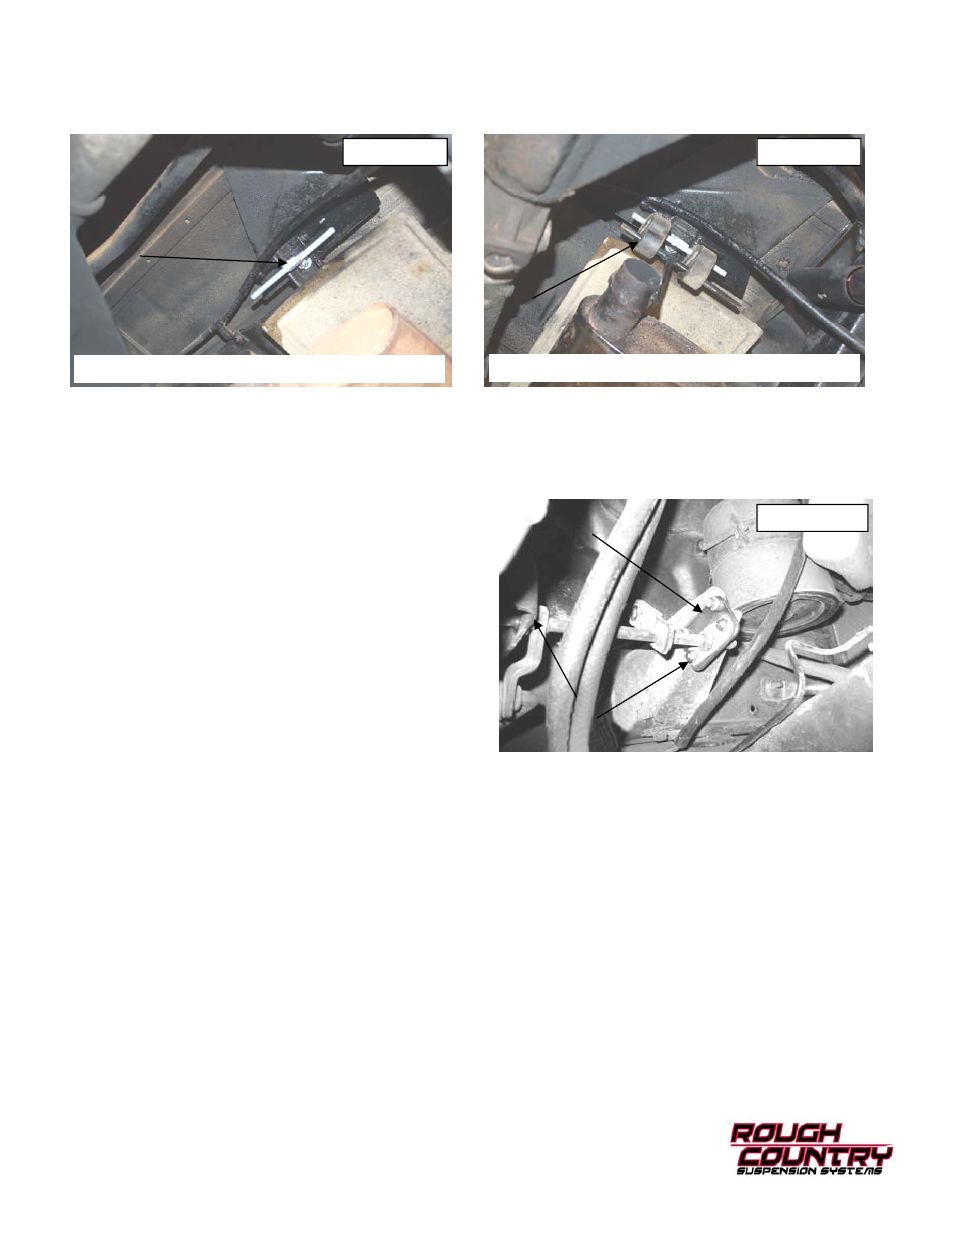
45. Install the new exhaust hanger drop bracket using the supplied 5/16” x 1” bolt and lock nut Tighten using a 13mm
wrench to tighten. Install rubber exhaust grommet onto new bracket and reinstall muffler. See Photo 30 & 31.
46. (AUTO TRANSMISSION ONLY) Proceed to installation instructions for automatic shifter bracket.
47. Re-Check all fasteners / components to make sure nothing is binding or in the way of moving parts.
Photo 30
Photo 31
Install new muffler bracket
Reinstall the muffler grommets
POST INSTALLATION INSTRUCTIONS
1. Check all fasteners for proper torque. Check to ensure there is adequate clearance between all rotating, mobile,
fixed and heated members. Check steering gear for interference and proper working order. Test brakes.
2. Check to ensure metal brake lines have sufficient slack to eliminate interference and maintain proper working order.
Failure to perform inspections may result in component failure.
3. Readjust headlights to proper settings.
MAINTENANCE INFORMATION
It is the buyers ultimate responsibility to have all bolts/nuts checked for tightness after the first 100 miles and then
every 1000 miles. A qualified professional mechanic must inspect wheel alignment steering system, suspension and
driveline systems at least every 3000 miles.
Thank you for choosing Rough Country for all your suspension needs.
AUTOMATIC SHIFTER BRACKET INSTALLATION
(FOR VEHICLE EQUIPPED WITH AUTOMATIC TRANSMISSION ONLY)
1. Using the supplied shifter location bracket, mount to the
stock shift linkage bracket with the supplied 1/4” hard-
ware and tighten. Note: The bolts will point toward the
engine.
2. Mount the assembly in the stock location on the engine
bracket and secure with stock cotter pin.
3. Mount the assembly in place on the original frame location
with the stock hardware and tighten. See Photo 1.
Photo 1