Mask the image, Project the image, 1 display the setting menu 2 – JVC DLA-X90 User Manual
Page 40: Select “input signal” “mask, 3set a mask value, Masking the surrounding area of an image, Confirm, Select ② confirm, Select
40
Operation
3
MEMO
●
Masking is available only
when high definition images
are input.
2
Mask the image
②
Confirm
MENU
Picture Adjust
Reset
Advanced
Exit
MENU
BACK
Back
Select
Operate
Color Temp.
Gamma
Dark/Bright Level
Picture Tone
Contrast
Brightness
Color
Tint
0
0
0
0
Color Profile
Picture Mode
Natural
Video
6500K
Normal
1
Display the setting menu
2
Select “Input Signal” “Mask”
①
Select
②
Confirm
Exit
MENU
BACK
Back
Select
Operate
Aspect (Video)
Progressive
3D Setting
HDMI
COMP.
Auto
PC
Picture Position
16:9
Off
Mask
2.5%
5%
Off
Custom
Input Signal
3
Set a mask value
①
Select
Exit
MENU
BACK
Back
Select
Operate
Aspect (Video)
Progressive
3D Setting
HDMI
COMP.
Auto
PC
Picture Position
16:9
5%
Mask
2.5%
5%
Off
Custom
Input Signal
Example:
When the “Mask” value is
changed from “Off” “5%”
3
To end
MENU
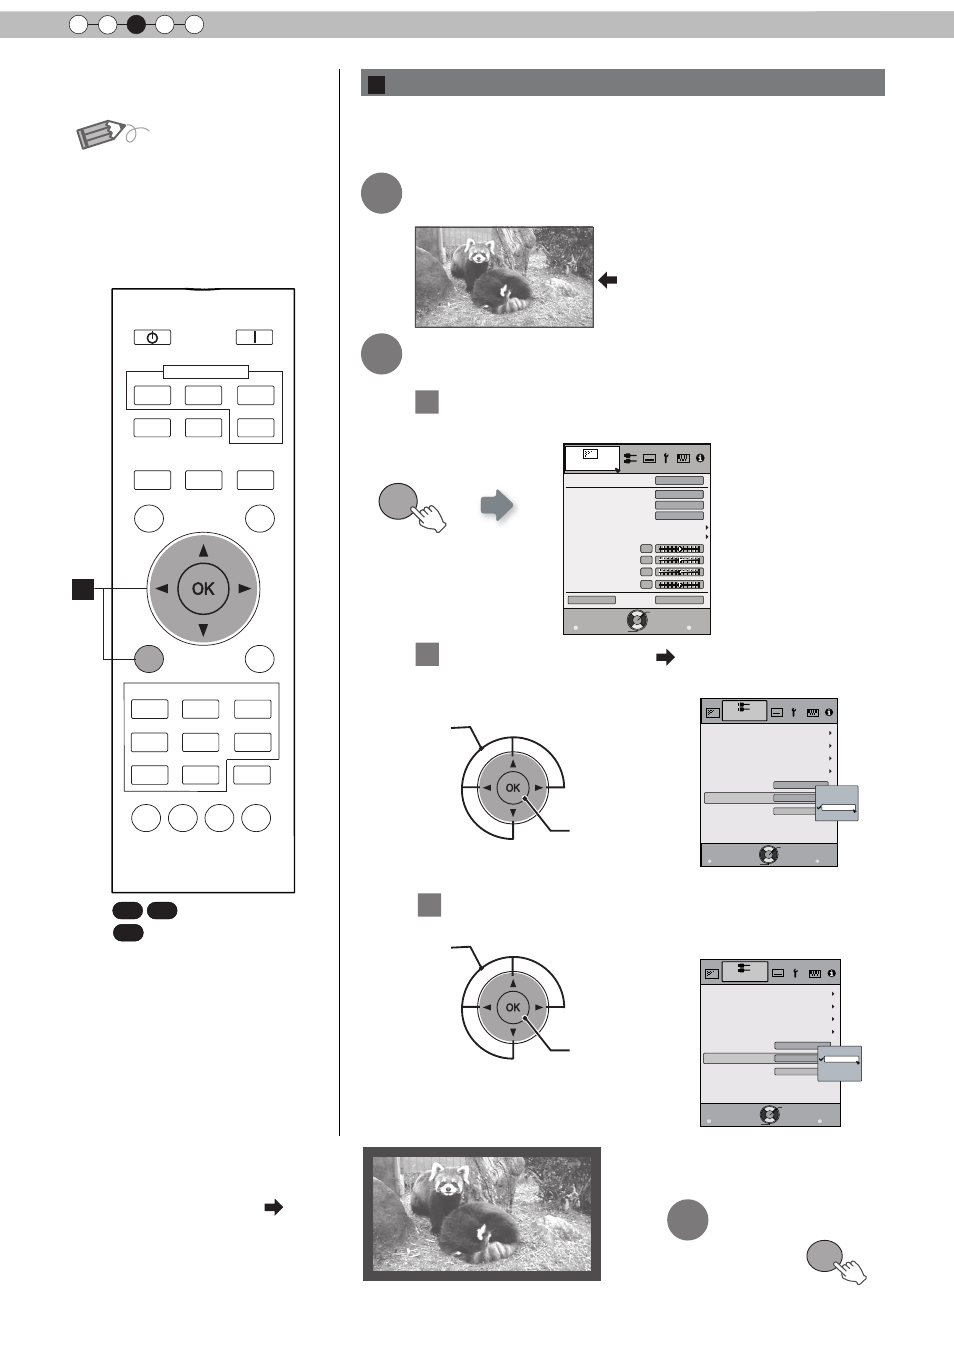
Images for which quality at the outer area has deteriorated
can be projected by masking (hiding) the surrounding area of
the projected image.
1
Image for which quality at the
outer area has deteriorated.
Project the image
B
Masking the Surrounding Area of an Image
BACK
HIDE
LIGHT
LENS
MEMORY
PC
HDMI 1
STAND BY
3D
FORMAT
HDMI 2
COMP.
LENS.
CONTROL
MENU
ON
INPUT
ANAMO.
GAMMA
P.FILE
COLOR
ADJ.
PIC.
FILM
NATURAL
STAGE
3D
THX
USER
C.M.D.
ANIME
CINEMA
PICTURE MODE
TEMP
COLOR
3D
SETTING
B
X7
X7
30
: The same button
arrangement is used for the
operations in this explanation.
90 70
(*) When there is a 3D input
signal, adjustment is not
possible.