3g gateway configuration, 3 3g gateway configuration – TANDBERG D13841.01 User Manual
Page 15
5 Configure the Gateway
15
2.3 3G Gateway Configuration
The 3G Gateway requires some basic configurations before it can be used. It will be necessary to
find the IP-address and to create the dial-in and dial-out services program the ISDN-PRI Line
numbers.
It is possible to use the front panel LCD display or the serial RS232 cable. Using the RS232
cable, follow the instructions below:
1. Connect the RS232 cable between the 3G Gateway and a PC and then switch on the
3G Gateway.
2. Start a terminal program on the PC and configure it to: 115200, 8, 1, None.
3. a. To assign a static IP-address, type
‘
Xconf ip Assigment:
“
Static
”
’
and
‘
Xconf Ip
address
’
.
b. To assign an IP Subnetmask, type
‘
Xconf ip address subnetmask
’
.
c. To assign an IP Gateway address, type
‘
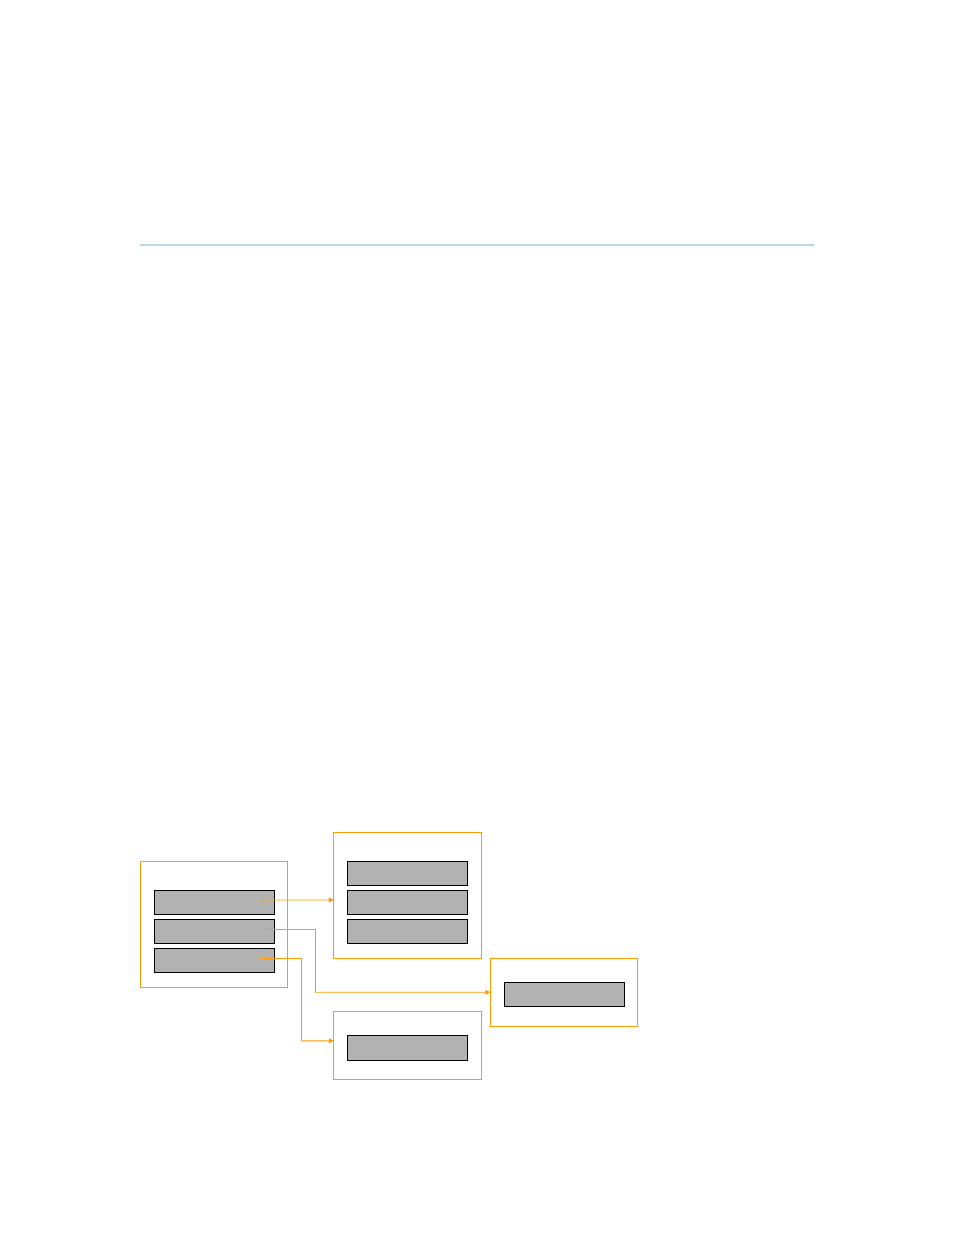
Xconf ip address gateway address> ’ . 4. Restart the 3G Gateway. ‘ TANDBERG ’ . 6. To configure the 3G Gateway for UMTS dial in, enter PRI or BRI numbers and dial in number(s). For details, see the ‘ PRI Configuration ’ and the ’ section. 7. To configure the gateway for IP dial in, register the gateway to a gatekeeper and enter H.323 services. For details, see chapter 5.7, Services Configuration.. The LCD panel makes it possible to configure and the Check the IP settings and to reboot the MainMenu IP settings IP Information Commands IP Address IP Netmask IP Settings IP Default GW IP Address IP Information Reboot Commands
5. Start a WEB browser and enter the IP-address of the 3G Gateway. Default password:
system. The front panel LCD menu items are displayed below. Due to the limited amount of
buttons the function will differ on every menu level also depending on the function of the menu
(reading or editing). Appendix 0 contains a detailed description of every level and functions of
every button. The usage of the buttons is designed in an intuitive way and should not result in any
problems.