Starting up the recorder, Turning the power off, Basic setup – Toshiba RD-XS32SB User Manual
Page 34
26
After all the necessary connections,
• Turn on the equipment connected to the
recorder.
• Select the corresponding video input on
your TV.
Perform these selections whenever you operate
the recorder.
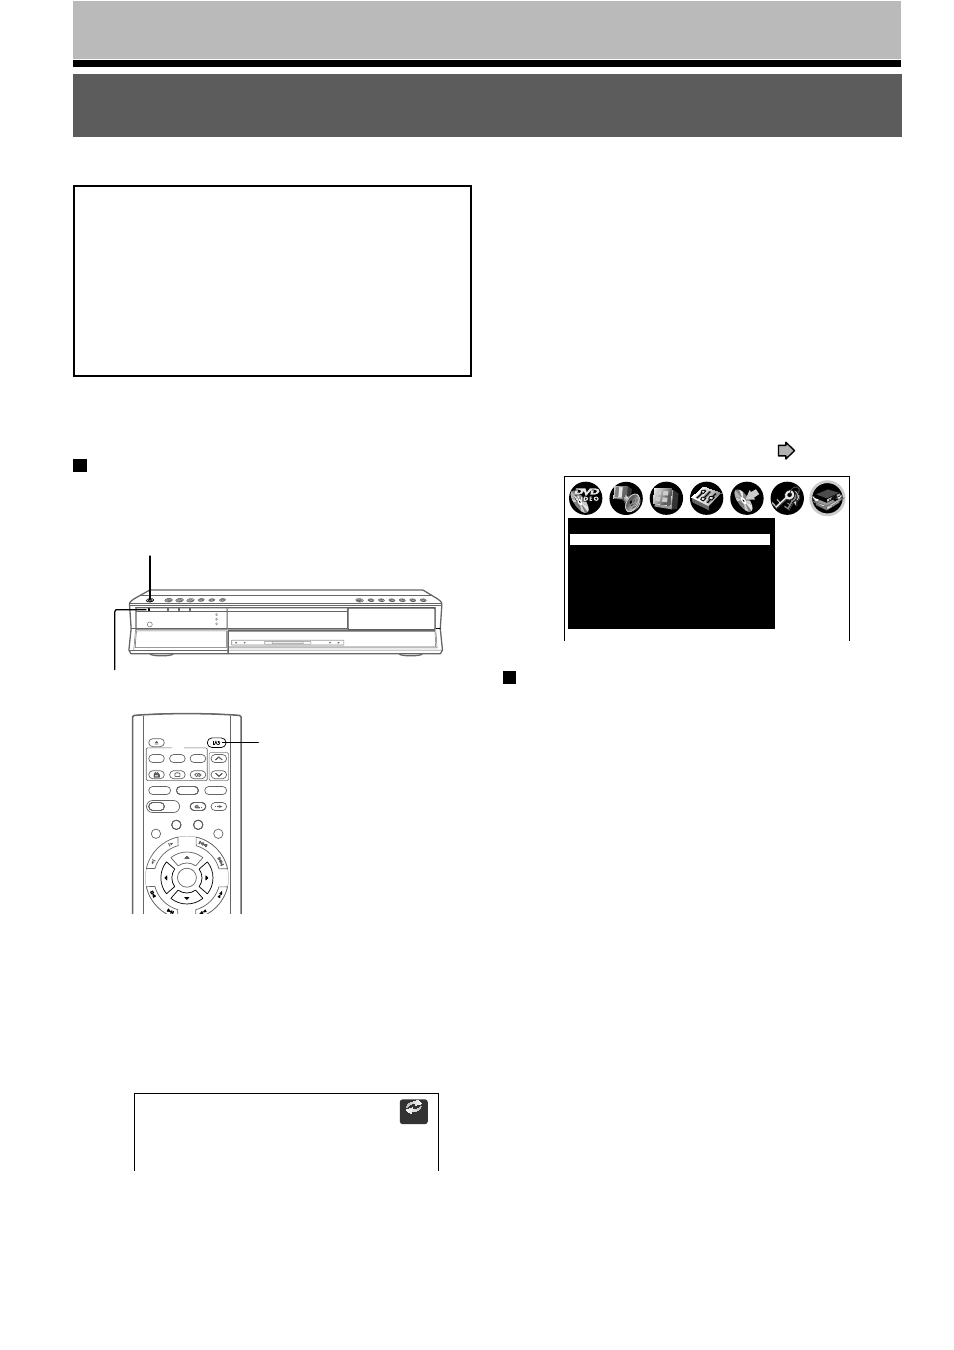
Turning the power on
Press the ON/STANDBY button on the front panel of
the recorder or on the remote control.
When the power turns on, the ON/STANDBY indicator
changes colour from red (standby mode) to green
(operation).
After a few seconds, a startup screen appears.
The following icon will appear on the top right corner
of the screen. The icon will continue flashing
momentarily.
While the icon is flashing, the recorder is checking
the status and reading data of the HDD and the
DVD drive for startup. If the DVD drive does not
contain a disc, the recorder consumes less time to
startup, because it does not need to read data
from the DVD drive.
While the “Loading” icon is flashing, the recorder
cannot respond to any operations of buttons other
than CHANNEL and INPUT SELECT. Operate all
other functions after the icon has disappeared.
Note
When the recorder is turned on for the first time, the
following menu may be displayed after the “Loading” icon
has disappeared. See “A: Initial settings” (
page 28).
Turning the power off
Press the ON/STANDBY button from the remote
control or on the front panel of the recoder.
The “Unloading” icon appears on the right corner of
the top of the screen, and the ON/STANDBY indicator
turns red. Then the power turns off.
Note
If the recorder freezes for about 15 minutes or more and will
not respond to any buttons, holding down the ON/STANDBY
button on the front panel for about 10 seconds can force the
recorder to turn off. However, this is an emergency measure,
which contains a risk of damage to data or discs. Avoid
casual use of this measure. If you try this while the recorder
is operating properly, especially while the “Loading” or
“Unloading” icon is flashing, it may result in re-initialization of
the HDD.
Basic Setup
Starting up the recorder
SETUP
e.g.
Input signal
AV1 output
Channel setting
PAL
Video
Video
1
On
Auto
Initial settings
Set top box setting
Clock set position
Just clock
AV2 input
Time & date setting
Auto
Loading
e.g.
ENTER
LIBRARY
REC MENU EDIT MENU
CONTENT MENU
EASY
NAVI
ANGLE
OPEN/CLOSE
SUBTITLE
AUDIO
CHANNEL
INSTANT SKIP
INSTANT REPLAY
TOP MENU
MENU
RETURN
DVD
TIMESLIP
HDD
DVD
FR
AM
E/A
DJU
TU
RE
SE
AR
C
H
SK
IP
S
LO
W
ON/STANDBY button
ON/STANDBY indicator
ON/STANDBY button