Omron SYSMAC CJ1W-EIP21 User Manual
Page 240
214
Using FINS Applications
Section 8-5
CX-Programmer's FINS/UDP Tab Page in Edit Parameters Dialog Box
Same as for System Configuration Example 1.
Routing Table Settings and Transfer to Each PLC
Set the routing tables with CX-Integrator, and transfer them.
1.
Using CX-Integrator, connect online, and select Routing table
−
Settings.
Then create FINS local routing tables (a local network table and a relay
network table).
Example: PLC 1 Routing Table Settings
• Local Network Table
• Relay Network Table
None
Example: PLC 2 and PLC 3 Routing Table Settings
• Local Network Table
• Relay Network Table
In order to relay from PLC2/3 to the final network number 1, it is necessary
to relay via node address 1 (i.e., the Controller Link Unit) on relay network
number 2.
2.
Save the routing table file (File - Save local routing table file).
3.
Next, to connect online, select Communication Settings from the Net-
work Menu. For each PLC, register a PLC with a direct serial connection
(node address: 0), and select it.
4.
With the CX-Integrator, select Work Online from the Network Menu.
5.
Select Tools - Start Routing table, read the saved file, and select Op-
tions - Transfer to PLC. Click Yes to transfer the routing tables to the con-
nected PLC.
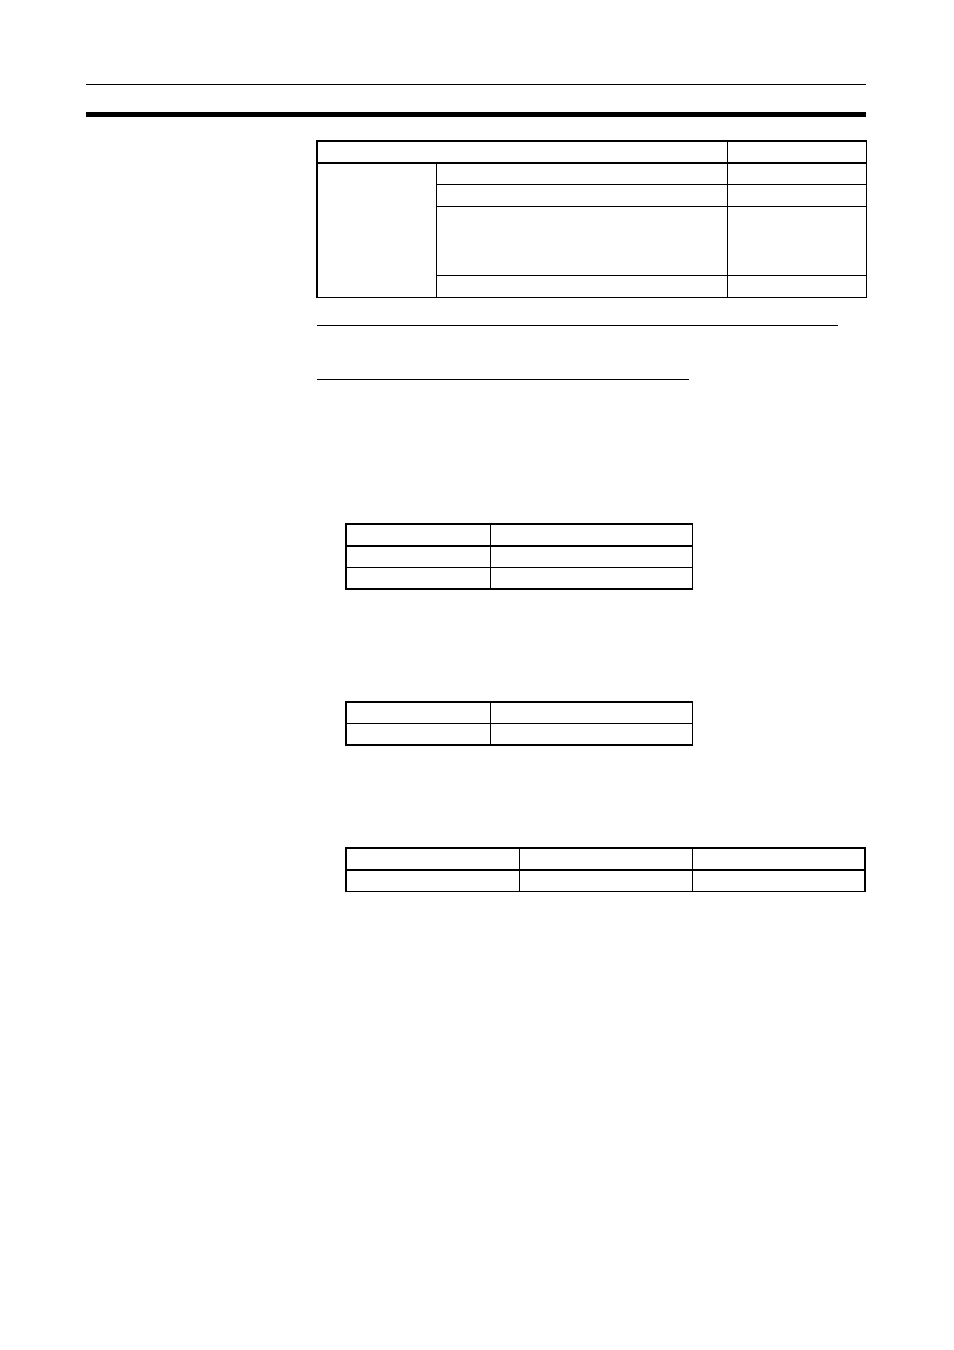
Driver Tab Page
Workstation node address
1
Automatic generation method
Not selected
IP address
192.168.250.2 (Eth-
erNet/IP Unit or
built-in EtherNet/IP
port IP address)
Port number
9600
Unit number
Local network number
0
1
1
2
Unit number
Local network number
0
2
Final network number
Relay network number
Relay node address
1
2
1
Settings for target PLC (PLC3)'s Change PLC Dialog Box
Setting