Jpeg files, Aux-in, Radio – RCA RTS202 User Manual
Page 9: The setup menu
EN
12
EN
13
JPEG Files
Displaying JPEG files
1. Open the disc tray.
2. Place the disc with the printed side facing
up and close the disc tray.
The folders on the disc will be listed in
numerical order on the left side of the
screen. When you highlight a folder, the
list of pictures in the folder are listed in
numerical order on the right side of the
screen.
3. Select a folder using the up/down arrow
buttons on the remote, then press the
left arrow button to move to the picture
icons at the bottom of the screen. Use the
left/right arrow buttons to select picture
mode.
4. Press the up arrow button to move to the
file list on the right side of the screen. Use
the up/down arrow buttons to select a file.
Press OK to open a file or press PLAY to
start a slide show.
5. The unit starts the slide show with the
JPEG file you have selected, then displays
all the JPEG files in the same folder, then
all the JPEG files in the subfolders located
in the same folder. You can set the amount
of time a picture remains on the screen in
the General Setup menu.
6. During the slide show you can use the left/
right button to rotate the picture, the up
arrow button to rotate the image vertically,
the down arrow button to rotate the
image horizontally. Use the ZOOM button
to magnify the picture. Use the CH- button
to go back to the previous picture or the
CH+ button to go to the next one, and the
STOP button to interrupt the slide show
and display the disc’s contents.
7. Press INFO to display the Info menu during
playback.
8. When the unit has played all the files, the
slide show stops and the disc’s contents are
displayed again.
9. Press STOP to end playback.
• The time taken for the contents
of the disc to be displayed varies
according to the size and number of
JPEG files on the disc. If nothing is
displayed after a few minutes, the file
sizes may be too large. Reduce the files
resolution and write another disc.
• Before inserting a disc, make sure it is
compatible with the unit.
Aux-in
TV, VCR or Set Top Box can be connected to
AUX input jacks (at front panel and at the
rear panel) of the unit so that sound from the
auxiliary component comes into the unit and
out through the speakers.
Connecting auxiliary components
Refer to “Connecting to external audio
sources (Aux-In)” for details on connecting
the auxiliary components to the unit.
Selecting Aux-In mode
Press either SOURCE on the main unit or
AUX1/2 on the remote control to select AUX
1 or AUX 2 mode.
Sound output in Aux-In mode
• You may toggle between Dolby Virtual
Speaker mode and stereo mode by pressing
“
” button on the remote.
• Refer details on Dolby Digital and Dolby
Virtual Speaker.
Radio
The unit has a built-in tuner that allows for FM
radio function. The AM loop antenna allows
for AM radio function.
Manual tuning
1. Connect the FM antenna and the AM loop
antenna at the back of the unit. Rotate
the AM loop for better reception.
2. Press TUNER.
3. Tune a station by pressing TUNER+/-
repeatedly until the desired station is
found. Alternatively, you can press and
hold the same buttons down for about
one second to activate the automatic
search function. In this mode the unit will
automatically tune frequencies until it finds
a station.
4. Repeat step 3 to tune to another radio
station.
5. Press TUNER to toggle between FM and
AM.
Storing radio stations
The unit can store up to 30 radio stations
in its memory. You can enter every single
radio station yourself or the unit can store
all available radio stations automatically in
ascending order.
Automatic preset programming
1. Press TUNER to enter the Tuner mode and
select FM.
2. Press and hold TUNER for a few seconds
to start automatic preset programming.
3. Radio frequencies will be browsed and
radio stations stored automatically. When
all the available radio stations are stored or
all 30 memory locations are full, the auto
preset programming function will stop.
Manual preset
1. Tune to a radio station (see “Manual
tuning” for details).
2. Press MEMORY. While the Program Preset
number is still flashing, input your desired
preset number using the numeric buttons
or press the CH+/- buttons, then press
MEMORY to store it.
Retrieving preset stations
1. Press TUNER to enter the Tuner mode.
2. Press CH +/- to search up or down for the
preset stations or directly press the numeric
buttons.
Tips:
• When the FM station broadcasts
Stereo sound is found, ST is
displayed.
• When you manually tune into a weak FM
station, press AUDIO on remote control
to switch from Stereo to Mono mode.
This will reduce the background noise.
• If there is any interference, change the
antenna’s position until ideal sound
reception is obtained. TV and other
electronic devices could be the cause
of interference, so try to position the
antenna away from them.
• A weak signal can affect the “Automatic
preset programming” function’s
efficiency. Adjust the antenna for better
reception and a more efficient search.
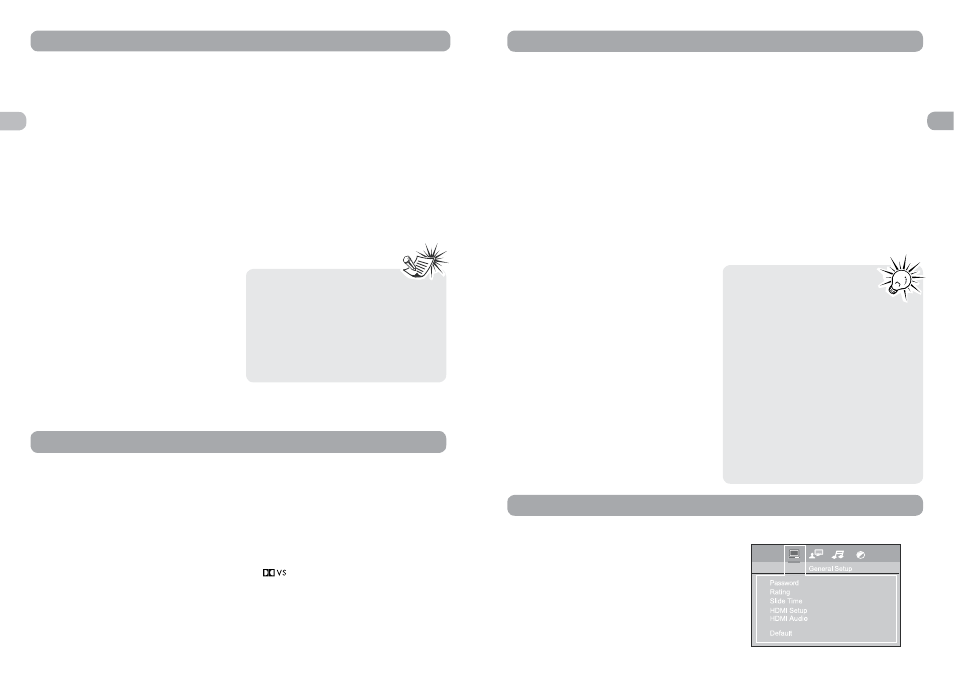
The Setup Menu
There are four options in the main setup
menu: General Setup, Language Setup, Audio
Setup and Video Setup.
Press SETUP to bring up the main menu. Select
one of the menu icons across the top of the
screen using the left/right arrow buttons. The
menu’s options are displayed on the left side
of the screen. Press the Up, Down, Left and
Right arrow button to move to the option’s
choices on the right. Press SETUP if you want
to exit setup.