Appendix a – Runco CL-610 User Manual
Page 73
Runco CL-610 Series Owner’s Operating Manual
This Appendix describes how to personalize the ISF splash screen on the Runco CL-610
Series DLP Projectors.
1.
Connect a PC to the CL-610 RS-232 port and establish a serial connection; refer to
RS-232 Connection and Port Configuration on page 53 if you need instructions.
2.
Press MENU on the projector remote control. Use the up- or down-arrow keys to
highlight ISF Calibration and press ENTER. Use the number buttons on the remote
control to enter the ISF Calibration menu passcode, then press ENTER again.
3.
Press MENU on the projector remote control. Then, select Splash Screen Timer
from the ISF Calibration menu.
4.
Use the left- or right-arrow buttons to set the Splash Screen Timer. This timer controls
how long the startup (Runco/ISF logo) image stays on-screen after you turn on the
projector. The range is from 5 to 60 seconds in 1-second increments. For this
procedure, set it to 30 seconds and press EXIT.
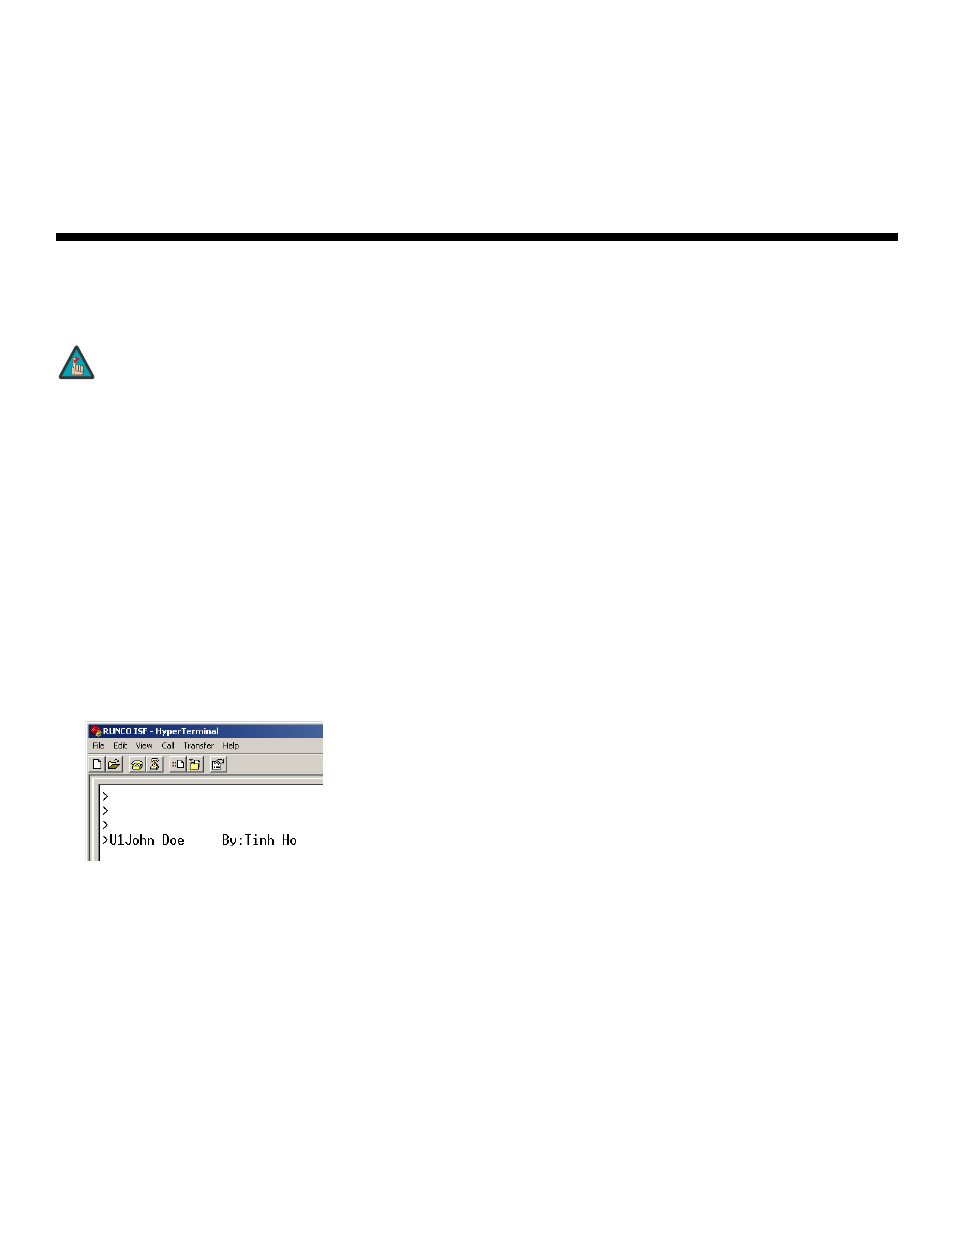
5.
In the HyperTerminal window, at the command prompt (>), type
U1
followed by the
customer name, four or five spaces and the ISF calibrator name:
6.
Press
.
7.
Press MENU on the projector remote control. Then, select ISF Calibration from the
Main menu.
8.
Select ISF Enable from the ISF Calibration menu and set it to On.
Appendix A. Personalizing the ISF Splash
Screen on the CL-610
Only ISF-trained and -certified technicians should attempt this
procedure!
Note