Main menu, Picture adjustment, Pre l iminar y – Runco CL-610 User Manual
Page 44
32
Runco CL-610 Series Owner’s Operating Manual
PRE
L
IMINAR
Y
Main Menu
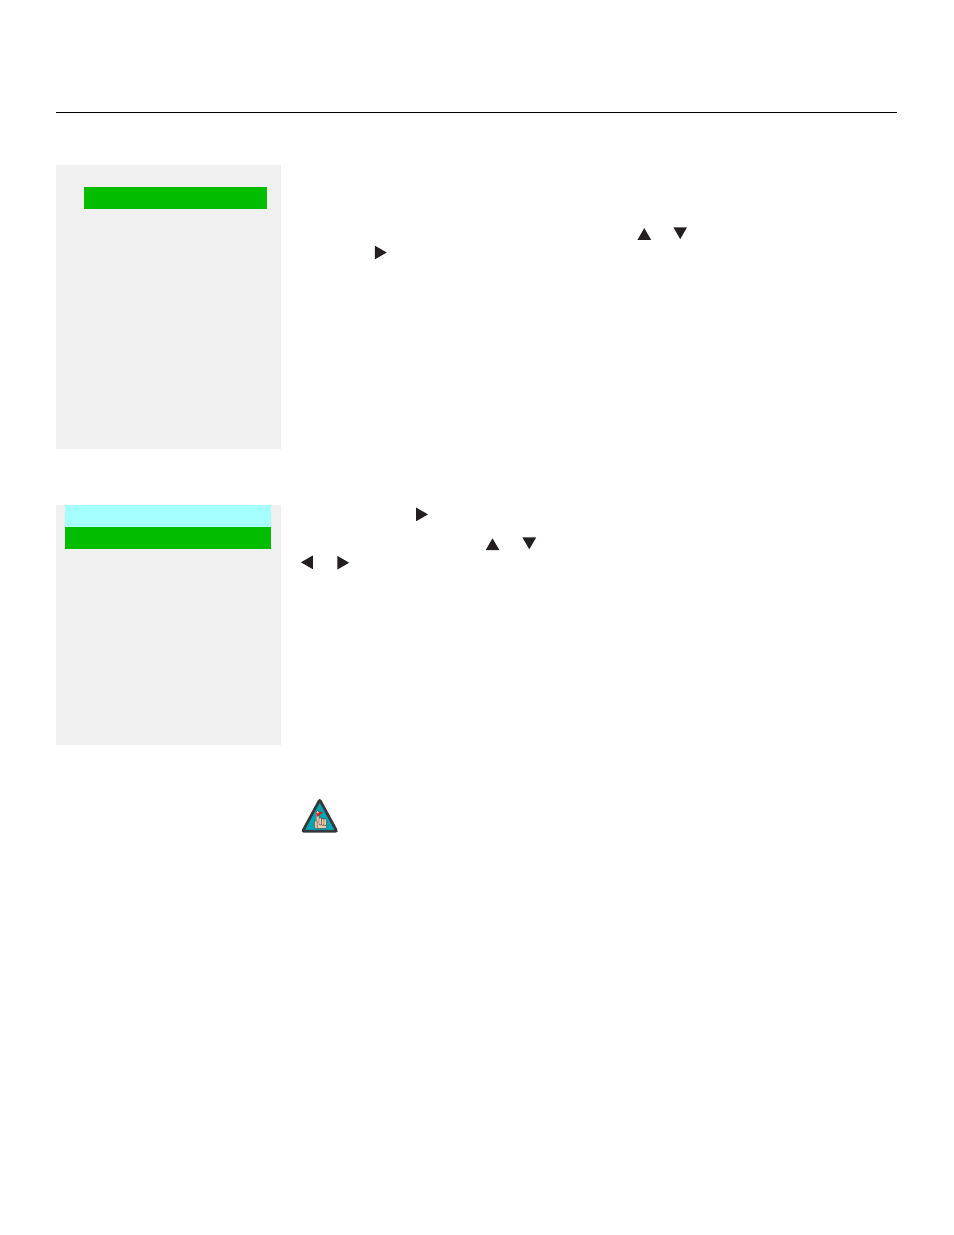
The Main Menu is the starting point for accessing all projector functions.
(The Set Up and ISF Calibration menus are hidden and not accessible until you enter a
passcode.)
The active source is indicated by an arrow (>) to its left; in the example at left, Video is the
active source. To select a different source, use the
or
button to highlight it and press
ENTER or
.
Picture Adjustment
Use the controls in the Adjustment Menu to calibrate your CL-610 for optimum picture
quality. To access the Adjustment menu, press MENU, highlight the active source and
press ENTER or
.
To adjust a setting, use the
or
button to highlight it and press ENTER. Use the
or
button to change the setting. When finished, press EXIT.
The CL-610 has been designed to incorporate setup and calibration standards
established by the Imaging Science Foundation (ISF). The ISF has developed carefully
crafted, industry-recognized standards for optimal video performance and has
implemented a training program for technicians and installers to use these standards to
obtain optimal picture quality from Runco video display devices. Accordingly, Runco
recommends that setup and calibration be performed by an ISF certified installation
technician.
All signal types require separate processing. Therefore, you need to calibrate each input
separately.
Runco CL-610
>
Video
S-Video
Component1
Component2
RGB-HD
HDMI
- - - - - - - - - - - - - - - - -
Aspect Ratio
Installation
Option
Set Up
ISF Calibration
➤
Adjustment
Brightness
Contrast
Color
Tint
Sharpness
Filter
Color Temperature
ICC Selection
Store Image Settings
Restore Image Settings
➤
When you change a picture quality setting, save the change to a
preset afterwards. Otherwise, the change will be lost when a
different input is selected. (Picture quality settings are saved for
each input and resolution separately.) For information about saving
settings, refer to Store Image Settings on page 37.
Note