Camera (menu 7), Take a photo – Nokia 3205 User Manual
Page 66
C a m e r a ( M e n u 7 )
66
Copyright © 2004 Nokia. All rights reserved.
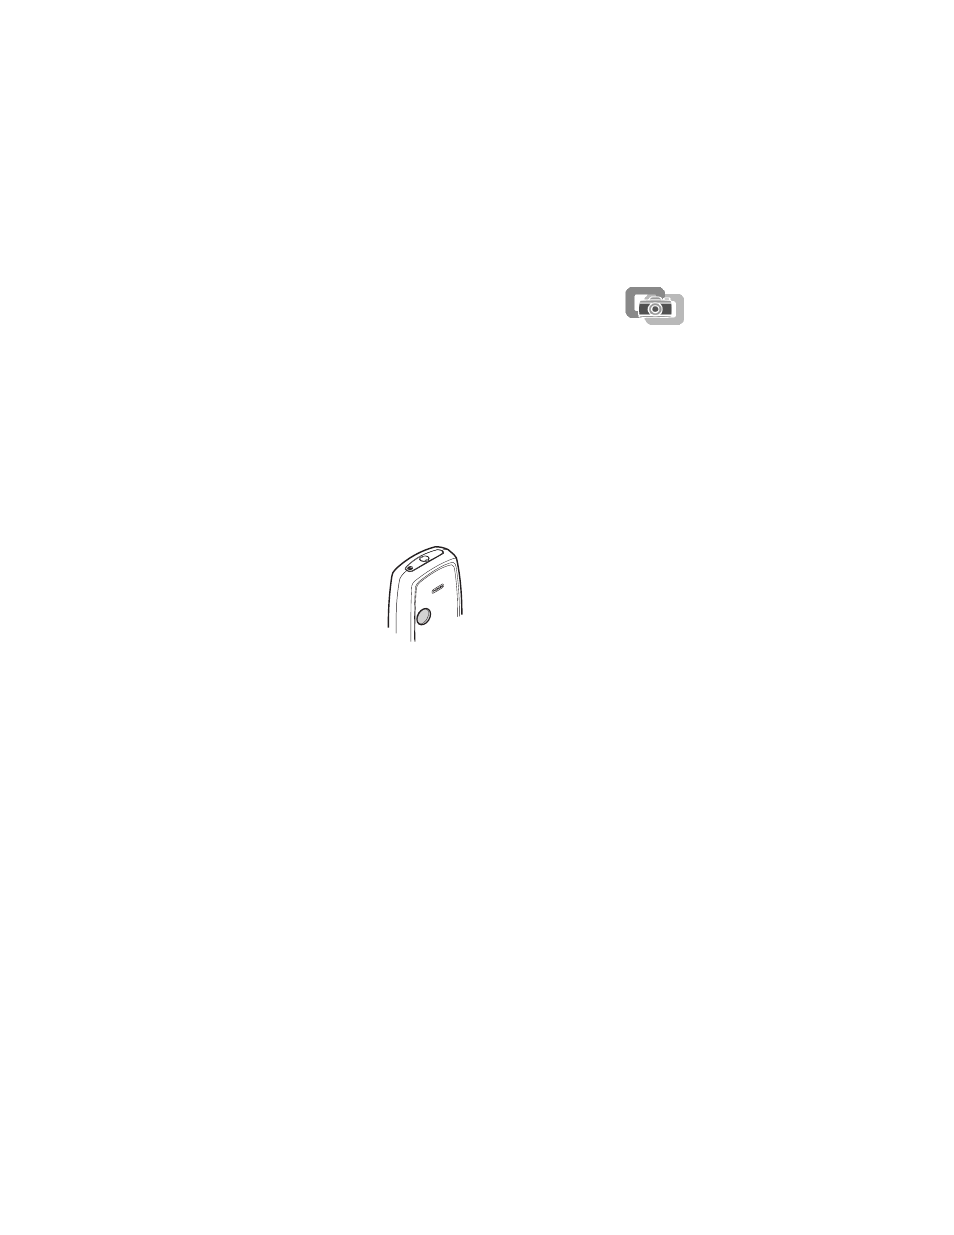
11. Camera (Menu 7)
With the phone’s built-in camera,
you can take a photo and save the
photo to the
Gallery
menu or attach
the photo to an entry in your
contacts list. The camera lens is on
the back of the phone, and the
display of the phone works as a
viewfinder. The camera produces
JPEG images.
■ Take a
photo
1. At the standby
screen, select
Menu
>
Camera
>
Standard
photo
,
Portrait
photo
or
Night mode
and press
Select
.
Standard photo
— When you
want to take normal landscape
photos.
Portrait photo
— When you want
to take a smaller icon-sized,
vertical photo, which can be
added to an entry in your
contacts list.
Night mode
— To take a photo
when the lighting is dim and the
camera needs a longer exposure
time for the photo to be of good
quality.
2. Press
Capture
to take the photo.
When taking a photo, a shutter
sound is heard. The phone saves
the photo in the
Images
folder of
the
Gallery
menu. The saved
photo is shown on the display.
3. Select
Back
to take another
photo, or press
Options
and
choose from one of the
following:
Zoom
— Get a closer look at the
captured photo; use the
Four-way scroll key to navigate
around the photo.
Delete
— Erase the captured
photo from the
Images
folder in
the
Gallery
menu.
Send — Send this photo
Rename
— Enter or edit the name
of the captured photo and press
OK
.
Open Gallery
— Open the
Images
folder in the
Gallery
menu.
Change mode
— Change from
Standard photo
to
Portrait
photo
or vice versa.
Set contrast
— Use the Scroll
right key or Scroll left key to
adjust the contrast of the
captured photo.