4 setup > fuel – Navman 5380 User Manual
Page 44
TRACKER 5380 Installation and Operation Manual
44
NAVMAN
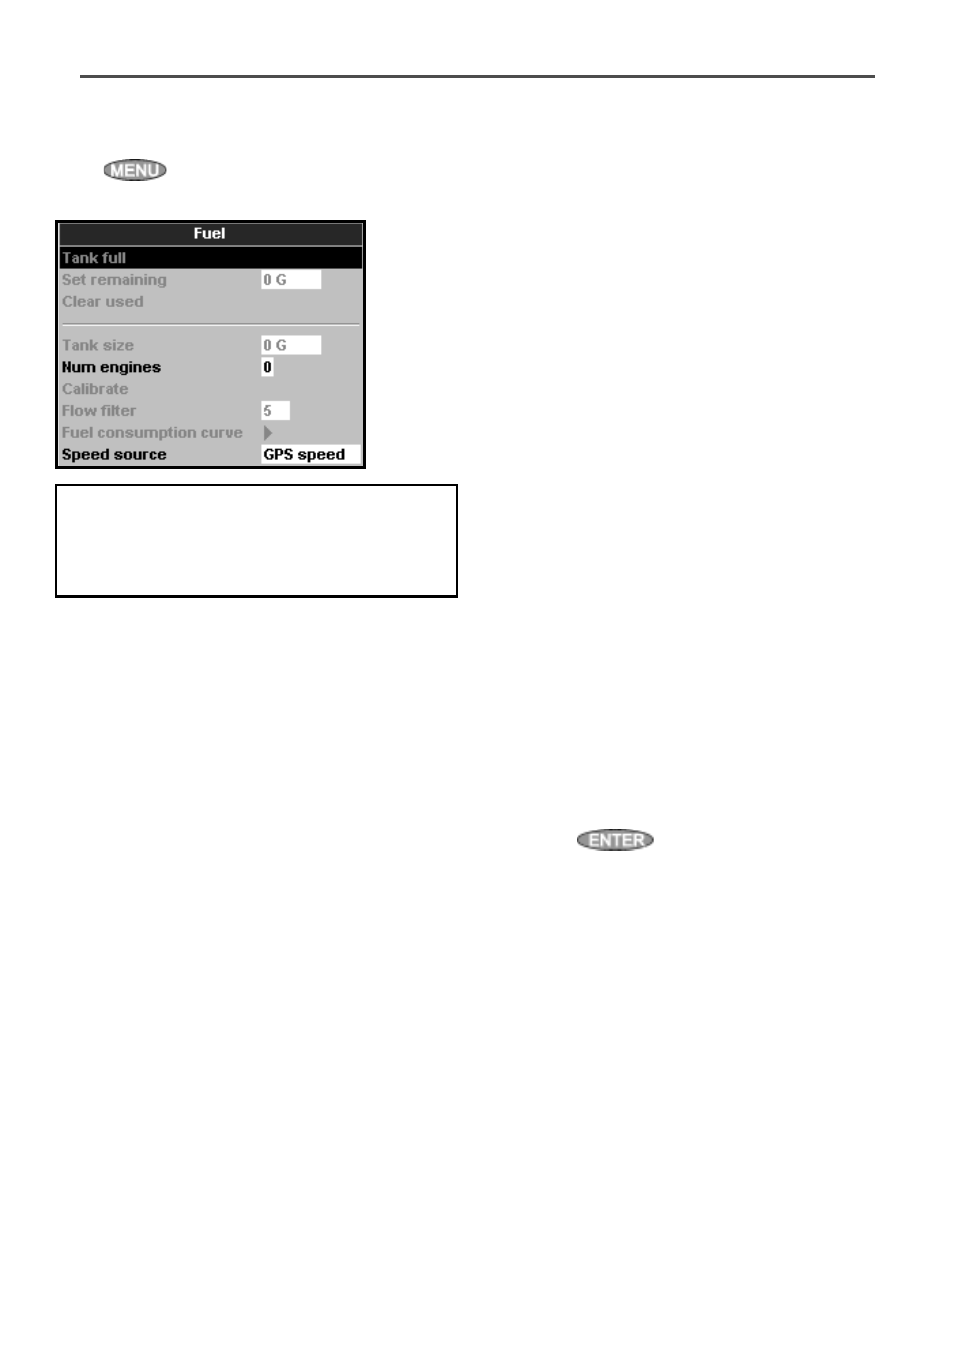
Fuel setup requires optional petrol/gasoline
or SmartCraft sensors to be installed. Set
Num
engines
first to enable the fuel functions.
Press
one or more times until the
Setup
menu is displayed, then select
Fuel:
Tank full
Tells the TRACKER you have filled a fuel tank
(see section 10-1).
Set remaining
Tells the TRACKER you have added or removed
fuel (see section 10-1).
Clear Used
Select
Clear used
to set
Used
(the
amount of fuel used) to zero. Do this to start
measuring the amount of fuel used over a
certain time or distance.
Tank size
Enter the capacity of the fuel tank. Navman
recommends measuring tank size by draining
the fuel tank, filling it to capacity and using the
fuel dispenser’s reading. Beware of air pockets,
especially in underfloor tanks.
Num. engines
Set the number of engines to
0,
1
or
2.
If
0
is
selected the fuel features are turned off.
Calibrate
SmartCraft fuel sensors are factory calibrated
and should never need recalibrating.
Calibrating Navman petrol/gasoline sensors
gives more accurate fuel values.
14-4 Setup > Fuel
Warning: Fuel consumption can change
drastically depending upon the boat
loading and the sea conditions. Always carry
adequate fuel for the journey, plus a reserve.
Twin engine installations require each fuel
transducer to be calibrated. This can be done
at the same time with two portable tanks or at
different times using one portable tank.
Calibrating the fuel transducer(s) requires
accurate measurement of the fuel
consumption. This is best done using a small
portable tank. At least 4 gallons (15 litres) of
fuel should be used to ensure an accurate
calibration.
It is often very difficult to fill underfloor tanks
to the same level twice due to air pockets, so
the more fuel used, the more accurate the
calibration.
To calibrate the fuel transducer(s), perform the
following steps:
1. Record the level of the fuel in the tank(s).
2. Connect the portable tank(s) to the engine
through the fuel transducer(s).
3. Run the engine at normal cruising speed
until at least 4 gallons (15 litres) of fuel has
been used per engine.
4. Check the actual amount of fuel used per
engine by refilling the portable tank(s) to
the original level and noting the reading(s)
from the fuel dispenser’s gauge.
5. Select
Fuel.
Use the cursor keys to
change the reading for each engine to
match that on the fuel dispenser’s gauge.
6. Press
when the reading is correct.
Note: If the fuel calibration options appear
to give erroneous readings after a while,
first check that the fuel sensor has been
installed correctly according to the installation
instructions supplied with it, then see
Appendix B - Troubleshooting.
Flow filter
Most engines do not draw fuel from the tank at
a steady rate. To give a stable fuel flow reading,
the TRACKER calculates the flow value(s) by
taking several measurements and averaging
them. Use the Flow filter to set the period over
which the fuel flow is averaged.