Configuring dx8100 atm/pos communication options – Pelco DX8100 User Manual
Page 84
84
C2629M-A (6/07)
CONFIGURING DX8100 ATM/POS COMMUNICATION OPTIONS
Once you have installed the ATM/POS device(s), you must configure the DX8100 to communicate with the ATM/POS device(s). This section
describes how to set up DX8100 ATM/POS options. For more information about configuring DX8100 ATM/POS options, refer to the DX8100
Operations and Programming Manual or the DX8100 server online Help.
To configure the DX8100 to communicate with the ATM/POS device(s):
1. On the DX8100 toolbar, click
. The Setup dialog opens to the Camera page.
2. In the Setup dialog box, click
. The Network page is displayed.
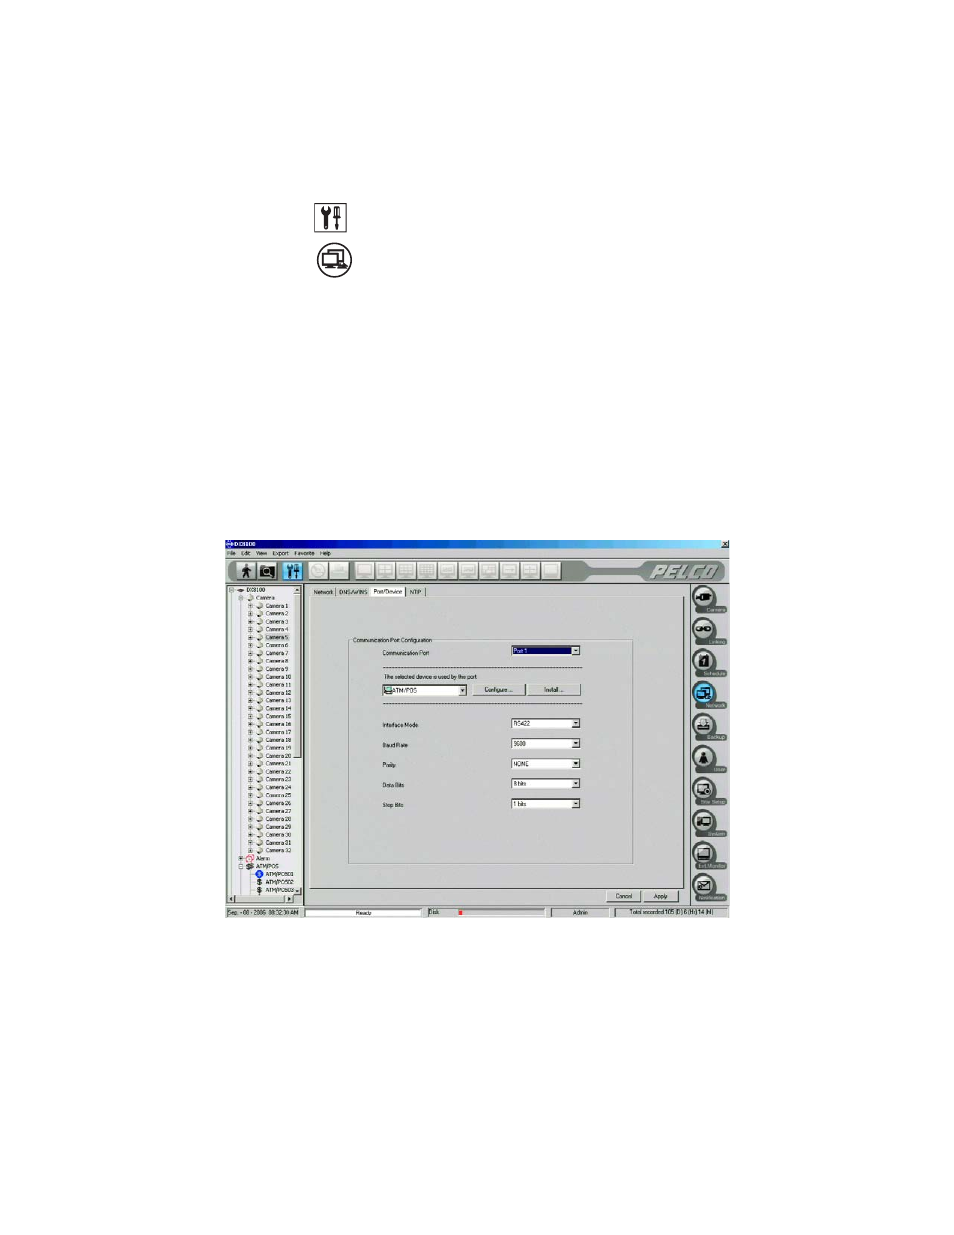
3. In the Network page, click the Port/Device tab. The Port/Device page is displayed.
4. Do the following:
a.
In the Communication Port drop-down box, select a port (COM1 or Port 1 to Port 4).
b.
In the device drop-down box, select ATM/POS.
c.
Configure the following port settings using the drop-down boxes provided.
•
Interface mode
•
Baud rate
•
Parity
•
Data bits
•
Stop bits
Figure 108. Port/Device Page