Image menu – Planar PR Line PR9020 User Manual
Page 31
29
IMAGE Menu
IMAGE Menu
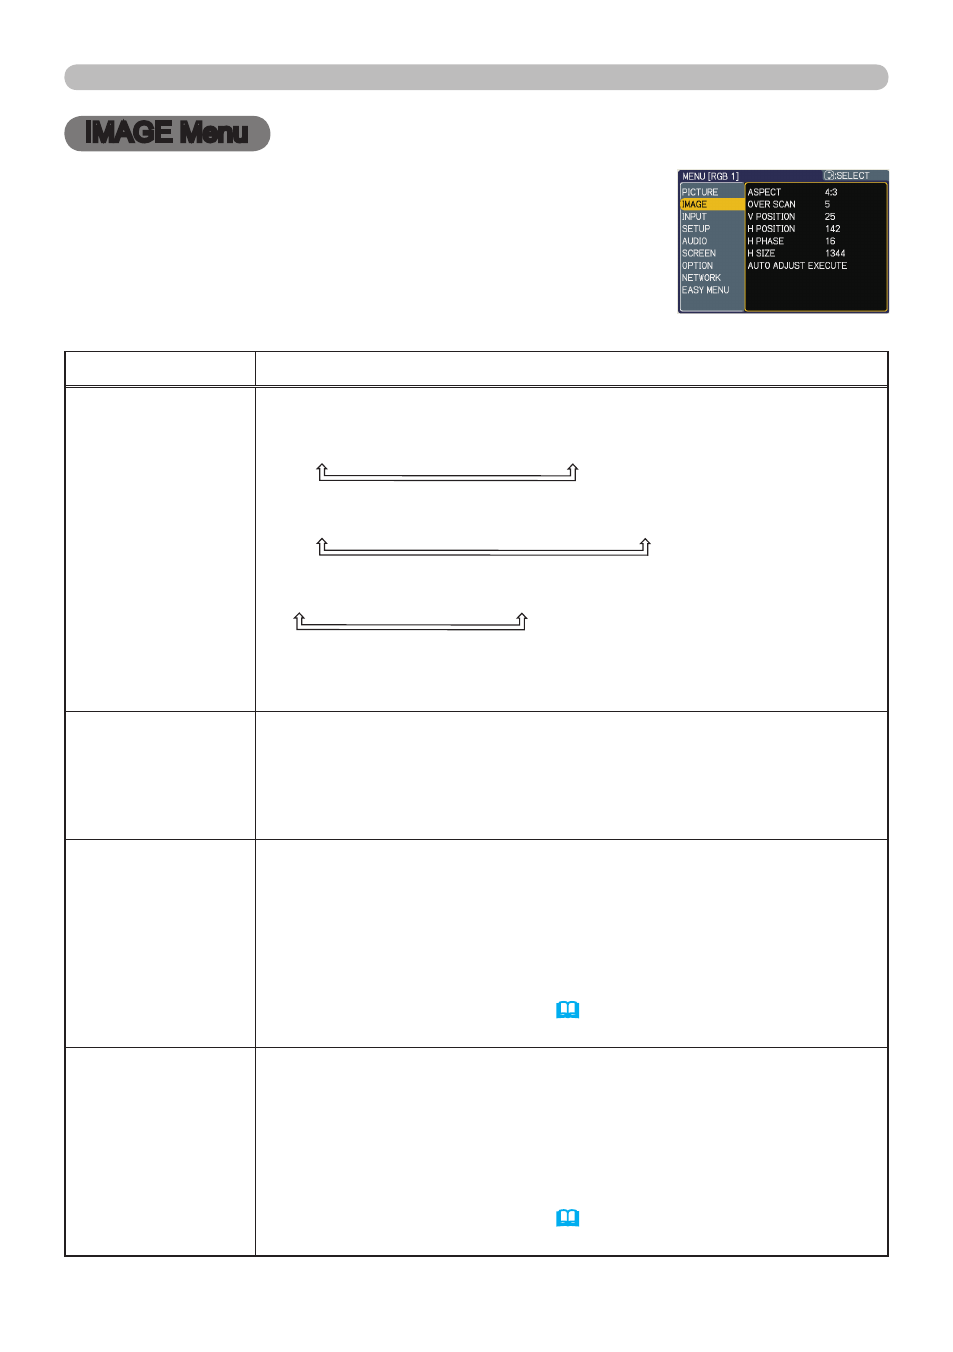
From the IMAGE menu, items shown in the table below
can be performed.
Select an item using the ▲/▼ cursor buttons on the
projector or remote control, and press the ► cursor button
on the projector or remote control, or ENTER button on
the remote control to execute the item. Then perform it
according to the following table.
Item
Description
ASPECT
Using the ▲/▼ buttons switches the mode for aspect ratio.
For an RGB signal
NORMAL у 4:3 у 16:9 у SMALL
For an HDMI signal
NORMAL у 4:3 у 16:9 у 14:9 у SMALL
For a Video signal, S-video signal or Component video signal
4:3 у 16:9 у 14:9 у SMALL
For no signal
4:3 (fixed)
• The NORMAL mode keeps the original aspect ratio of the signal.
OVER SCAN
Using the ▲/▼ buttons adjusts the over-scan ratio.
Large (It reduces picture) ó Small (It magnifies picture)
• This item can be selected only for a video, s-video, component and HDMI signal.
• When this adjustment is too large, certain degradation may appear
at the frame area of the picture. In such a case, please adjust small.
V POSITION
Using the ▲/▼ buttons adjusts the vertical position.
Up ó Down
• Over-adjusting the vertical position may cause noise to appear on the screen. If this
occurs please reset the vertical position to the default setting. Pressing the RESET button
when the V POSITION is selected will reset the V POSITION to the default setting.
• When this function is performed on a video signal, s-video signal, or component video
signal of 525i (480i) or 625i (576i) input from the COMPONENT port, the range of this
adjustment depends on the OVER SCAN (above) setting. It is not possible to adjust
when the OVER SCAN is set to 10.
H POSITION
Using the ▲/▼ buttons adjusts the horizontal position.
Left ó Right
• Over-adjusting the horizontal position may cause noise to appear on the screen. If this
occurs please reset the horizontal position to the default setting. Pressing the RESET
button when the H POSITION is selected will reset the H POSITION to the default setting.
• When this function is performed on a video signal, s-video signal, or component video
signal of 525i (480i) or 625i (576i) input from the COMPONENT port, the range of this
adjustment depends on the OVER SCAN (above) setting. It is not possible to adjust
when the OVER SCAN is set to 10.
(continued on next page)