Copying still pictures, Press [functions, Press [ , ] to select “copy” and press [enter – Panasonic SC-RT50 User Manual
Page 28
28
RQT8655
Copying still pictures
[RAM] [SD]
pYou can use SD Memory Cards with capacities from 8 MB to 2 GB
(
➡ page 7).
pYou cannot copy still pictures recorded on CD-R/CD-RW.
[Note]
pWhen copying the still pictures on a folder by folder basis or using
“Copy All Pictures (JPEG)” function (
➡ right), files other than the
still picture files inside the folder will also be copied. (This does not
apply to the lower folders contained inside the folders.)
pIf still pictures are already contained inside the copying destination
folder, the new still pictures are recorded following the existing still
pictures.
pIf the space on the destination drive runs out or the number of files/
folders to be copied exceeds the maximum (
➡ page 19), copying
will stop partway through.
pWhen a name has not been input for the copying source folder, it is
possible that this folder’s name will not be the same on the copying
destination. It is recommended that you input a folder name before
copying (
➡ page 27, Album Name).
pYou cannot copy the information about the print number setting
(DPOF) or the picture rotation.
pThe sequence in which the still pictures are registered on the
copying list may not be the same at the copying destination.
Preparation
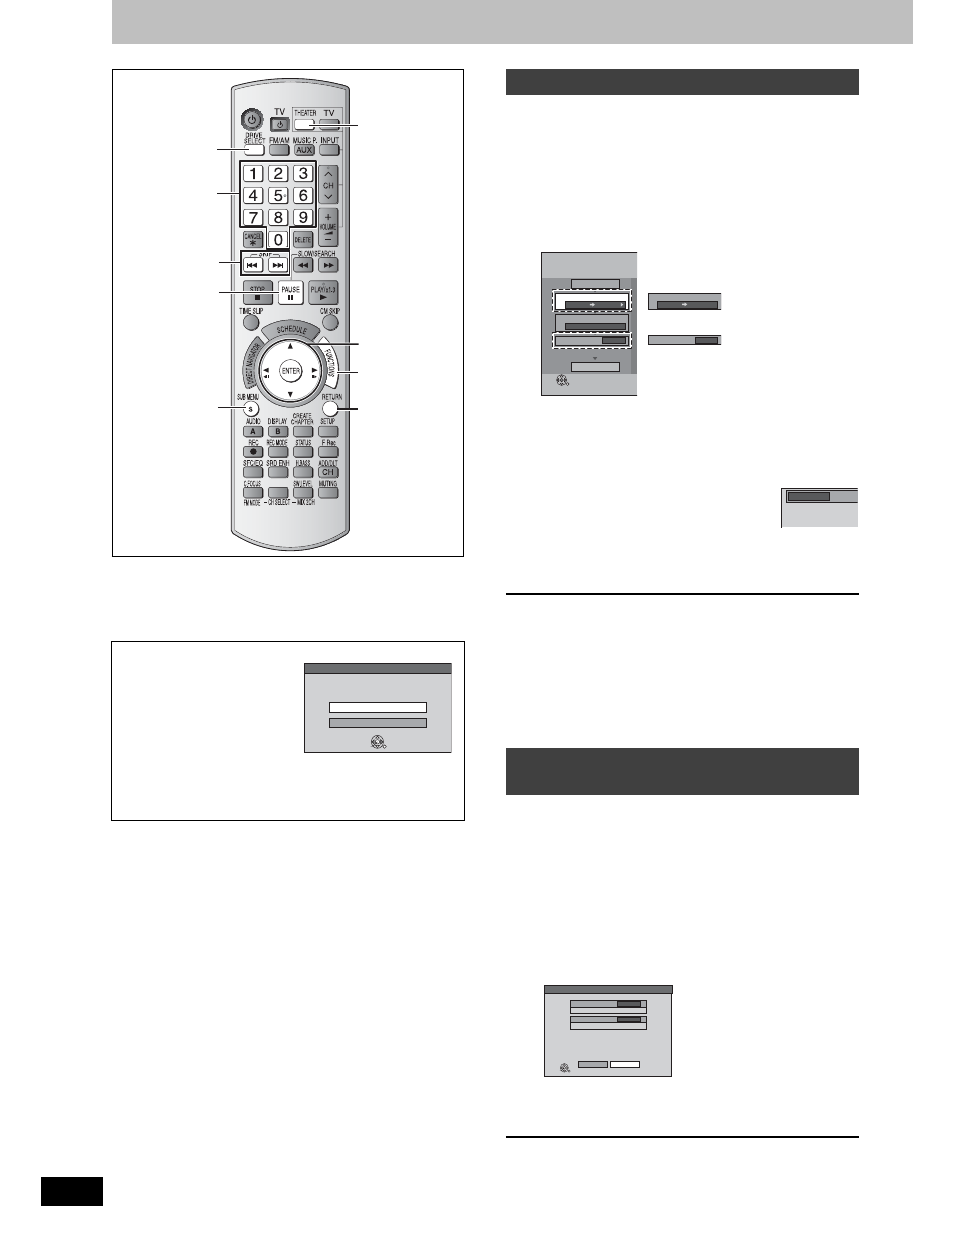
pPress [THEATER] to switch the remote control to operate this unit.
pPress [DRIVE SELECT] to select the DVD or SD drive.
pInsert a disc (
➡ page 12) and/or card (➡ page 8).
pRelease protection (
➡ page 32).
1
While stopped
Press [FUNCTIONS].
2
Press [
, ] to select “Copy” and
press [ENTER].
3
Press [
, ] to select items and
press [
] to make settings.
“Recording Mode” is automatically set to “High Speed”. You
cannot change “Mode” setting.
4
Press [
, ] to select “Start
Copying” and press [ENTER].
pFor individual still pictures only
When specifying another folder as the
copying destination, select “Folder”.
5
Press [
, ] to select “Yes” and
press [ENTER] to start copying.
w To cancel all settings
1 Press [
, ] to select “Cancel All” and press
[ENTER].
2 Press [
, ] to select “Yes” and press [ENTER].
The settings and lists may be cancelled in the following situations.
–When a title or still picture has been recorded or deleted at the copy
source.
–When steps have been taken, for instance, to turn off the unit,
remove the card, open the tray, change the copying direction, etc.
Preparation
Press [DRIVE SELECT] to select the SD drive.
1
While stopped
Press [FUNCTIONS].
2
Press [
, ] to select “Other
Functions” and press [ENTER].
3
Press [
, ] to select “Copy all
Pictures” and press [ENTER].
4
Press [
, ] to select “Copy” and
press [ENTER] to start copying.
To return to the previous screen
Press [RETURN].
To stop copying partway
Press and hold [RETURN] for 3 seconds.
[SD]
While stopped and SD card has
been inserted, “SD Card
Operations” screen (
➡ right) is
automatically displayed.
Press [
, ] to select “Copy
pictures” and press [ENTER].
You can proceed to step 4 of
“Copying all the still pictures on a
card – Copy All Pictures (JPEG)” (
➡ right).
pTo exit the screen
Press [RETURN].
SRD MUSIC
, , ,
ENTER
,
SUB MENU
RETURN
DRIVE
SELECT
FUNCTIONS
THEATER
Numbered
buttons
SD Card Operations
SD Card inserted.
Select an action or press RETURN.
Go to Album View
Copy pictures
ENTER
Copying using the copying list
Copying all the still pictures on a card
–Copy All Pictures (JPEG)
S
SUB MENU
S
Copy
Start Copying
Cancel All
Copying Direction
DVD
SD card
1
Mode
Picture High Speed
2
3
Create List
o
Copying Direction
DVD
SD card
1
3
Create List
o
Refer to “Copying
settings”
(
➡ page 29).
New f
Do you want to cr
Folder
Copy All Pictures (JPEG)
Copy from
SD card
Copy to
DVD
ENTER
Cancel
Copy
Copy all pictures (JPEG) in the card.