Installing drivers for network printing – Lexmark C522 User Manual
Page 19
Windows
19
Installing drivers for network printing
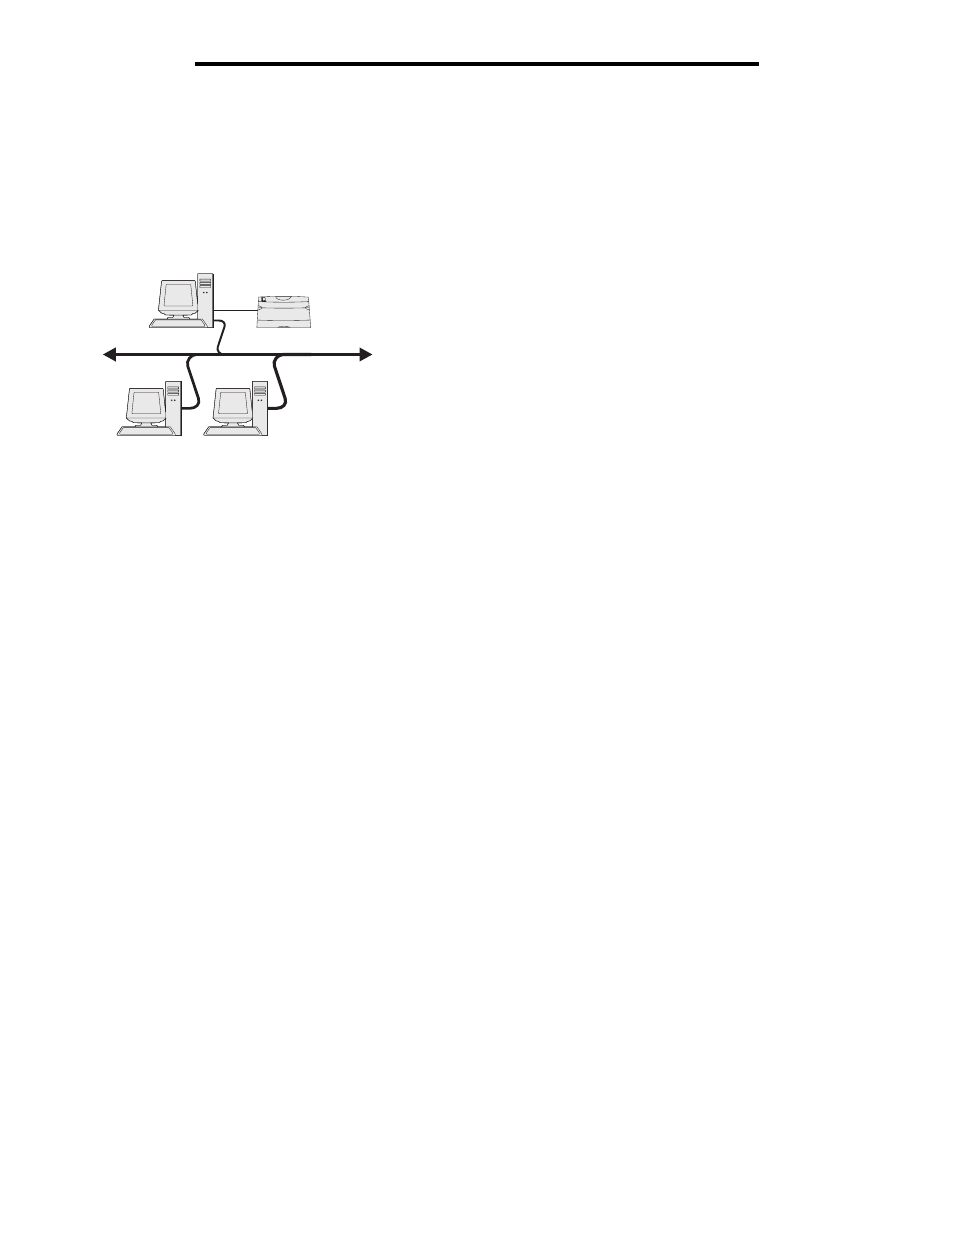
Shared printing using Windows NT 4.0, Windows 2000, Windows XP, or
Windows Server 2003
Note: Install the printer software before connnecting the USB cable.
After connecting the printer to a Windows NT 4.0, Windows 2000, Windows XP, or Windows Server 2003 computer (which
will act as a server), follow these steps to configure the network printer for shared printing:
1
Install a custom printer driver.
a
Launch the drivers CD.
b
Click Install Printer and Software.
c
Click Agree to accept the license agreement.
d
Select Suggested, and click Next.
The Suggested option is the default installation for local and network-attached setup. To install utilities,
change settings, or customize device drivers, select Custom, and follow the instructions on the screen.
e
Select Local Attach, and click Finish.
Follow the instructions on the screen. It may take some time for the drivers to load.
f
Close the drivers CD installer application.
g
Connect the USB cable, and turn on the printer.
The Plug and Play screen appears, and a printer object is created in the Printers folder of the computer. The
printer is shared in step 2: “Share the printer on the network.”
h
Print a test page to verify printer installation.
2
Share the printer on the network.
a
Click Start
Æ
Settings
Æ
Printers.
b
Select the printer just added.
c
Click File
Æ
Sharing.
d
Select the Shared as check box, and enter a name in the text box.
e
In the Alternate Drivers section, select the operating systems of all the network clients that will print to the
printer.
f
Click OK.
Note: If files are missing, prompts may appear to request the server operating system CD.
Server
Clients
Printer