Lexmark 6500 Series User Manual
Page 95
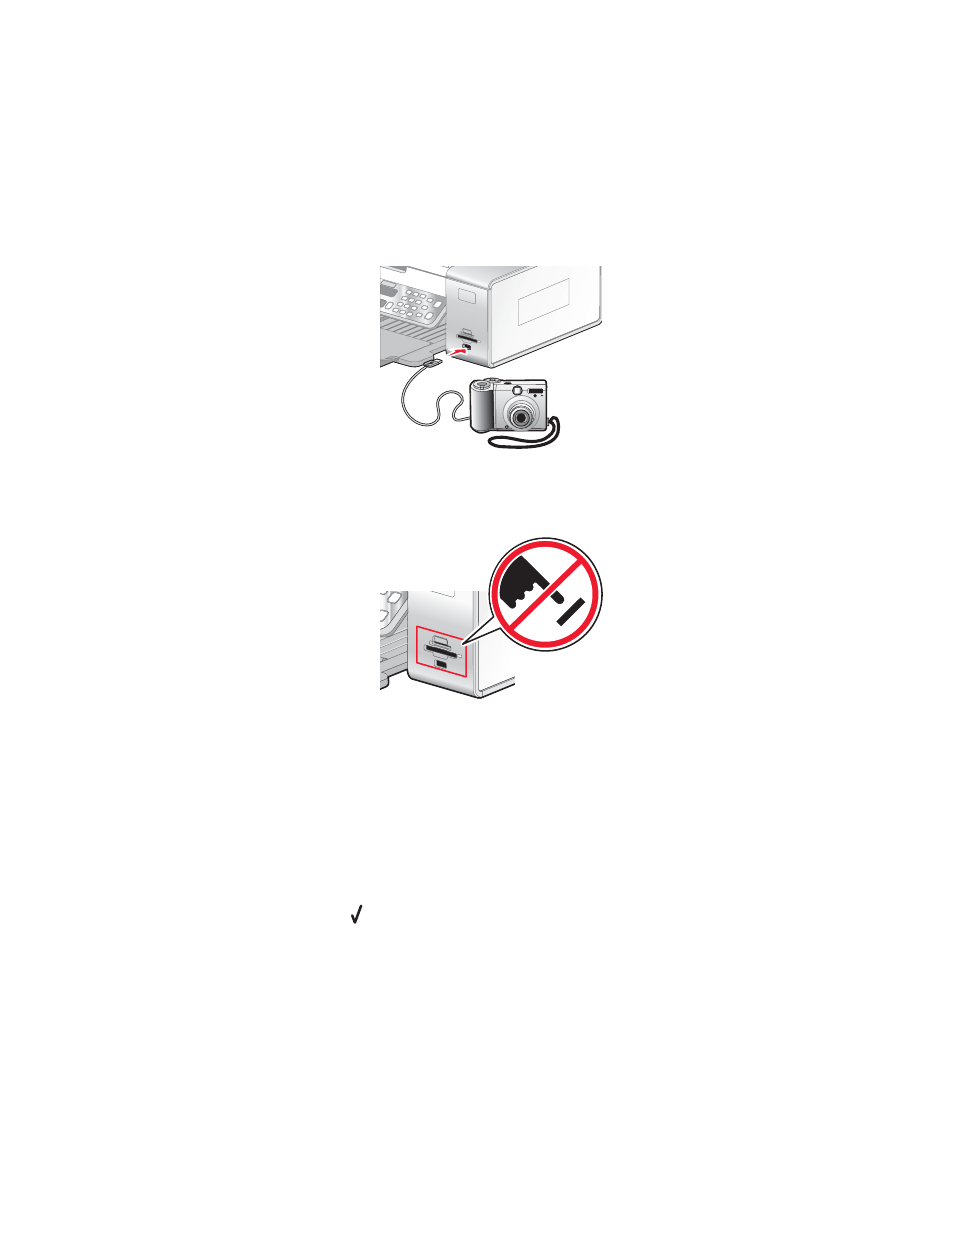
Using a PictBridge-enabled digital camera to control printing photos
You can connect a PictBridge-enabled digital camera to the printer, and use the buttons on the camera to select and
print photos.
1
Insert one end of the USB cable into the camera.
Note: Use only the USB cable that came with the digital camera.
2
Insert the other end of the cable into the PictBridge port on the front of the printer.
Warning: Do not touch the USB cable, any network adapter, or the printer in the area shown while actively
printing from a PictBridge-enabled digital camera. A loss of data can occur. Also, do not remove the USB cable
or network adapter while actively printing from a PictBridge-enabled digital camera.
Notes:
•
Make sure the PictBridge-enabled digital camera is set to the correct USB mode. For more information, see
the camera documentation.
•
The printer recognizes one active media device at a time. If you insert more than one media device, a
message appears on the display prompting you to designate the device you want the printer to recognize.
•
If you have a memory card inserted when you connect a PictBridge-enabled camera, an error message will
be displayed telling the you to remove one of the devices.
•
If the PictBridge connection is successful, the following appears on the printer display: PictBridge
camera detected. Press
to change settings. If any other message appears, see “Error
messages on the computer screen” on page 197.
•
Values selected within the menu items are the settings used for Pictbridge printing if no explicit selection is
made from the camera.
3
Follow the instructions in the camera documentation to select and print photos.
Note: If the printer is turned off while the camera is connected, you must disconnect and then reconnect the camera.
95