Connecting a pictbridge-enabled digital camera – Lexmark 6500 Series User Manual
Page 81
6
Press
or
repeatedly until the size you want appears.
7
Press .
8
Press
to go to the Paper Type submenu.
9
Press .
10
Press
or
repeatedly until the setting type you want appears.
11
Press .
12
Press
repeatedly until Defaults appears.
13
Press .
14
Press
or
repeatedly until Photo Print Size appears.
15
Press .
16
Press
or
repeatedly until the setting you want appears.
17
Press .
Connecting a PictBridge-enabled digital camera
PictBridge is a technology available in most digital cameras that lets you print directly from your digital camera without
using a computer. You can connect a PictBridge-enabled digital camera to the printer, and use the camera to control
printing photos.
1
Insert one end of the USB cable into the camera.
Note: Use only the USB cable that came with the camera.
2
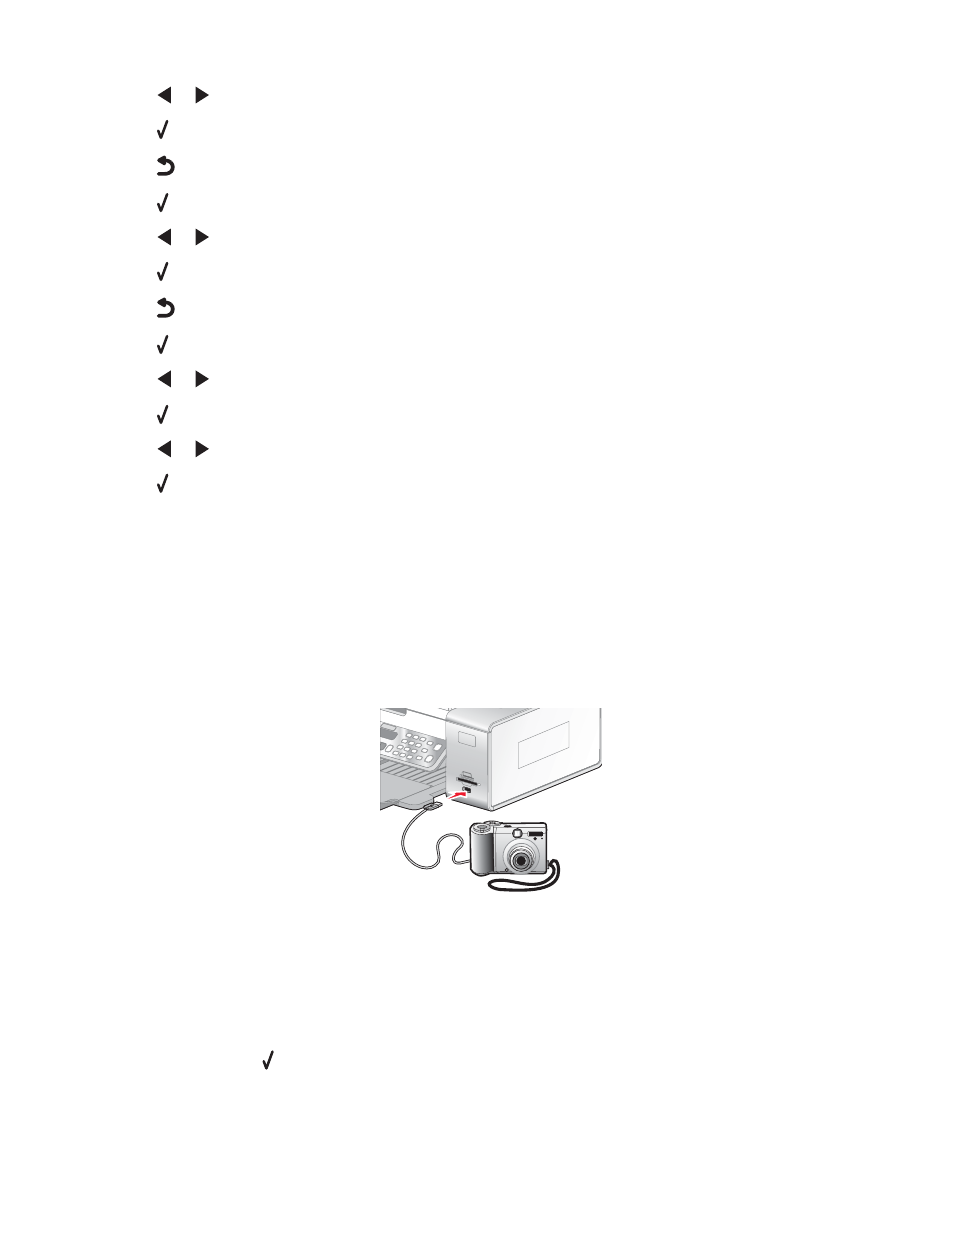
Insert the other end of the cable into the PictBridge port on the front of the printer.
Notes:
•
Make sure the PictBridge-enabled digital camera is set to the correct USB mode. If the camera USB selection
is incorrect, the camera will be detected as a USB storage device, or an error message will be displayed on
the control panel of the printer. For more information, see the documentation that came with your camera.
•
The printer reads only one media device at a time.
3
If the PictBridge connection is successful, the following appears on the display: PictBridge Camera
detected. Press
to change the settings.
81