Scanning to a computer over a network, Saving a scanned image on the computer – Lexmark 6500 Series User Manual
Page 109
8
Press .
Note: Pressing selects a setting. An asterisk (*) appears next to the selected setting.
9
To go into additional submenus and settings, repeat pressing
or
repeatedly until the submenu item or the
setting you want appears, and then press .
10
If needed, press
repeatedly to return to the previous menus and make other setting selections.
11
Press Start Color or Start Black.
Use this
To
Quality
1
Adjust the quality of a scan.
Original Size
1
Specify the size of the original document.
1
Temporary setting. For information on saving temporary and other settings, see “Saving settings” on page 39.
Scanning to a computer over a network
Make sure:
•
The printer is connected to the network through a print server, and the printer and computer receiving the scan
are on.
•
The printer is configured to scan over a network (Direct IP Printing).
1
Load an original document facedown on the scanner glass.
2
From the control panel, press Scan Mode.
3
Press
or
repeatedly until the computer to which you want to scan is highlighted.
4
Press .
5
Press
or
repeatedly until the scan destination you want appears.
6
Press Start Color or Start Black.
Saving a scanned image on the computer
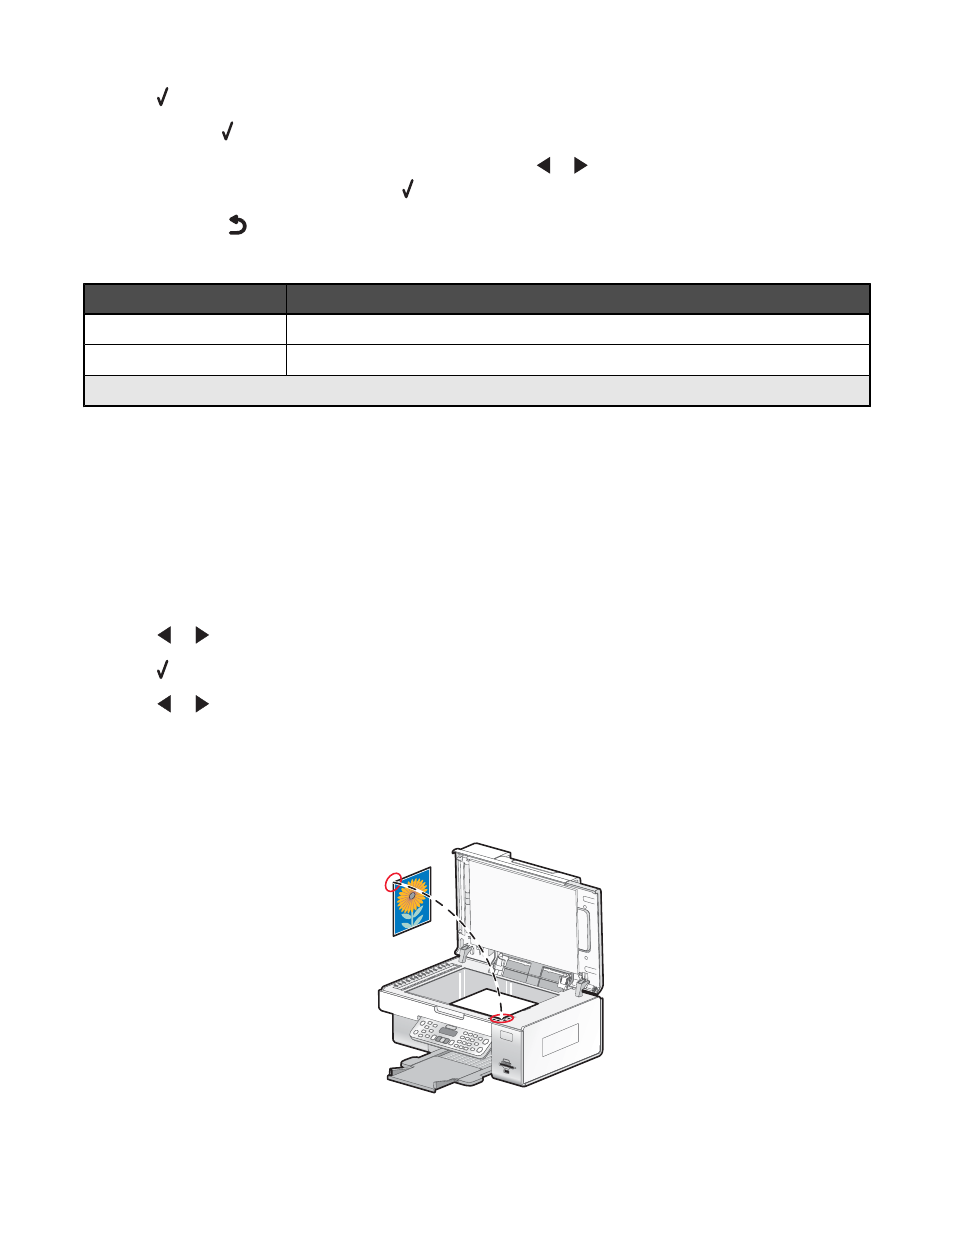
1
Load an original document facedown on the scanner glass.
109