Using the play menu, Cont’d) – Konica Minolta REVIO KD-420Z User Manual
Page 99
99
Using the PLAY Menu
(Cont’d)
7
6
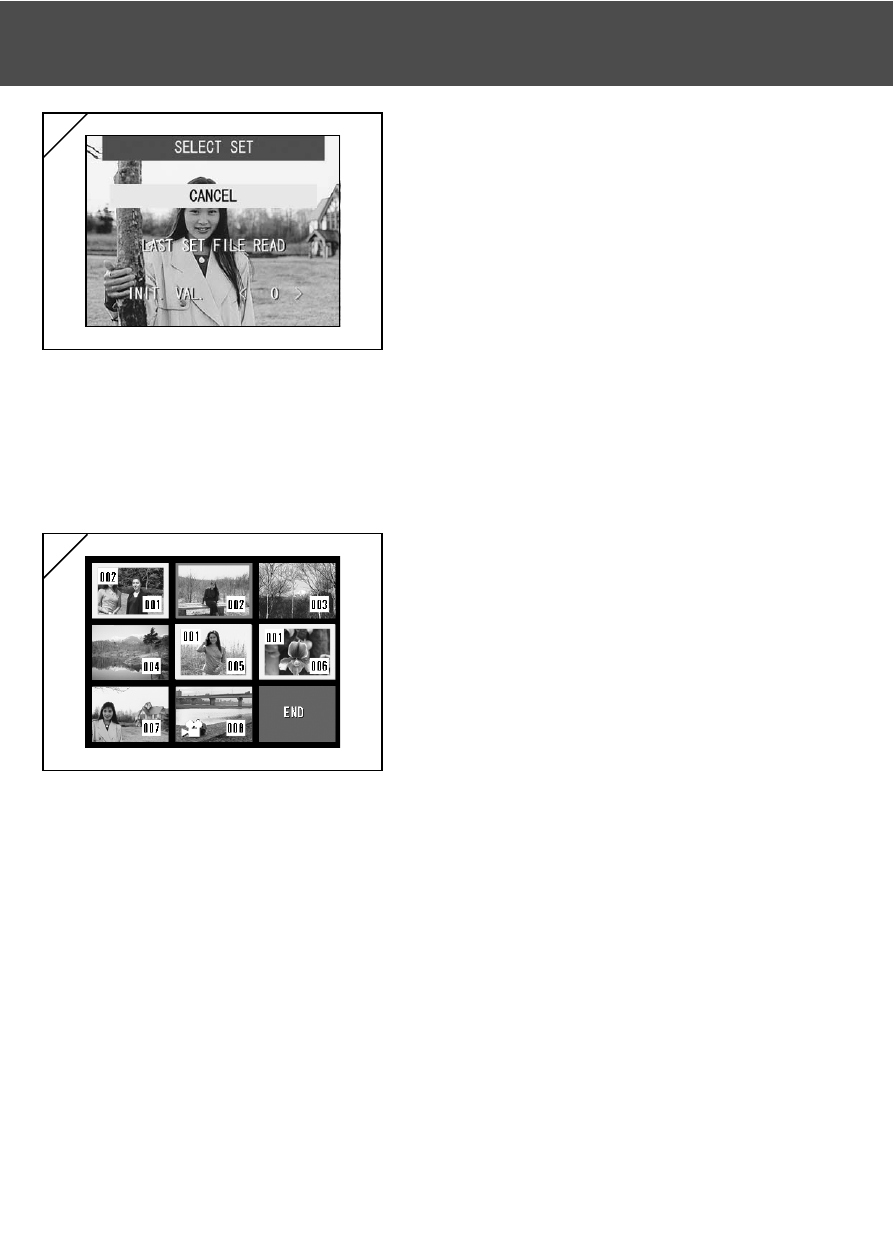
6. The “SELECT SET” screen appears.
Use the
̆ or ̄ button to select “LAST
SET FILE READ” or “INIT. VAL. <0>”
and then press the SET/DISP. button.
• If you do not want to specify any DPOF
settings, select “CANCEL” and press the
SET/DISP. button.
• By selecting “LAST SET FILE READ”, you can re-use the file containing the previous
print settings. If the previous settings are not stored in a file, this option is grayed out
and cannot be selected. In this event, select “INIT. VAL. <0>”.
• By selecting “INIT. VAL. <0>” and pressing the
̇ or ̈ button, you can reset all the
frames to their default values beforehand.
7. An 8-frame image is displayed.
Use the
̇, ̈, ̆ or ̄ buttons to move
the red frame around the screen. Using
the red frame to select an image allows
you to change or set (or cancel) the
DPOF settings for the image.
- Images for which prints have been specified are surrounded by a yellow frame and
the number of prints specified is shown in the top-left corner of the image. By using
the red frame to select an image and pressing the zoom buttons (T and W), you can
increase or decrease the number of prints.
- If you use the red frame to select an image with no prints specified and then press
the SET/DISP button, the number prints for that image is set to 1. You can then use
the zoom buttons (T and W) to increase or decrease the number of prints.
• If you press the
̇ button at the first frame or the ̈ button at the last frame, the
screen changes to show the previous 8 frames or next 8 frames.
8. To exit the selection screen, use the
̇, ̈, ̆ or ̄ button to select “END”
and then press the SET/DISP. button. (Proceed to p.100-10.)