Metering – exposure compensation – Konica Minolta 9 User Manual
Page 27
Select setting 2 to view the exposure compensation value in the
data panel when the exposure compensation dial is set to a value
other than 0.
More exposure is recommended when the scene is
primarily white tones.
Less exposure is recommended when the scene is
composed of darker tones or shadows.
51
50
METERING – Exposure Compensation
1. Set the exposure compensation dial to +/– 0 EV.
Changing to 1/3 EV Increments
2. Pull the exposure-compensation
dial up, then rotate it 180°.
• The camera may be damaged if the exposure
compensation dial is not set to 0 EV before
pulling it up.
3. Set the exposure compensation dial down
at
0
on the 1/3 EV increment side.
• The exposure may be incorrect if the exposure
compensation dial is not seated properly.
• The meter index scale changes to 1/3EV increments.
• Shutter speed and aperture will change in 1/3 EV
increments.
4. Set the desired compensation value.
1. Unlock the exposure compensation dial.
Especially helpful when using the spot or
center weighted metering patterns, exposure
compensation lets you manually adjust the
metered exposure +/– 3 EVs in 1/2 or +/– 2
EVs in 1/3 EV increments.
Compensated Exposure
Metered Exposure
2. Rotate the exposure compensation
dial to the desired compensation
value.
• The compensation value is indicated in the meter
index.
The effect is most visible when slide film is being used.
Exposure compensation
dial lock
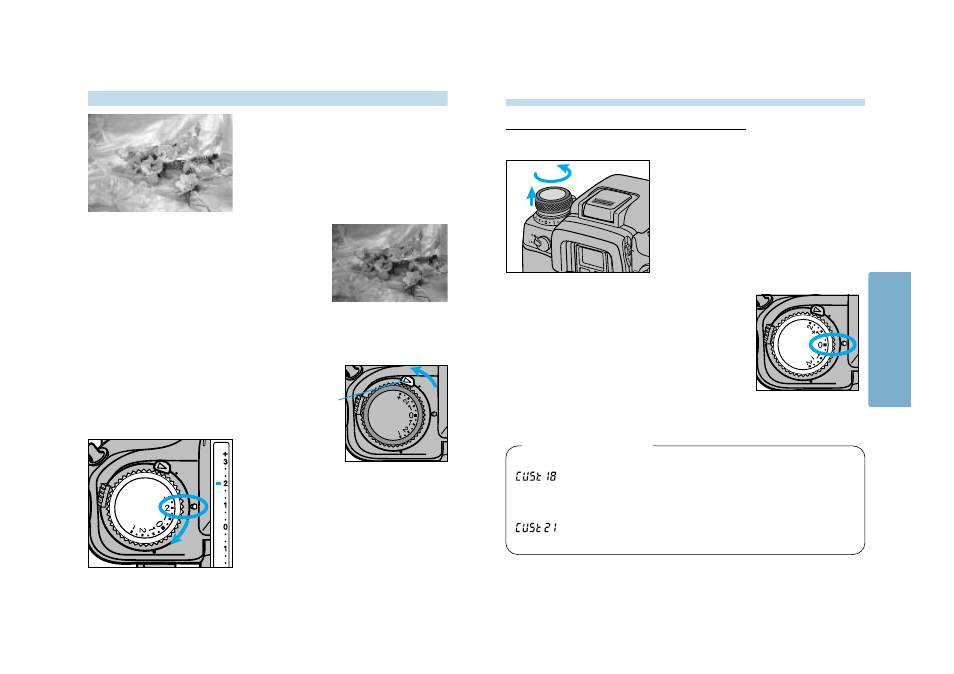
Select setting 3 to change the exposure compensation value using
the rear control dial in A, S, and P modes.
• A +/– 3 EV range is available for 1/3 EV increments in this setting.
Custom Function Notes
METERING