Packet operation, Packet – 1 packet mode, Data band – Kenwood TH-D72E User Manual
Page 38: Full duplex
PACKET OPERATION
Connect this transceiver to your personal computer via a Terminal Node Controller (TNC). You can send messages
or commands to far away stations, obtain a variety of information via your local bulletin boards, or enjoy other Packet
applications. Reference material for starting Packet operation should be available at any store that handles Amateur
Radio equipment.
Note: When the distance between the radio antenna and your personal computer is too close, interference may occur.
PACKET – 1
PACKET MODE
This transceiver has a built-in TNC which conforms to the
AX.25 protocol. This protocol is used for communications
between TNCs.
For the commands supported by the built-in TNC, see
“TNC COMMANDS LIST”.
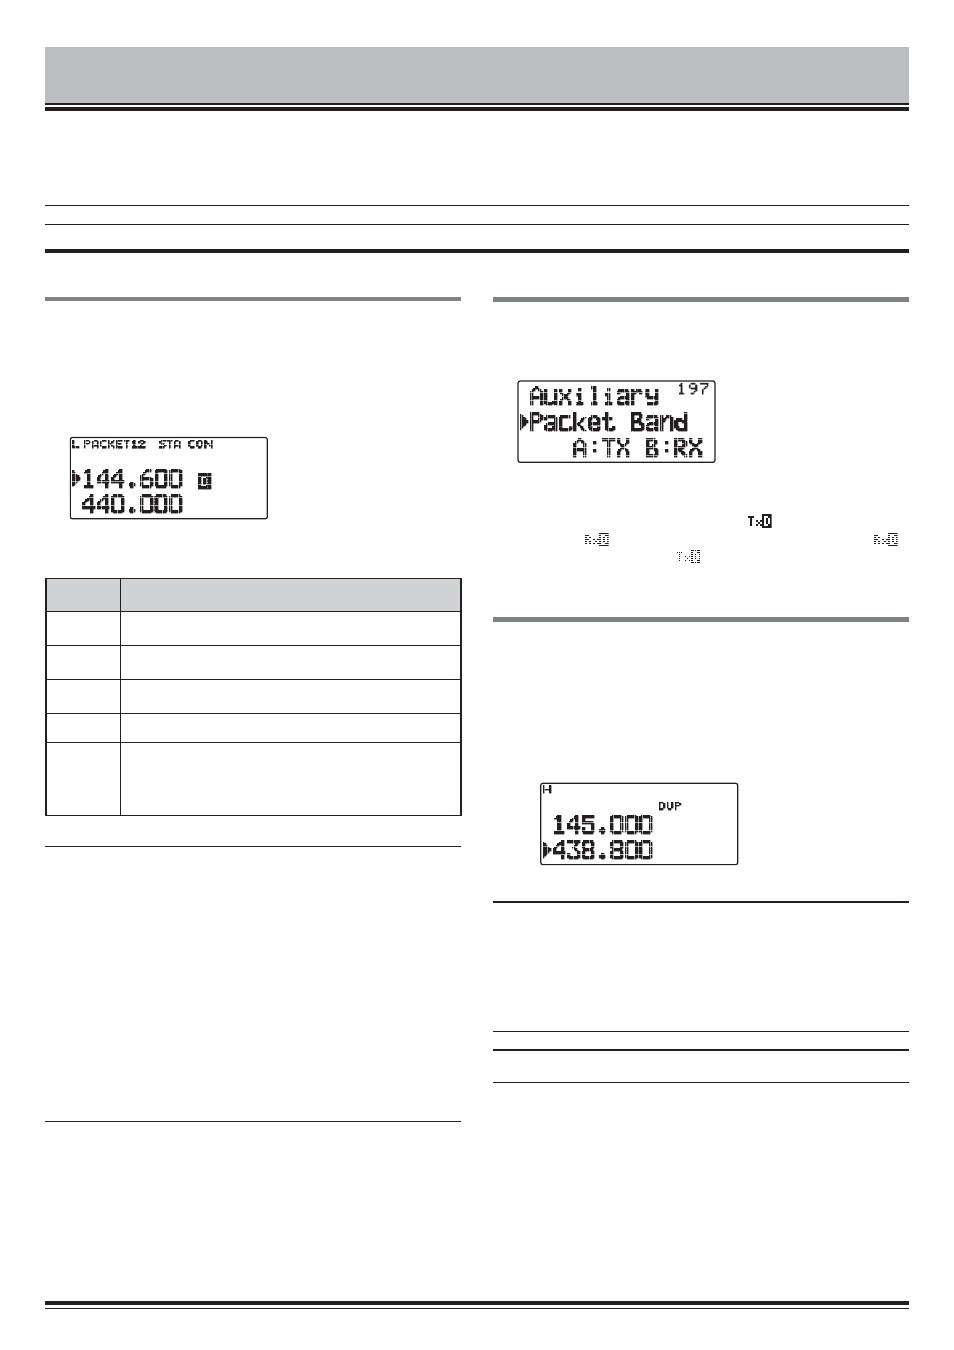
Press [TNC] 2 times to enter PACKET mode.
The following indicators appear on the transceiver display
to show the current TNC status:
Indicator
Status
PACKET
The TNC is in Packet mode.
STA
Packets to be transmitted still remain in the buffer.
CON
The TNC is in connection with the target station.
12
1200 bps transfer rate selected
96
9600 bps transfer rate selected
(To set it to 9600bps, use the HB 9600 (or HBAUD
9600) TNC command. This cannot be changed
through the TH-D72 menu.)
Note:
X Not all functions available via conventional TNC’s are supported
by the TNC built in this transceiver.
X The built-in TNC could be automatically reinitiated when
its malfunction is detected; this does not designate that the
transceiver is defective.
X The internal TNC is a 2-chip type that does not have an SRAM
backup. Therefore, the settings made using commands in Packet
mode (such as MYCALL) will be reset when the power is switched
Off and then back On.
X To distinguish your various stations or nodes, you can have up
to 15 Secondary Station Identifiers (SSIDs); ex. W6DJY-1 to
W6DJY-15. You always have to put a dash between your call sign
and SSID number.
X Packet operation, easily affected by transmit and receive
conditions, requires a full-scale S-meter reading for reliable
communication. When the S-meter reads less than maximum
during 9600 bps operation, communication errors are frequent.
DATA BAND
Select how data will be transmitted and received on your
transceiver.
1 Enter Menu mode and access Menu 197.
2 Set the data band to “A-Band” (A band receives and
transmits), “B-Band” (B band receives and transmits),
“A: TX B:RX” (A band transmits (
) and B band
receives (
)), or “A: RX B:TX” (A band receives (
)
and B band transmits (
)).
FULL DUPLEX
This transceiver is also capable of simultaneously
transmitting and receiving signals. So, it is possible to
transmit audio on the current band while receiving packet
data on another band (data band).
1 Set the operation band to Band B.
2 Press [F], [DUP] to enter Full Duplex mode.
•
“DUP” appears.
To exit Full Duplex mode, press [F], [DUP] again.
Note:
X When the operating band is Band A, you cannot change to Full
Duplex mode.
X When in single band mode, and Band A/B is set to VHF/VHF or
UHF/UHF, you cannot change to Full Duplex mode.
X When using the Full Duplex function, connect an earphone to the
SP jack. Using an earphone will prevent feedback that can cause
the transceiver to emit a howling sound.
ATTENTION: Use only after verifying that there is no reception
disruption during communications.