Adjusting the slip printer’s dot alignment – Star Micronics SCP700 User Manual
Page 23
19
ENGLISH
Adjusting the slip printer’s dot alignment
You may never have to use the procedure described in this section, but after you
have been using your printer for some time you may find that the dots of some
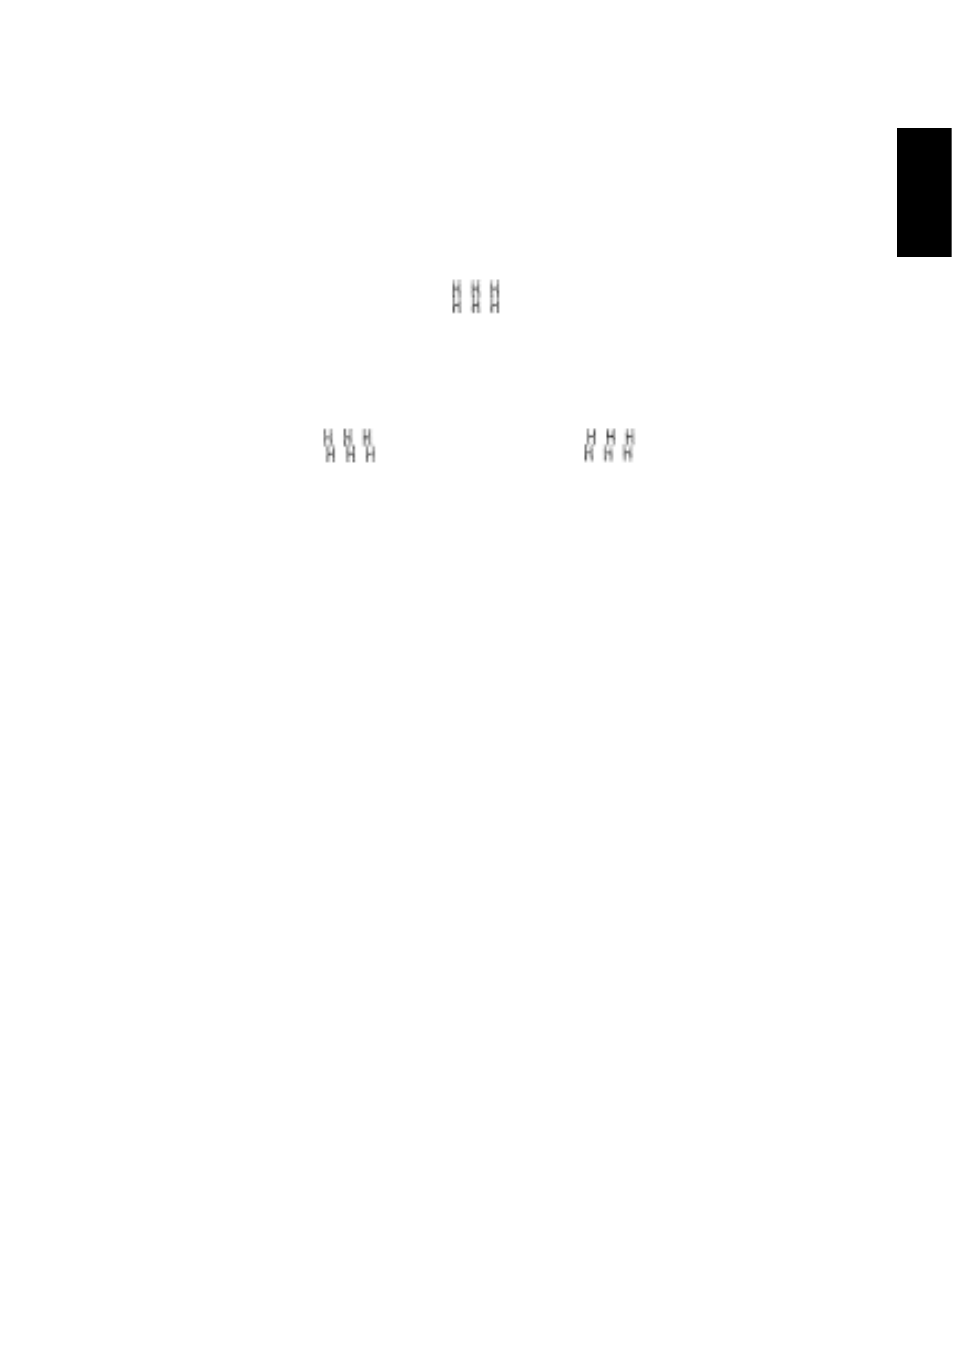
graphics do not align correctly. For example, what should look like:
may come out looking like one of the following:
This is caused when mechanical parts of the printer get out of alignment. This
happens only rarely and you may never experience it at all throughout the life
of the printer. If you do have problems, use the following procedure to correct it.
❏
Execute the test print
❏
When the slip printer produce the test print, hold down the control panel’s
RECEIPT
and
SLIP/RESUME
buttons, to enter the Dot Alignment
Adjust Mode. The
POWER
indicator flashes slowly to indicate this mode.
Entering the Dot Alignment Adjust Mode causes seven blocks of characters to
be printed as shown below. An asterisk to the left of the blocks indicates which
setting is currently selected. Use the
RECEIPT
button to specify which block
has the best aligned characters. Press
RECEIPT
once to specify the first block,
twice to specify the second block, and so on up to seven times to specify the
seventh block. Pressing the
RECEIPT
button more than seven times specifies
the seventh block, no matter how many times it is pressed.
or like this