1 preparations for recording – Sony DVW-250 User Manual
Page 36
4-1 Preparations for Recording
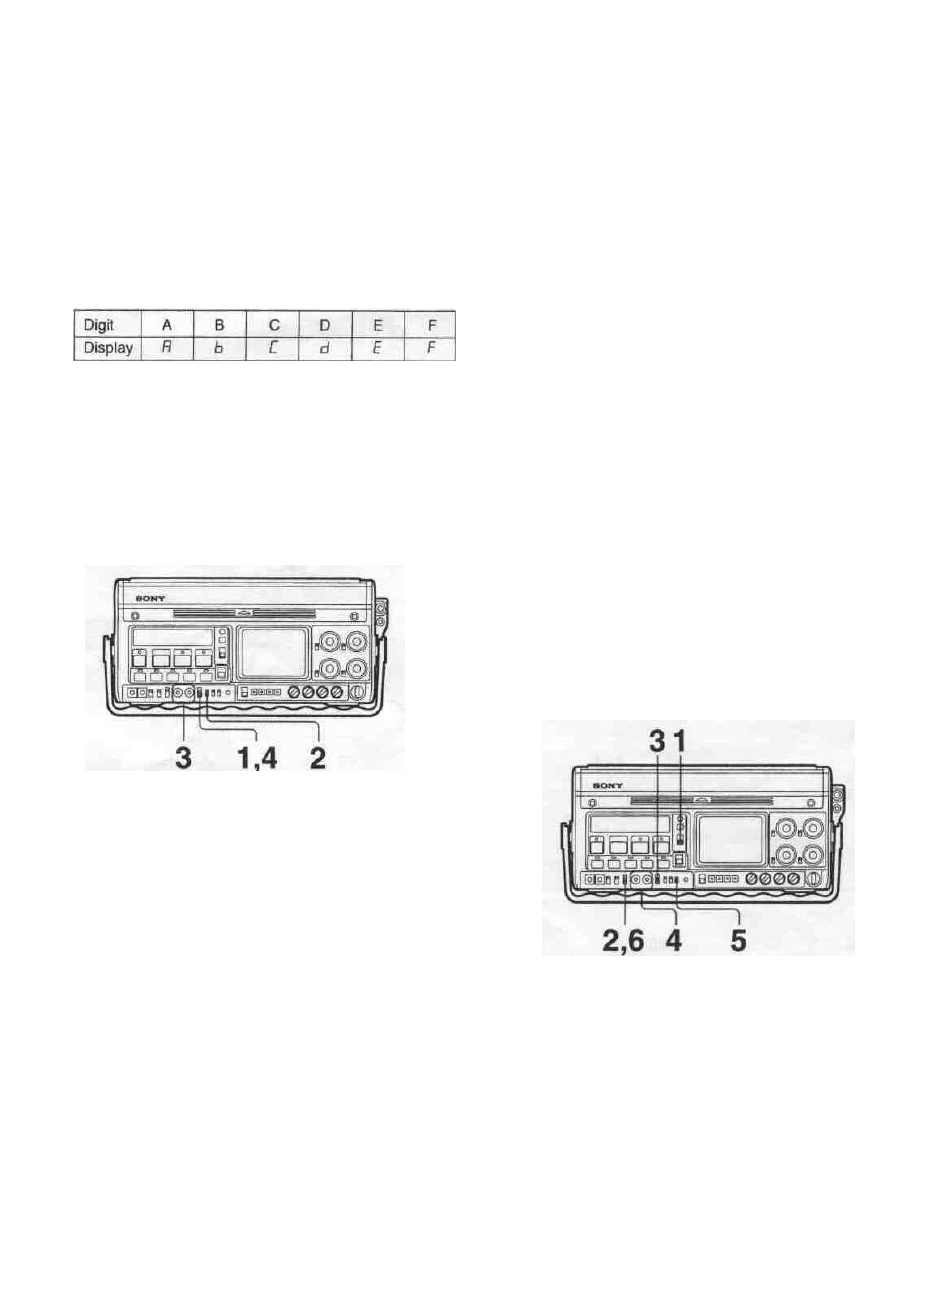
4 Use the SHIFT button and ADVANCE button to
set the user bit value.
SHIFT button: Cycles through the digits, flashing
the digit to be changed.
ADVANCE button: Increments the value of the
flashing digit.
Hexadecimal digits A to F appear in the seven-
segment display as follows:
• Set the REAL TIME record/set switch to REC ON
or OFF.
REC ON: During recording, the real time is
recorded in the user bits.
OFF: The real time is not, in fact, recorded in the
user bits, but the internal clock continues to
operate, keeping the value in step with real
time.
5 Set the F-RUN/R-RUN switch to F-RUN or R-
RUN.
Setting the user bits to reflect the real time
With this setting you can record the real time on the
tape.
Setting the user bits to reflect the real time
1 Set the REAL TIME record/set switch to SET.
2 Use the REAL TIME insertion time code selection
switch to select which time code to insert the real
time user bit value in.
LTC U-BIT: Insert the user bit value in the LTC.
VITC U-BIT: Insert the user bit value in the
VITC.
3 Use the SHIFT button and ADVANCE button to
set the real time value.
SHIFT button: Cycles through the digits, flashing
the digit to be changed.
ADVANCE button: Increments the value of the
flashing digit.
Checking the real time
1 Set the DISPLAY switch by the status indication
panel to U-BIT.
2 Set the REAL TIME record/set switch to REC ON.
3 Set the DISPLAY switch in the time code setting
controls to LTC or VITC.
Whether the real time is being inserted into the
LTC or VITC depends on the setting made in step
2 of the procedure for setting the user bits to reflect
the real time on the previous page.
Setting the time code value
Setting the time code value
1 Set the DISPLAY switch by the status indication
panel to TC.
2 Set the F-RUN/R-RUN switch to SET.
4-8 Chapter 4 Recording