Final assembly – Star Trac Pro S User Manual
Page 18
For units with scale system
(PRO ELITE)
, connect the cables
tagged 715-3418 RIGHT and 715-3418 LEFT from the display to
connectors P1 and P2, respectively, on the load cell interface.
7.
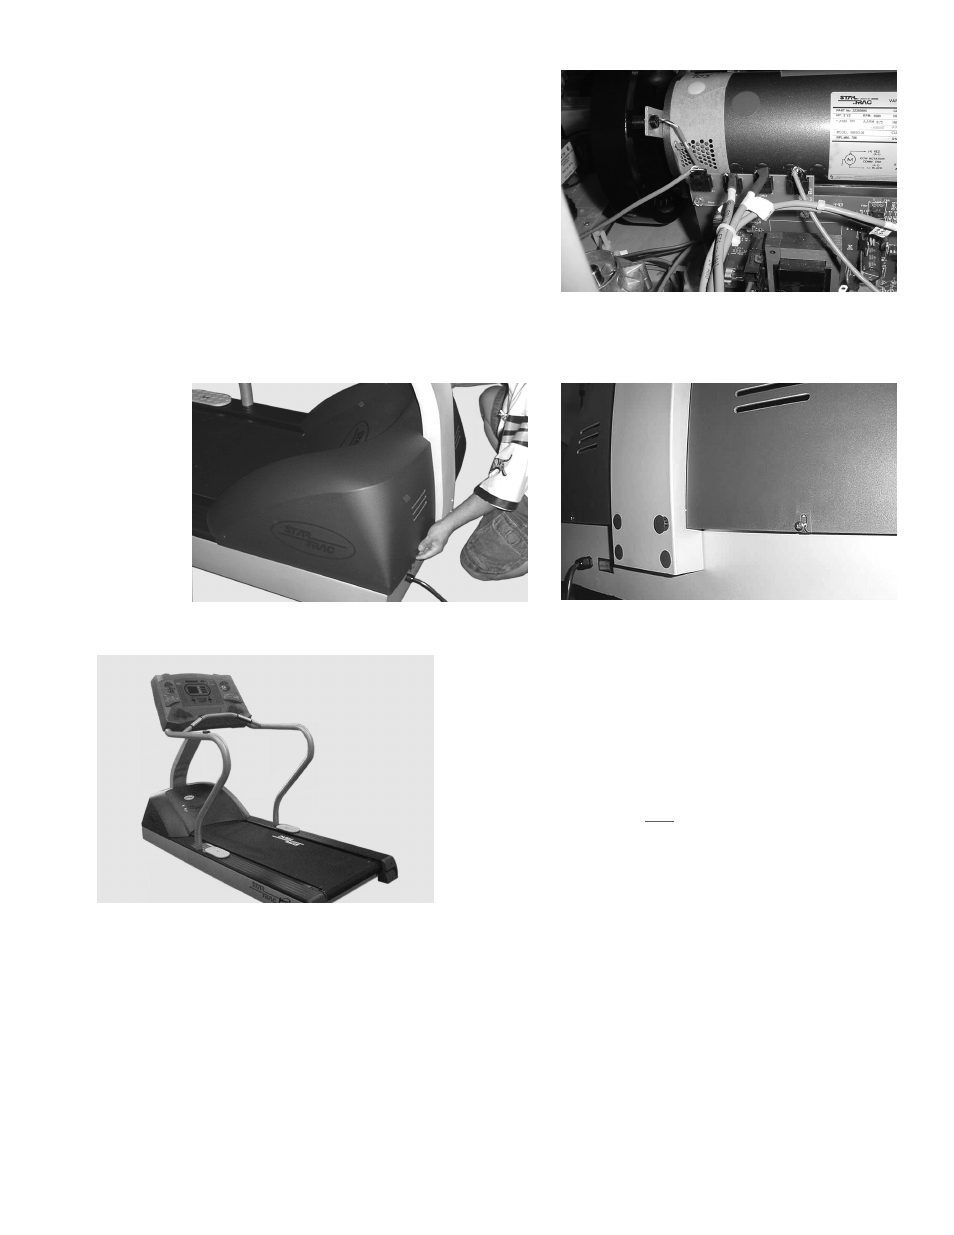
Final Assembly
Re-install the shroud over the motor compartment, and secure in place with the previously removed screws. Insert the
four plastic buttons into the screw access holes at the bottom of the neck assembly.
Securely tighten all hardware installed during assembly. If neces-
sary, level your treadmill using the two adjustable feet under the
tailroller. Loosen the lock nuts, rotate the feet until the treadmill is
stabilized, and retighten the lock nuts.
NOTE: Perform a visual inspection, and test the features and func-
tions of the unit, prior to use.
The weight scale system on your STAR
TRAC PRO ELITE Treadmill has undergone a detailed system cal-
ibration at our factory and does not require calibration after the
unit has been removed fro its original factory packaging.
You have now completed the assembly of your STAR TRAC
PRO S /
PRO / PRO ELITE
TREADMILL.
16
STAR TRAC PRO S / PRO / PRO ELITE TREADMILL O
WNER
’
S
M
ANUAL
Step 6c
Step 7a
Step 7b