Setup menu, E-85, Setup menus – JVC BD-X200E User Manual
Page 51: E-86, Disc menu screen, Input select menu screen
E-85
English
Setup Menus
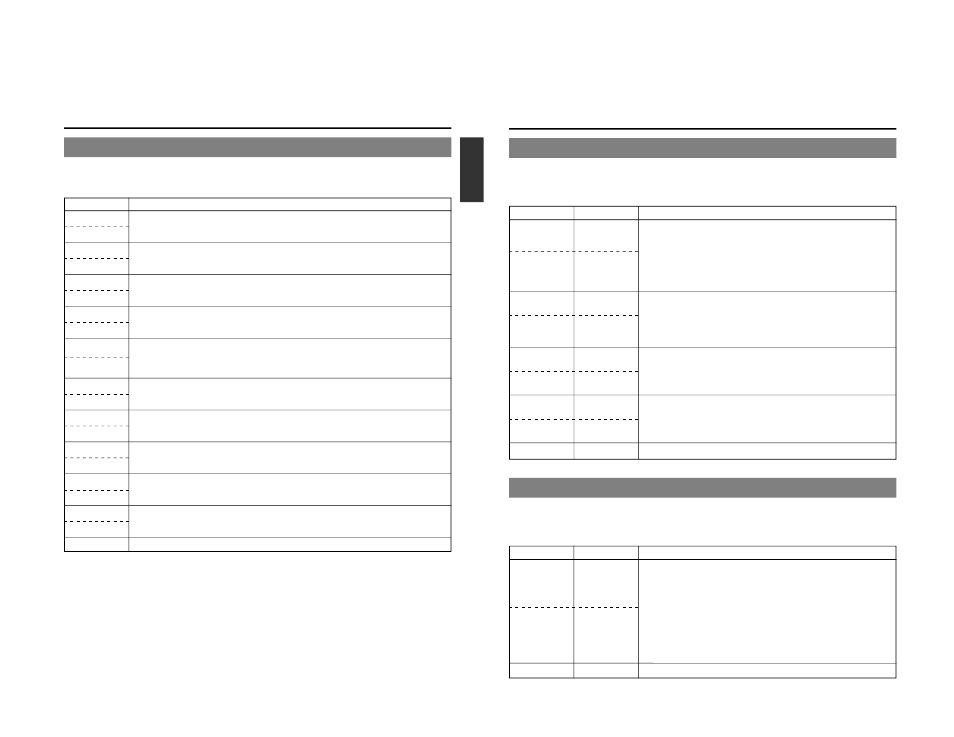
The following table identifies and describes the parameters that may be set using the Setup Menus.
Top half
: Appearance on monitor screen
Bottom half : Appearance on LCD display
Option
Description
DISC MENU
dISC MENU
INPUT SELECT
INPUT SEL
SYSTEM
SYSTEM
PRESET STYLE
PRESET
RECORDER
RECoRdER
REMOTE
REMoTE
DISPLAY
dISPLAY
CLOCK ADJUST
CLoCK
DUBBING
dUb
NETWORK
NETWoRK
EXIT
This button opens a menu that allows settings to be made for finalizing and other similar disc processes.
This button opens a menu that allows input audio and video signals to be selected.
This button opens a menu that allows settings to be made for the DVD recorder itself.
This button opens a menu that allows settings to be made for title-menu and chapter-menu display styles.
This buttons opens a RECORDER MENU screen containing two different pages of parameters.
The RECORDER MENU (1/2) screen allows settings to be made for the chapter creation method and the
encoding of audio and video.
The RECORDER MENU (2/2) screen allows the settings required for recording to be made.
This button opens a menu that allows settings to be made for remote operations via the DVD recorder’s
RS-422A or DV terminal. In addition, this menu also allows indication of whether or not the REC CONTROL
panel is to be displayed.
This button opens a menu that allows settings to be made for the display of status and alarm information
on the TV or monitor screen.
This button opens a menu that allows setting of the internal clock’s date and time.
This button opens a menu that allows settings to be made for DVD dubbing.
This button opens a menu that allows network settings to be made for LAN terminal usage.
This button is selected to return to the normal screen display.
E-86
Setup Menu
DISC MENU Screen
The following table identifies and describes the parameters that may be set using the DISC MENU screen.
Top half
: Appearance on monitor screen
Bottom half : Appearance on LCD display
[ ]
: Default setting
Parameter
Possible settings
Description
FINALIZE
[CANCEL]
EXECUTE
FINAL
[CAN]
EXE
CANCEL DISC
[CANCEL]
FINALIZATION
EXECUTE
CAN FIN
[CAN]
EXE
DISC ERASE
[CANCEL]
(QUICK)
EXECUTE
q ERASE
[CAN]
EXE
DISC ERASE
[CANCEL]
(FULL)
EXECUTE
F ERASE
[CAN]
EXE
MENU
This parameter indicates whether or not the recorded disc is to be finalized. If a disc
recorded using this DVD recorder is to be played on a DVD player, it must first be
finalized. Once finalizing has been carried out, no addition recordings can be made
on the disc.
CANCEL
: Finalizing is not to be carried out.
EXECUTE : Finalizing is to be carried out.
It will be necessary to close all titles on a disc before it can be finalized.
* A maximum of 20 minutes will be required to complete finalizing.
Select whether to cancel the finalization of a finalized DVD-RW. To add a recording
to a finalized DVD-RW set to EXECUTE. A DVD-RW finalized on another machine
cannot be canceled.
CANCEL
: Do not cancel the finalization.
EXECUTE : Cancel the finalization. The TOP MENU created during finalization is
deleted.
Select whether to do a quick erase on a DVD-RW (video mode). A quick erase only
deletes the DVD-RW disc control area. The time required is shorter than a full erase,
and the disc data is deleted.
CANCEL
: Do not do a quick erase.
EXECUTE : Do a quick erase. The disc can be newly recorded from the beginning.
Select whether to carry out a full erase on a DVD-RW (video mode). All areas of a
DVD-RW disc are deleted. If a disc is to be used repeatedly delete using this item.
CANCEL
: Do not do a full erase.
EXECUTE : Do a full erase. The disc can be newly recorded from the beginning.
This button is used to return to the Setup Menu screen.
INPUT SELECT MENU Screen
The following table identifies and describes the parameters that may be set using the INPUT SELECT MENU screen.
Top half
: Appearance on monitor screen
Bottom half : Appearance on LCD display
[ ]
: Default setting
Parameter
Possible settings
Description
INPUT SELECT
[LINE]
Y/C
DV
INPUT
[LINE]
YC
dV
MENU
This parameter is used to select the audio and video input signals.
LINE : The composite video signal from the VIDEO LINE IN terminal and the analog
audio signals from the AUDIO IN terminals are to be used.
Y/C
: The YC separate signal from the Y/C IN terminal and the analog audio signals
from the AUDIO IN terminals are to be used.
DV
: The digital video and audio signals from the DV IN/OUT terminal are to be
used.
* The front-panel indicator corresponding to the type of input signal selected on this
screen will light up or start to flash.
Setting of this parameter will not be possible when REMOTE SELECT from the
REMOTE MENU screen has been set to DV(MASTER), DV(SLAVE), or
DV(TRIGGER). DV signals will be used for input at these times
This button is used to return to the Setup Menu screen.