Zooming, Flash, Checking the remaining space onthe recording media – JVC Everio GZ-HM1 User Manual
Page 21: Checking the remaining batterypower, Zooming flash checking the remaining space on the, Recording media, Checking the remaining battery power
1
EN
NOTE
•
It is recommended to set the image stabilizer to off
when shooting a subject of little movement with the
unit on a tripod.
•
Complete stabilization may not be possible if
camera shake is excessive.
Zooming
Preparation:
•
Select
!
or
#
mode.
•
Select the recording mode.
Zoom in
Zoom out
T: Telephoto
W: Wide angle
You can also zoom out/zoom in by selecting [W] or [T]
on the LCD monitor. (On-screen zoom control)
Zoom ratio (factory-preset)
!
mode
#
mode
[10X/OPTICAL]
[10X/OPTICAL]
To change the maximum zoom ratio
(
!
mode only)
Change the settings in [ZOOM].
NOTE
Macro shooting is possible as close as approx. 5 cm
to the subject when the zoom lever is set all the way
to W.
Flash
Preparation:
•
Select
#
mode.
•
Select the recording mode.
1
Touch MENU.
2
Select [FLASH].
3
Select the desired setting.
1
OFF
Disables this function.
AUTO
The flash fires automatically.
AUTO
RED-EYE
The flash fires automatically but
reduces the red-eye phenomenon
of the subject’s eyes.
(
ON
The flash fires regardless of the
shooting condition.
SLOW
SYNCHRO
The flash fires. The shutter
speed becomes slower, so
that background can also be
brightened.
NOTE
•
The flash does not work during [CONTINUOUS
SHOOTING] and [BRACKETING].
•
The flash does not work with the following SCENE
SELECT settings.
[LANDSCAPE] [TWILIGHT] [NIGHT] [SNOW]
[BEACH] [FIREWORKS] [SUNSET]
•
It is recommended shoot distance within 2 m.
•
When the flash seems weak, change the setting
of [GAIN] to [AUTO], [ISO800] or higher (except
[ISO6400], under which the flash does not work).
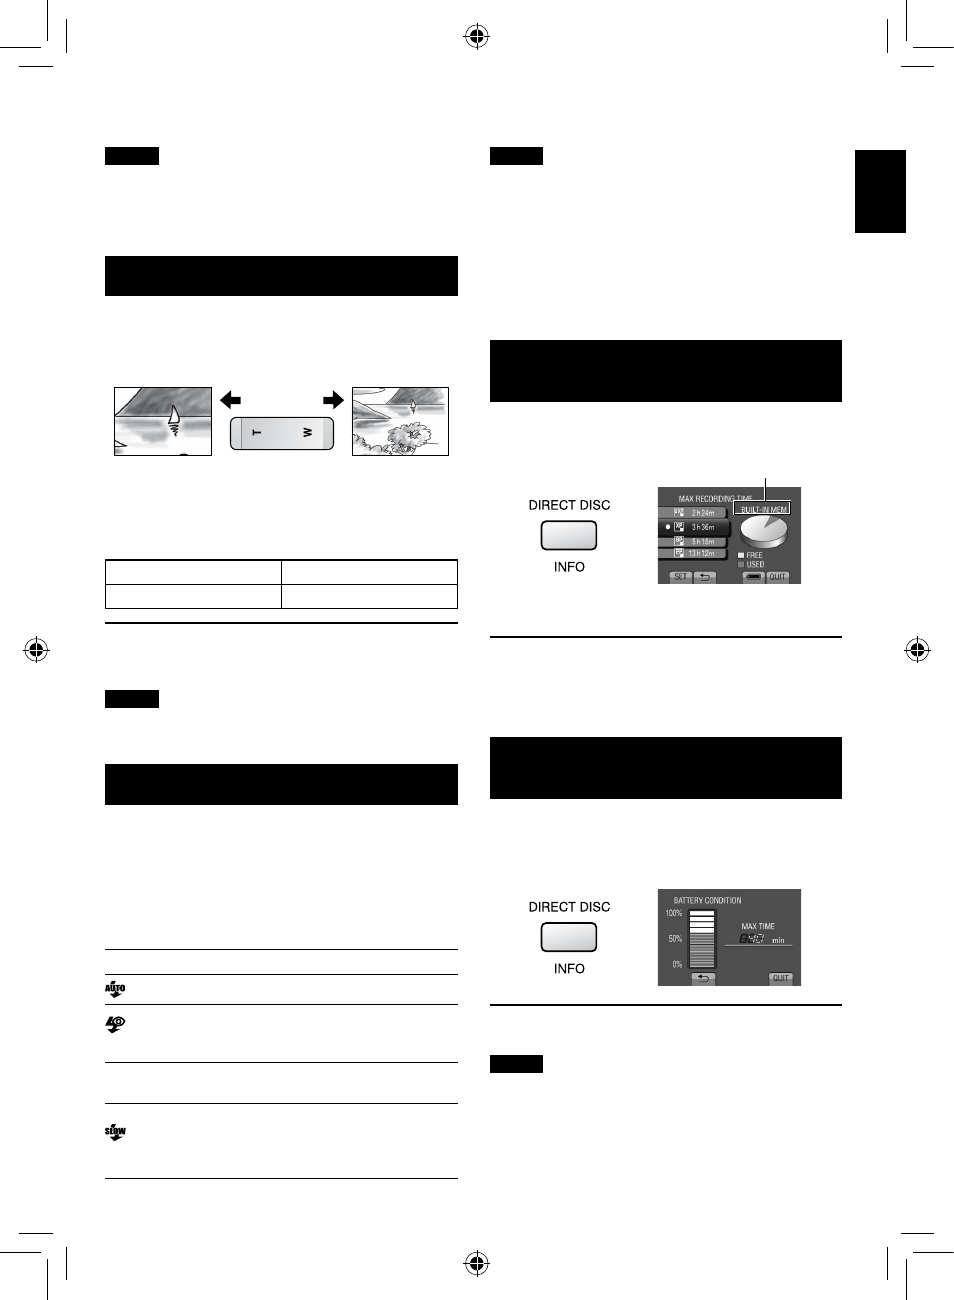
Checking the Remaining Space on
the Recording Media
Preparation:
•
Select
!
mode.
•
Select the recording mode.
Press INFO.
The maximum recording time is displayed for each
video quality mode.
To change the video quality
1) Select the video quality.
2) Select [SET].
To quit the screen
Select [QUIT].
Checking the Remaining Battery
Power
!
mode:
Press INFO and then select
;
.
#
mode:
Press INFO.
To quit the screen
Select [QUIT] or press INFO.
NOTE
The recordable time display should only be used as a
guide. It is displayed in 10 minute units.
Selected recording medium only
RECORDING/PLA
YB
A
CK