Video capture, Cont.), Preparation – JVC 0397MKV*UN*YP User Manual
Page 26
26
VIDEO CAPTURE
(cont.)
AUTOMATIC CAPTURE
Automatic video capture is available only when a JLIP-compatible video source unit is con-
nected. There are two types of automatic capture: Program mode and Interval mode. You can
save time in either mode because, once the initial settings have been stored or you have decided
what pictures to capture, the subsequent capture process is carried out automatically.
PROGRAM CAPTURE
In the Program Capture mode, select the images you want to capture, and the JLIP Video
Capture Docking Station will automatically capture and transfer the images to your computer.
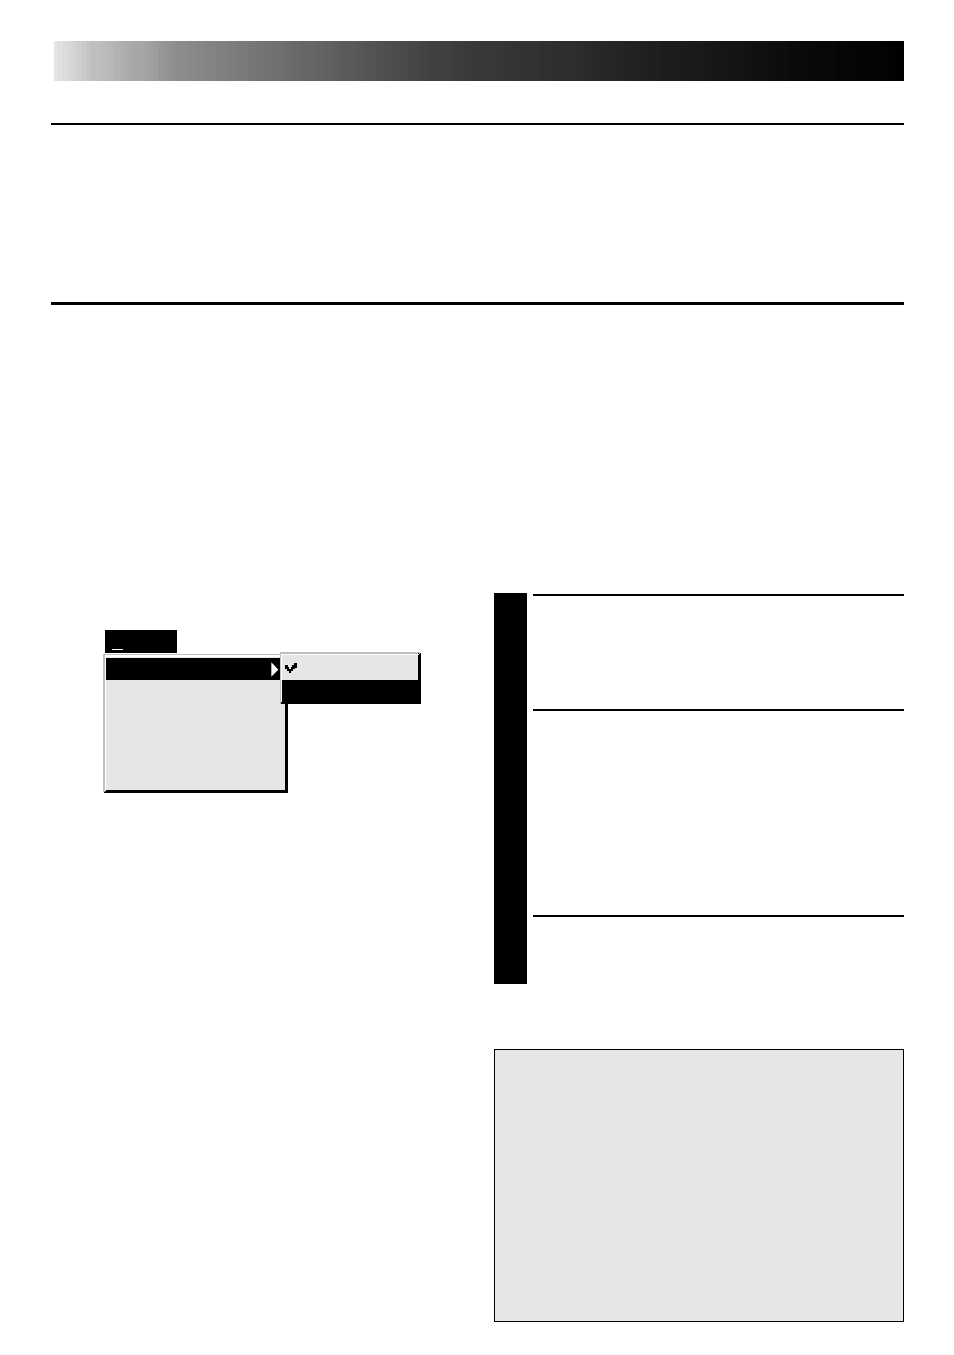
Set-up
Capture Mode
Image Format
Device Change
Initialize
ID Change
Counter Reset
Step by Step
Automatic
NOTE:
•Before transferring your images, make
sure that enough space is available on
your hard disk. For full image data space
requirements,
੬
p. 24.
•When transferring full image data using
the Bitmap image format (
9
.bmp), the
transfer takes a very long time, causing
the video source unit to stop playback
automatically.
Preparation
•Make sure all units are properly connected
(
੬
p. 12).
•Insert a tape into the video source unit.
Click "Image Format" from the "Set-up"
menu and select "Field Picture" in the
Capture Mode (
੬
p. 29).
1
From the menu bar, click "Set-up" —
"Capture Mode" — "Automatic".
•The "Automatic Transfer" window
appears.
2
Select image to be transferred.
•When you select "Index Image", only
the index image (80 x 60 pixels) is
transferred to your computer.
•When you select "Index & Full Image",
both the index image (80 x 60 pixels)
and full image (640 x 480 pixels) are
transferred to the computer.
3
Select "Program Capture" and click
"OK".