Mounting the receiver – GTO RB923 rev User Manual
Page 28
25
Mounting the Receiver
Use the transmitter to check the range of the receiver before permanently mounting it.
Consider the following when mounting the receiver:
• Receiver cable length is 10 feet (receivers with a longer cable are available as special
order items; call the GTO Sales Department). NEVER splice receiver cable!
• Run the cable through PVC conduit to protect it from damage.
• DO NOT run cable through metal conduit because the receiver signal range will be
decreased.
• DO NOT run cable in conduit containing ac wiring.
• DO NOT mount receiver on a metal fence or post; doing so will decrease signal range.
• DO NOT overtighten the mounting screws; the receiver housing could be warped and
the weather seal damaged.
• The receiver range can vary from 50 to 100 feet depending upon weather, topography,
and external interference.
FCC Regulation
This device complies with FCC rules Part 15. Operation is subject to the following conditions:
1. This device may not cause harmful interference.
2. This device must accept an interference that may cause undesired operation.
Transmitter distance may vary due to circumstances beyond our control. NOTE: The manufacturer is not
responsible for any radio or TV interference caused by unauthorized modifications to this equipment.
Such modifications could void the user’s authority to operate the equipment.
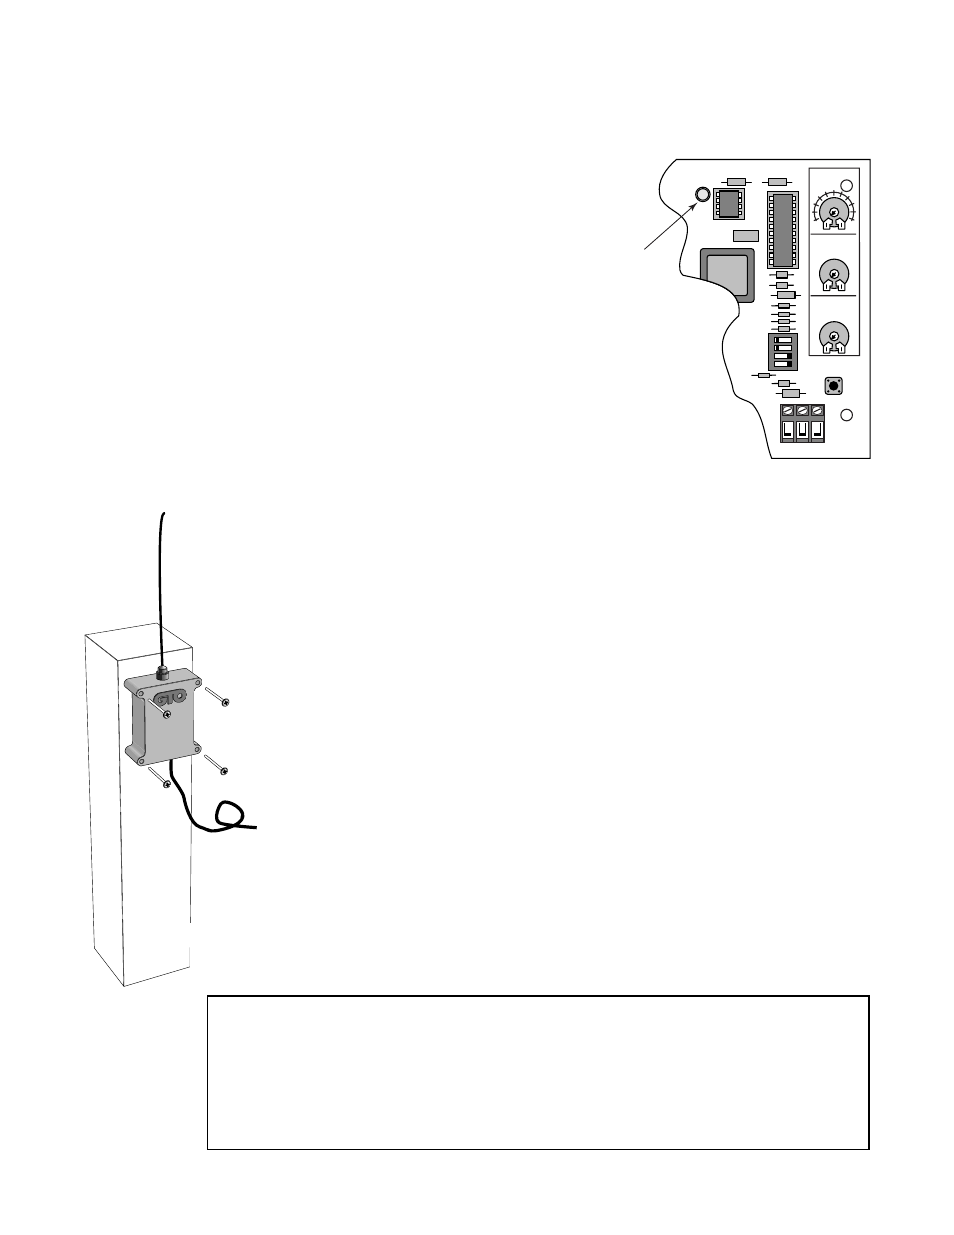
3. “Teach” the New Code to Control Board
Memory
A.
Turn control box power switch OFF.
B.
Unscrew and remove the control box cover.
C.
Press and hold the LEARN button on the control board, and
turn the power switch ON. Release LEARN button. Wait 15
seconds for the receiver to charge.
D.
Press and hold transmitter button until the red STATUS LED
comes ON.
E.
Release transmitter button. The new code is stored in control
board memory.
1234
ON
RCVR
SEQ1
SEQ2
LEARN
STATUS
R B G
AUTOCLOSE
INERTIA
OBSTRUCT
SENS.
PULL/PUSH
SNGL/DUAL
MIN
MAX
MIN
OFF
120
60
MAX
STATUS LED