Grizzly G0604 User Manual
Page 37
G0604 6" X 56" Jointer
-35-
6. Remove and clean the gibs and clean inside
the cutterhead slot to remove all pitch or saw-
dust. Coat the knives and gibs with a metal
protectant (
Page 28), then fit the gibs back in
the cutterhead with the new knives.
7. Adjusting the knife heights:
Jack Screws: Using a 3mm hex wrench, find
the jack screws through the access holes in
the cutterhead (
Figure 49) and rotate the
jack screws to raise or lower the knife. When
the knife is set correctly, it will barely touch
the bottom of the straightedge or the knife
setting jig middle pad. Snug the gib bolts tight
enough to just hold the knife in place. Repeat
on the other side of the cutterhead, then
repeat
Steps 5–7 with the rest of the knives.
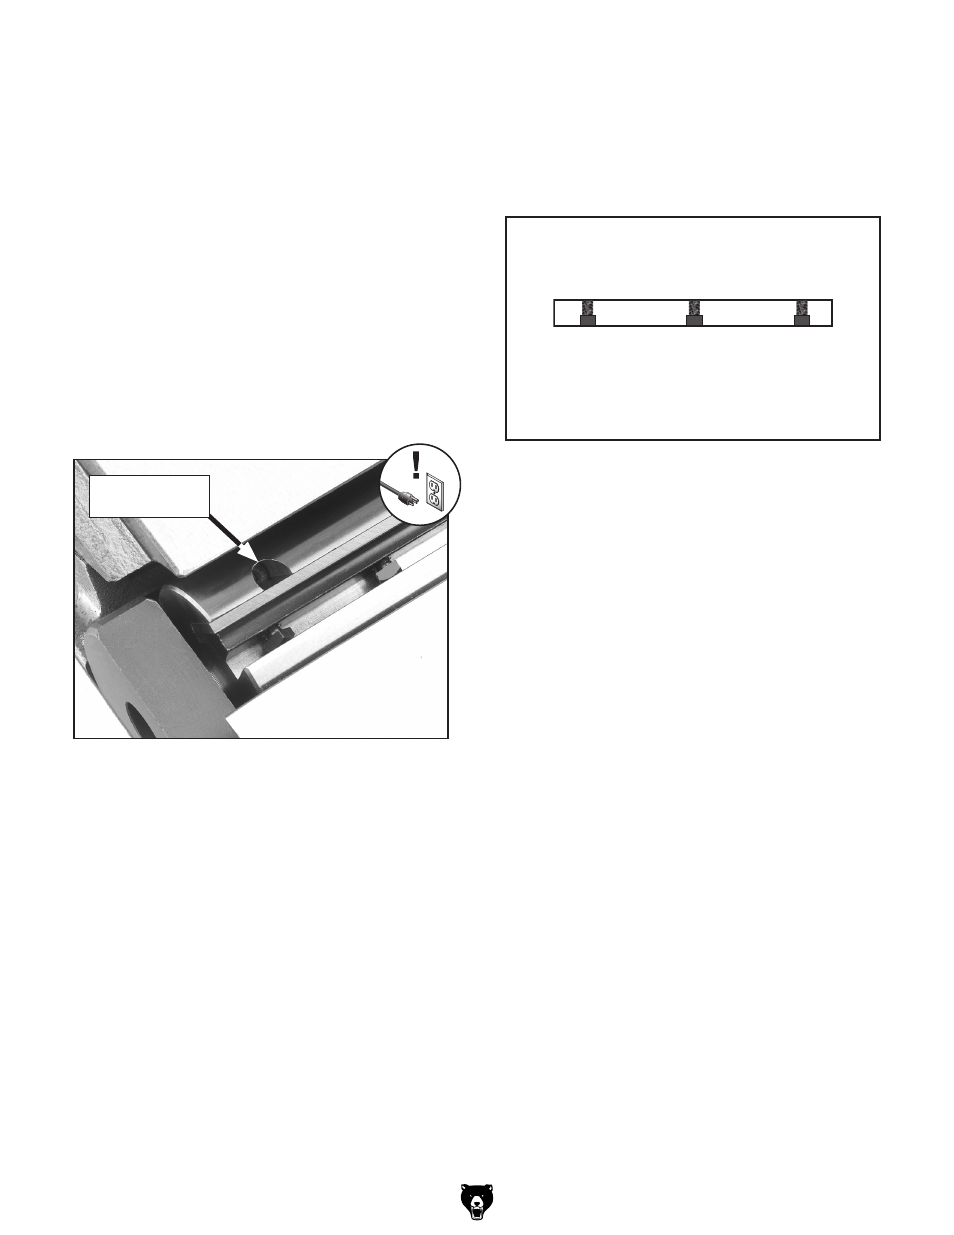
Figure 49. Jack screw access hole.
8. Rotate the cutterhead to the first knife you
started with. Slightly tighten all the gib bolts,
starting in the middle and working your way to
the ends by alternating left and right (
Figure
50). Repeat this step on the rest of the
knives.
Jack Screw
Access Hole
9. Repeat Step 8.
10. Repeat Step 8, but final tighten each gib
bolt.
11. If you used the straightedge to set the knife
heights, skip to the next step.
If you used the knife setting jig to set the knife
heights, use the straightedge to adjust the
outfeed table height evenly with the knives
at top dead center (the highest point in their
rotation).
12. Replace the cutterhead guard and the belt
guard.
1
2
3
Figure 50. Gib bolt tightening sequence.
Springs: Push the knife down with the
straightedge or middle pad of the knife set-
ting jig, keeping the straightedge flat against
the outfeed table or the knife setting jig feet
evenly against the cutterhead. Tighten the
gib bolts just tight enough to hold the knife
in place. Repeat on the other side of the
cutterhead, then repeat
Steps 5–7 with the
rest of the knives.