Furuno FCV-30 User Manual
Page 31
1. OPERATIONAL OVERVIEW
1-21
5. Click ◄ or ► in the Area Vertical box to set the vertical width of the area marker.
(Setting range: 10-100(%)). Represents the percentage of the vertical width of the fish
histogram display.
6. Click ◄ or ► in the Area Horizontal box to set the horizontal width of the area marker.
(Setting range: 10-100(%)). Represents the percentage of the horizontal width of the fish
histogram display.
7. Click the OK button.
8. Use the trackball to place the pointer on the area marker (yellow frame). The shape of
the pointer changes to (
).
9. Hold down the left button while using the trackball to position the marker.
1.12.2 Measuring fish in all areas
1. Click Setting.
2. Click Fish size.
3. Click ▼ in the Measuring area box.
4. Click All.
5. Click the OK button.
1.12.3 Measuring fish in a specific depth range
1. Click Setting.
2. Click Fish size.
3. Click ▼ in the Measuring area box.
4. Click Specific range.
5. Click the OK button.
6. Use the trackball to place the pointer on the measurement area boundary line.
7. Hold down the left button while rolling the trackball upward or downward to position the
boundary line where desired.
1.12.4 Measuring
bottom
fish
1. Click Setting.
2. Click Fish size.
3. Click ▼ in the Measuring area box.
4. Click Bottom trace.
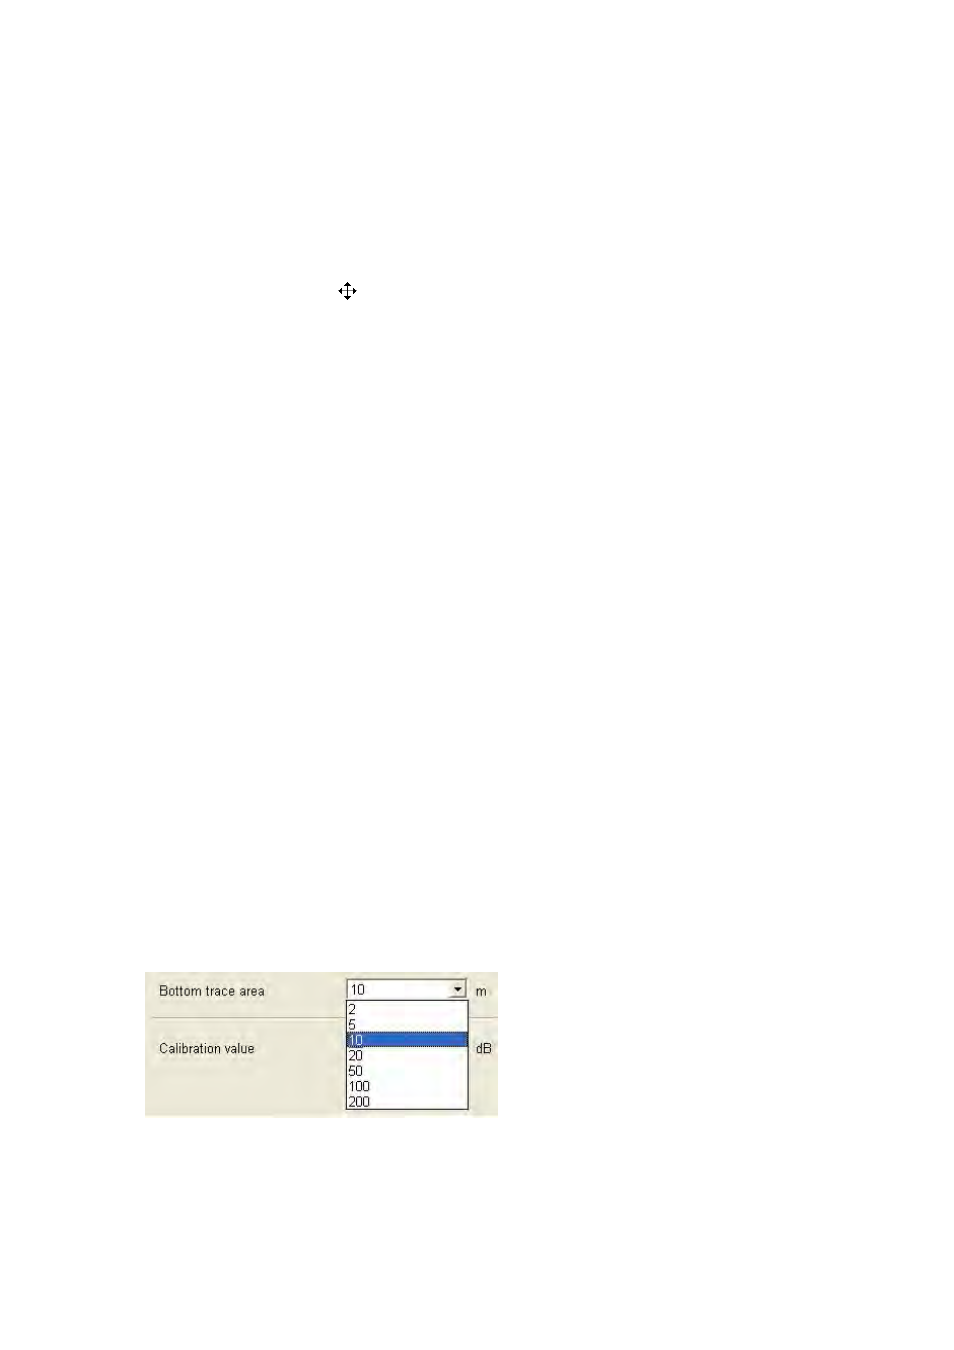
5. Click ▼ in the Bottom trace area box.
6. Click measurement range desired. The measurement range starts from the bottom.
7. Click the OK button Measurement range markers (1) and (2) appear as in the figure at
the top of the next page.