3 when an rci i/o unit is added later, Figure 1.7 when an, When an rci i/o unit is added later – FUJITSU C120-E361-04EN User Manual
Page 26
1-8
C120-E361-04EN
CHAPTER 1 RCI Build Procedure
1.3.3
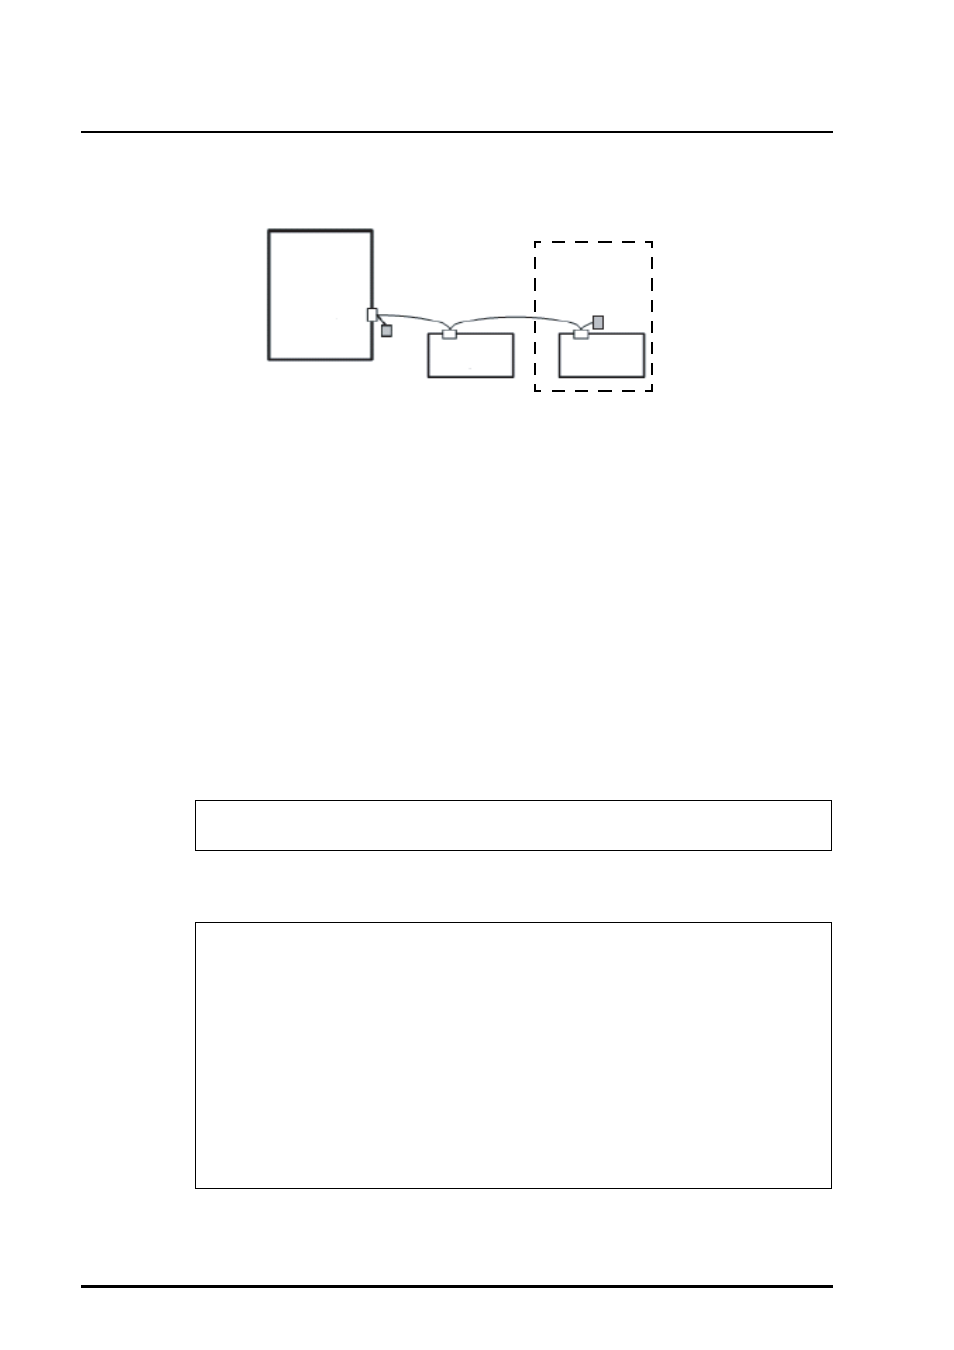
When an RCI I/O unit is added later
Figure 1.7 When an RCI I/O unit is added later
1
Connect the I/O unit to be added with an RCI cable by using a daisy-chain
Connect an RCI branching connector to the RCI port, and then connect it with an RCI
cable by using a daisy-chain connection.
Connect an RCI terminating resistor to the branching connector at either end of the
Section 1.3.5, "Connection of RCI."
2
Turn on the AC input to all the units which are in the RCI connection.
3
Log in to the XSCF Shell.
4
Execute the setrci -c addconfig command to configure the RCI.
5
Execute the setrci -c stat command to display the RCI status.
6
Verify that the added I/O unit is incorporated.
XSCF> setrci -c addconfig
The command completed successfully
XSCF> setrci -c stat
HOST
address 000101ff
Active
LIST
address pwr alm I/F sys-phase ctgry dev-cls sub-cls tm-out
000101ff OFF - ACT -- host 0001 0a -
003001ff OFF - ACT -- disk 0400 04 -
003002ff OFF - ACT -- disk 0400 04 -
The command completed successfully
RCI I/O unit
RCI I/O unit
Addition
RCI Host