Removing the module from the chassis, Installing the module i/o connector – Hardy HI 1756-nDF User Manual
Page 12
8
●
●
●
●
●
Chapter 3
Step 4. When the module connector is touching the backplane connector, firmly but
carefully push toward the chassis until the pins are plugged in and the top and
bottom module releases are snapped into place.
Module release(s)
Module installed in chassis
Removing the Module from the Chassis
Step 1. Press down on the top and bottom module releases simultaneously until the
module can be pulled away from the chassis. (See Figure above.)
Step 2. Pull the module out of the chassis.
Step 3. Store in a safe, secure location in an anti-static bag or the original enclosure.
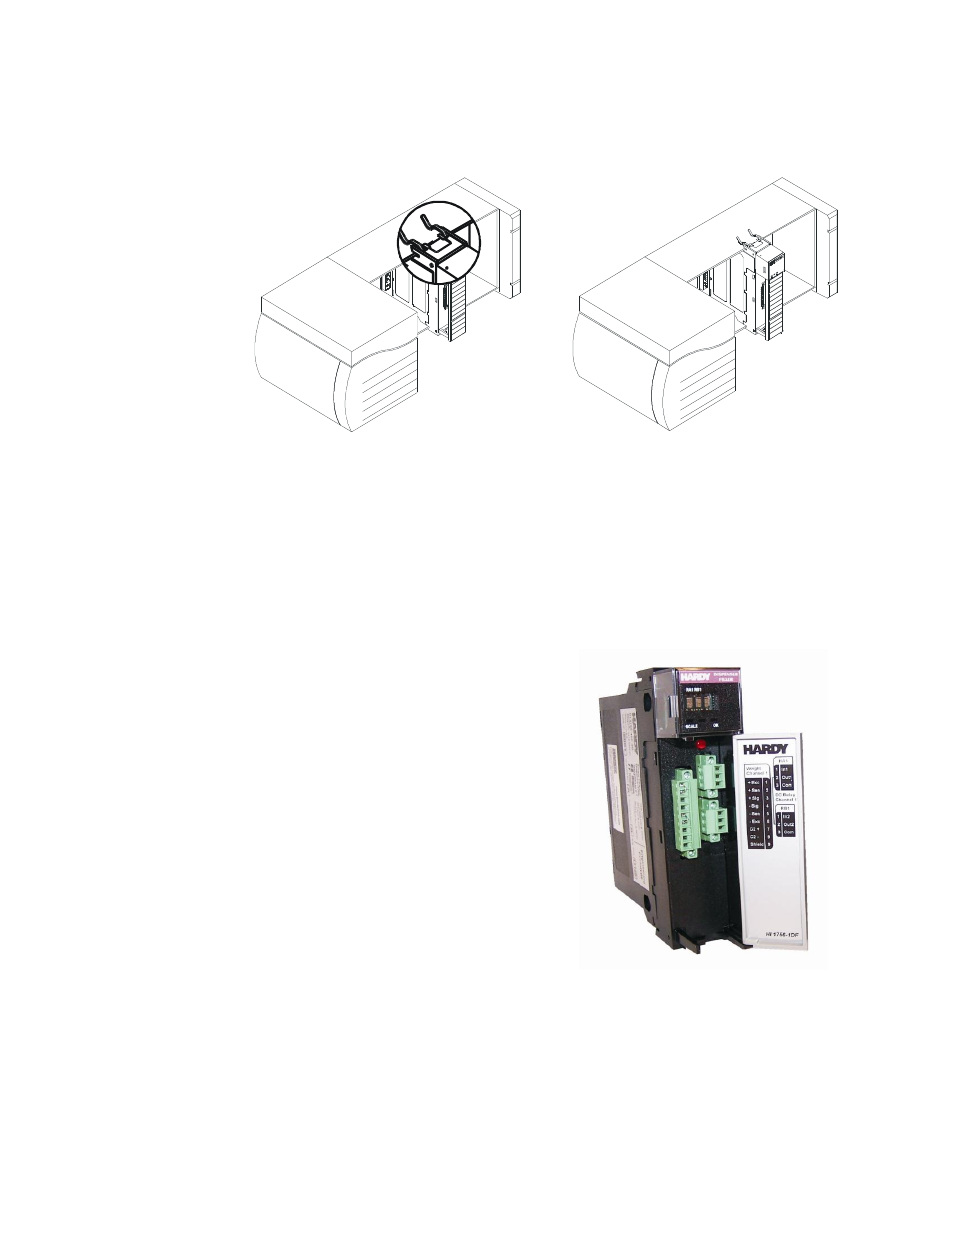
Installing the Module I/O Connector
The I/O connector at the front of the module
connects the module to a load sensor, or the HI
215IT Series Junction Box, depending on how
many load sensors are installed in the weighing
system. (See the pin-out diagram below.) A pin-
out diagram is also located on the inside of the
module door.
Open the module door to access to the I/O
connector.
Step 1. Install the cable and connector so it
allows the module door to be shut.
Step 2. With the plug oriented correctly (See
the pin-out diagram below), plug the I/O male
connector into the I/O connector at the front of
the module.
HI 1756 1DF with door open