Inst alla tion – Kohler custom Bodyspa 116347-2 User Manual
Page 16
116347Ć2Ć
AA
(A)
Kohler Co., Kohler, WI
17
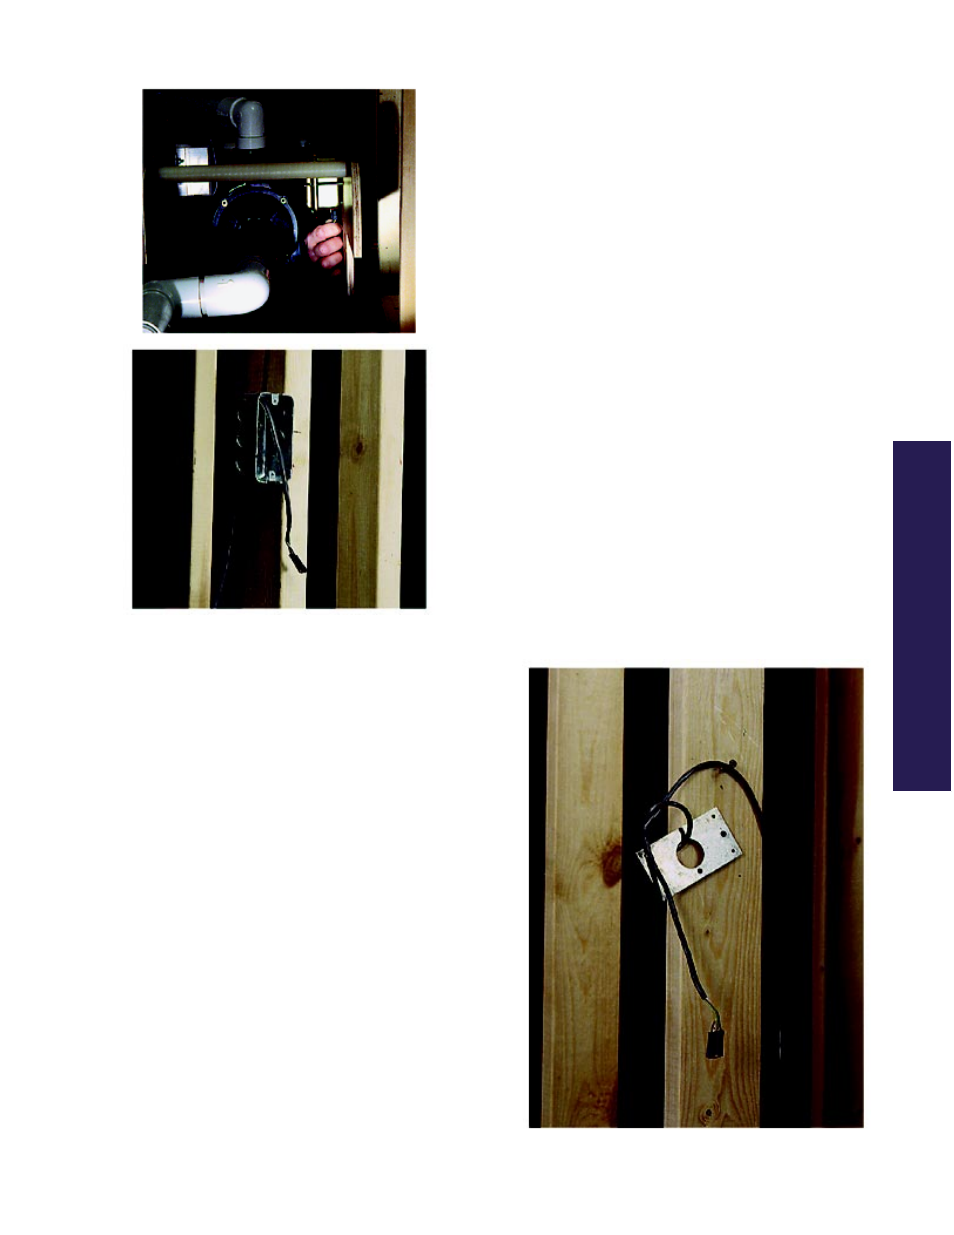
INSTALL CABLE WITH OUTLET
BOX
NOTE: If the desired keypad location does not
permit you to secure the provided outlet box
directly to a stud, you can route the cable directly
through the wall material without using an outlet
box. Proceed to Install Cable Without Outlet Box
to install the keypad without an outlet box.
Plug the cable into the corresponding jack located
on the bottom of the control box.
Position the supplied outlet box inside the room's
WaterĆFree Zone at the chosen control mounting
location so the metal plate (not shown) will be
flush with the finished wall or slightly
recessed when installed. Install the outlet box so
the 10Ćfoot cable is within reach of the control box.
Do not stretch or pull on the cable. Install the
outlet box 58 to 60Ćinches up from the subfloor.
Secure the outlet box to the nearest stud.
Route the cable from the control box to the outlet
box, and insert the loose connector into the
knockout hole in the outlet box. Create a drip loop
in the cable.
NOTE: National Electrical Code requires that you
permanently separate the highĆ and lowĆvoltage
cables.
INSTALL CABLE WITHOUT OUTLET
BOX
Plug the cable into the corresponding jack of the
control box. Route the cable directly through the
large hole in the center of the metal plate.
Temporarily tape together the cable and the metal
plate. Also tape the two screws to the metal plate to
prevent them from becoming lost. Create a drip loop
in the cable to prevent water from following the cable
down to the control box.
Temporarily secure the cable and metal plate to the
stud nearest your chosen keypad mounting location
within the room's WaterĆFree Zone. Position the
metal plate 58 to 60Ćinches up from the subfloor.
Leave the cable and metal plate attached here until
the finished wall is constructed. At that time, you will
permanently attach the metal plate flush to the
outside surface of the finished wall with two screws.
Then you will secure the cable to the metal plate with
a cable tie looped between the large and small center
holes in the metal plate.
NOTE: National Electrical Code requires that you
permanently separate the highĆ and lowĆvoltage
cables.
INST
ALLA
TION