Logging into the web interface, 1 ssl certificate notes, 2 logging in – Minicom Advanced Systems Minicom Smart 216 User Manual
Page 14
SMART 216 / 232 IP
13
Changing the Network parameters
Enable DHCP – When a DHCP server is active on the same network to which
Smart 216 / 232 IP is connected, DHCP provides automatic IP assignment.
When DHCP is disabled – (Recommended) – You can assign a fixed IP address to
the Smart 216 / 232 IP.
Consult your Network Administrator regarding the use of the DHCP.
When DHCP is disabled, enter the IP Address, Subnet Mask, and Gateway as
given by your Network Administrator.
Once the IP address is satisfactory login to the web interface to complete the
configuration, as explained in section
11 below.
(Network parameters can also be changed from the remote GUI as explained on
page 15).
11. Logging into the web interface
Client computer operating system. Windows 2000 or higher, with Firefox 3 or
Internet Explorer 6.0 or later version. Linux with Firefox 3.
11.1 SSL Certificate notes
When first connecting, 2 browser security warnings appear. Click Yes to proceed.
The first warning disappears upon first Smart 216 / 232 IP client installation, when
Minicom’s root certificate is installed.
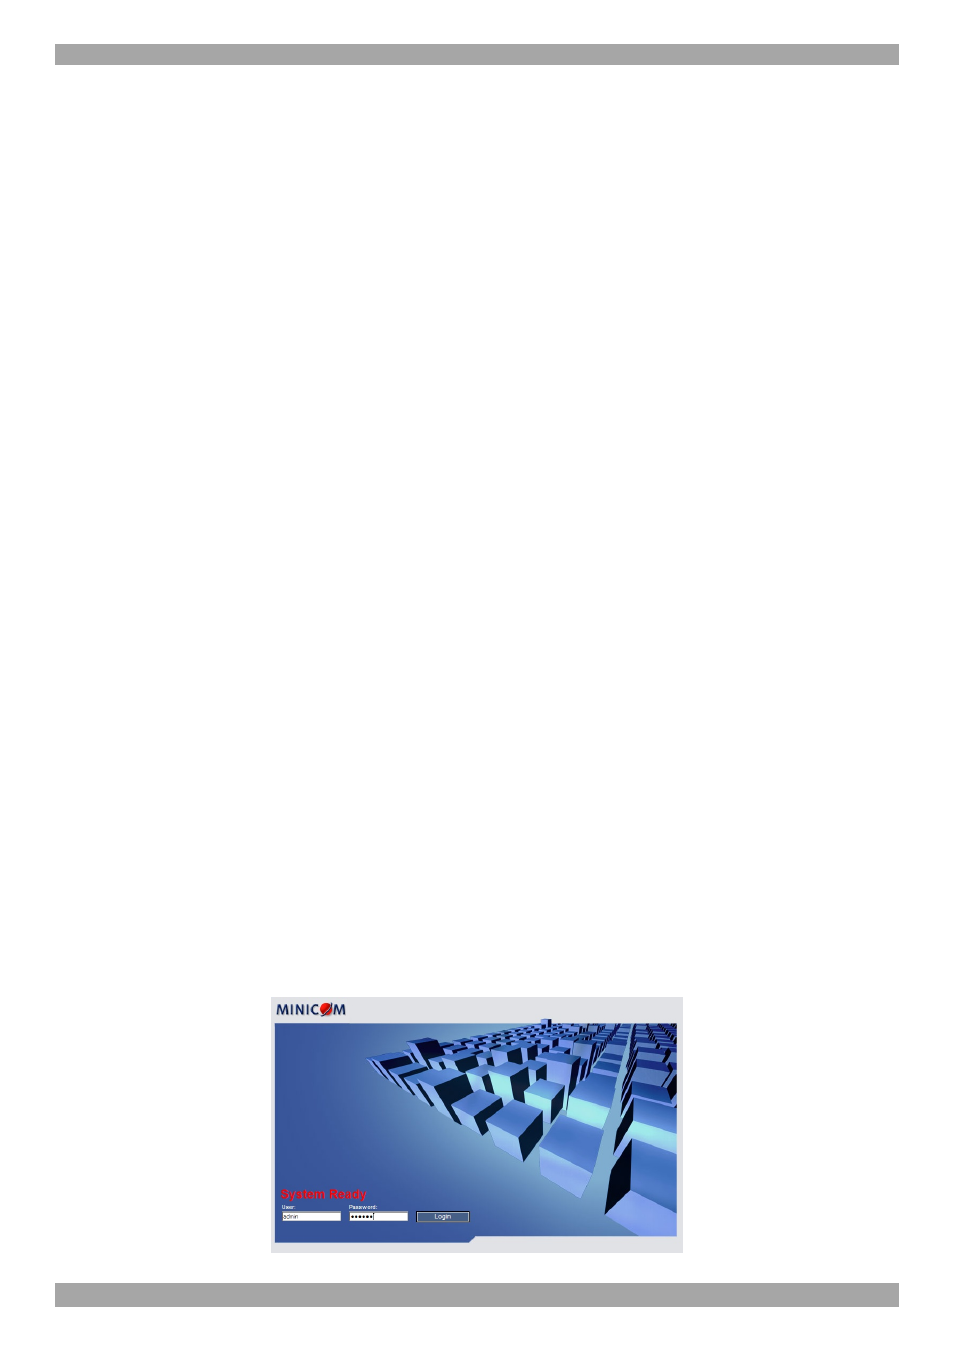
11.2 Logging in
To complete the initial setup via the web configuration interface:
1. Open your web browser (Internet Explorer version 6.0 or higher).
2. Type the Smart 216 / 232 IP system IP address – http or https://IP address/ -
and press Enter. The login page appears, see Figure 13.
Figure 13 Login page