Dubbing, 58 du bbi ng on b d /d v d /c ar d, Press dubbing – Hitachi DZ-BD10HA User Manual
Page 58
58
Du
bbi
ng
on
B
D
/D
V
D
/C
ar
d
About edited scenes such as
divided (p.67), combined
(p.67), and faded (p.68)
z If you use “Edit” to divide a scene
and dub both of the divided scenes
to a BD-R/DVD/Card, the scene
will be dubbed as one scene
without being divided.
z If you dub scenes combined by
“Edit” to a BD-R/DVD-RW (VF
mode)/DVD-R, two (or more)
scenes immediately before the
added one will also be dubbed. The
recording dates will be modified
based on that of the first scene - by
adding the scene’s and its
preceding scenes’ lengths to the
recording date of the first scene.
z The fade effect on edited scenes on
the HDD/Card will not be reflected
in the scenes if they are dubbed on
a BD-R/DVD-RW (VF mode)/
DVD-R.
Notes on dubbing
z Do not detach the AC adapter/
charger from the camcorder during
dubbing. The recorded scenes will
be lost.
z The time shown during dubbing is
approximate.
z We recommend first confirming
that the dubbed disc or card can be
played back normally before
deleting scenes on the HDD/Card
dubbed.
Dubbing
1
Connect the AC adapter/charger
to the camcorder (p.25).
• Dubbing is not possible if a
battery pack is used as a power
source.
2
Turn the power switch to
“MODE” until its indicator
lights.
• HDD: Dubbing scenes
recorded on a HDD.
• SD CARD: Dubbing scenes
recorded on a SD card.
3
Press DUBBING.
4
Select Dubbing Menu, then
press the confirmation button.
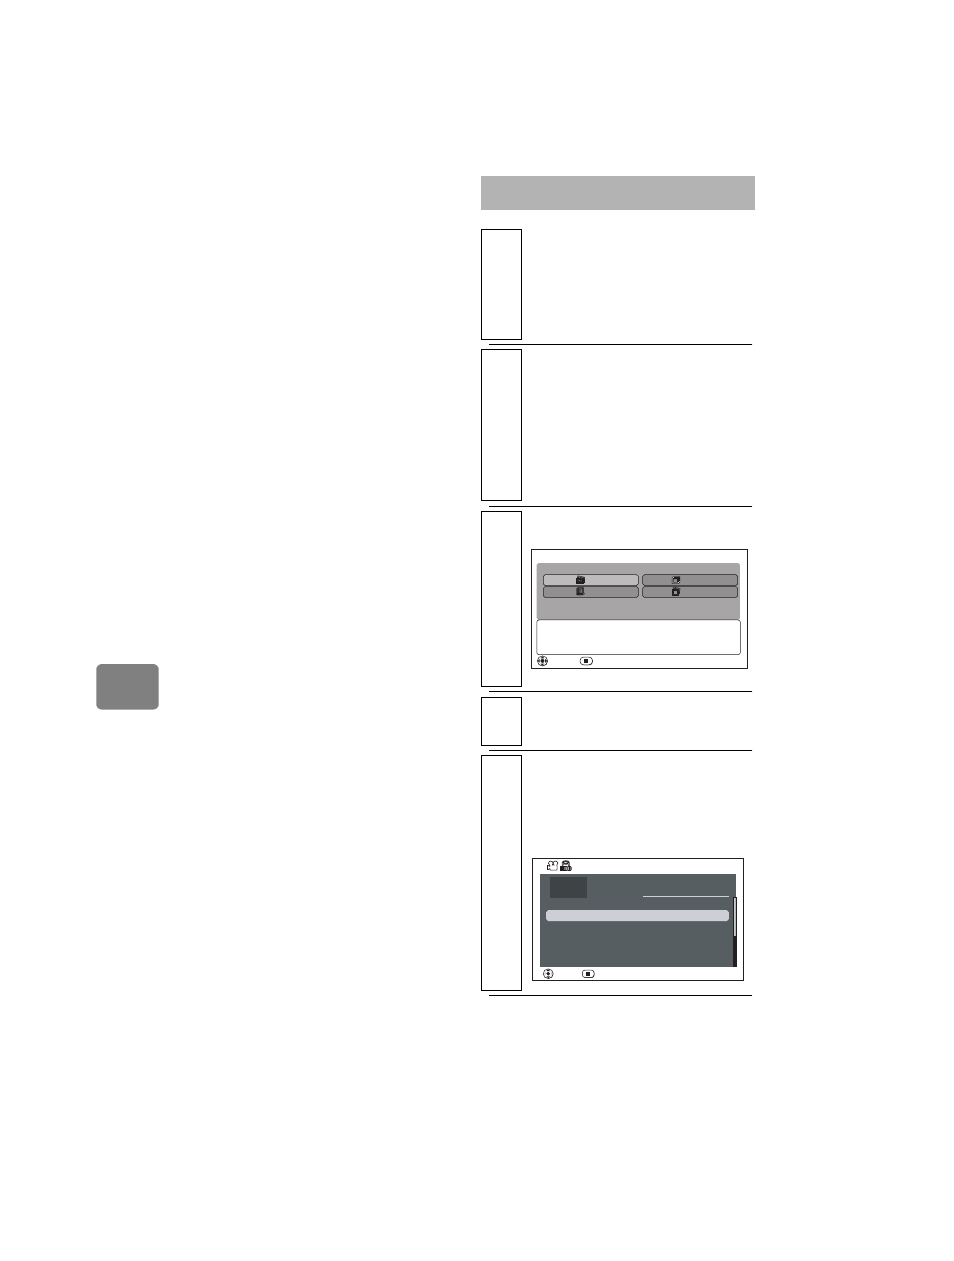
5
(When you select “Date” in
step 4)
Select “Date”, then press the
confirmation button.
New
Date
All
Select
ENTER
EXIT
D ubb ing Men u
Dub new scenes off the HDD.
Total Scenes
001 9/ 1 / 2008
9/ 4 / 2008
9/ 12 / 2008
10/ 11 / 2008
11/ 1 / 2008
15min25sec
003
1
1hour55min37sec
004
3
55min36sec
005
12
006
38
5min27sec
32min45sec
002
10
20
1hour 1min 6sec
RETURN
ENTER
9/ 3 / 2008
Select Date