Epson stylus cx7800 – Epson Stylus CX7800 User Manual
Page 13
Epson Stylus CX7800
8/05
Epson Stylus CX7800
-
13
The EPSON Scan software provides three scanning modes for
progressive levels of control over your scanned image:
❏
Full Auto Mode
scans quickly and easily using automatic
settings.
❏
Home Mode
previews your image and provides automatic
image adjustments, cropping tools, and preset options for
various types of scans.
❏
Professional Mode
previews your image and lets you
manually configure your scan settings with a full array of
tools.
You can scan from any TWAIN-compliant application—such
as ArcSoft PhotoImpression
™
—using EPSON Scan. Or you
can start EPSON Scan directly from your computer and save
your image to a file.
1. To scan a photo or document, open the document cover
and place your original face-down on the glass, in the upper
left corner. Move your original about 0.2 inch (5 mm) away
from the top and left edges so all of it will be scanned.
If you are scanning films or slides see page 7 for details on
placing them in the film holder.
2. Close the document cover gently so you don’t move the
original or film holder.
Note:
If you need to scan a large or thick document, you can leave the
document cover open; see page 6.
3. Do one of the following to start EPSON Scan:
❏ Windows: Double-click the
EPSON Scan
icon on your
desktop.
❏ Macintosh: Double-click
EPSON Scan
in the
Applications folder.
❏ If you are scanning from an application, start your
application. Then open the File menu, choose
Import
or
Acquire
, and select
Epson Stylus CX7800
.
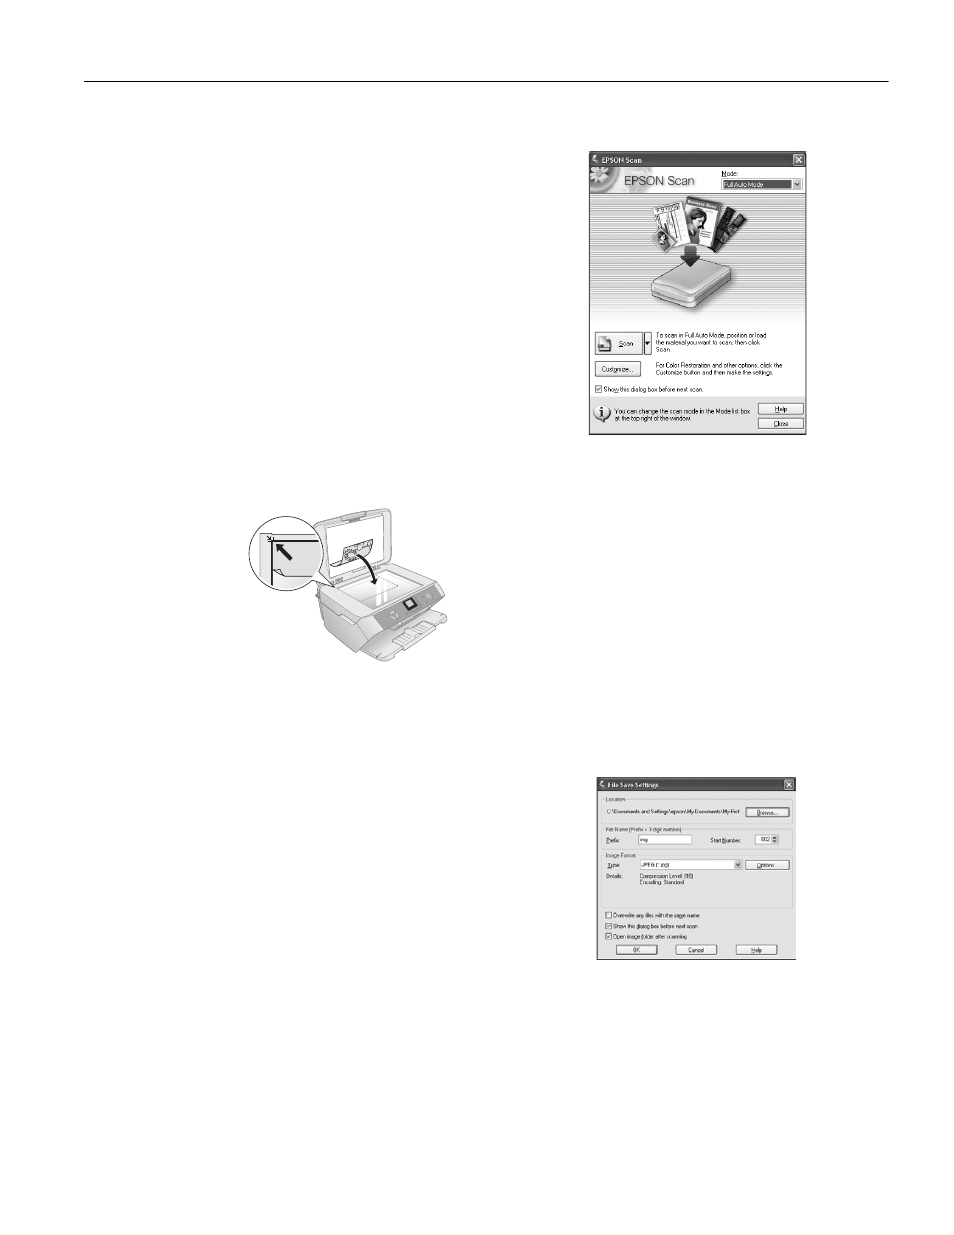
You see the EPSON Scan standby window:
4. If the Mode setting in the upper right corner is set to
Full
Auto Mode
, click the
Scan
button.
Note:
If you want to automatically restore a color photo, film, or slide as
you scan, click the Customize button and see your on-screen
User’s Guide for instructions.
If you are scanning film strips or slides, Full Auto Mode can only
scan 35mm color negative film strips or slides. To scan black and
white film or slides, use Home or Professional mode. For details,
see the on-screen User’s Guide.
If you are in Home or Professional Mode, you see a
different EPSON Scan settings window. (You can change
the mode using the Mode selector in the upper right corner.
For details, see the on-screen User’s Guide.)
5. You see the File Save Settings window:
Choose the location where you want to save your scanned
file and type a name for it in the Prefix box. Select a file
format in the Image Format box.
6. Click
OK
. The image is scanned and you see its icon in an
open folder.
Move the original about 0.2 inch
(5 mm) away from the top and
left edges to avoid cropping