2 rear panel, 3 hardware installation – PLANET FGSW-1602RS User Manual
Page 8
6
7
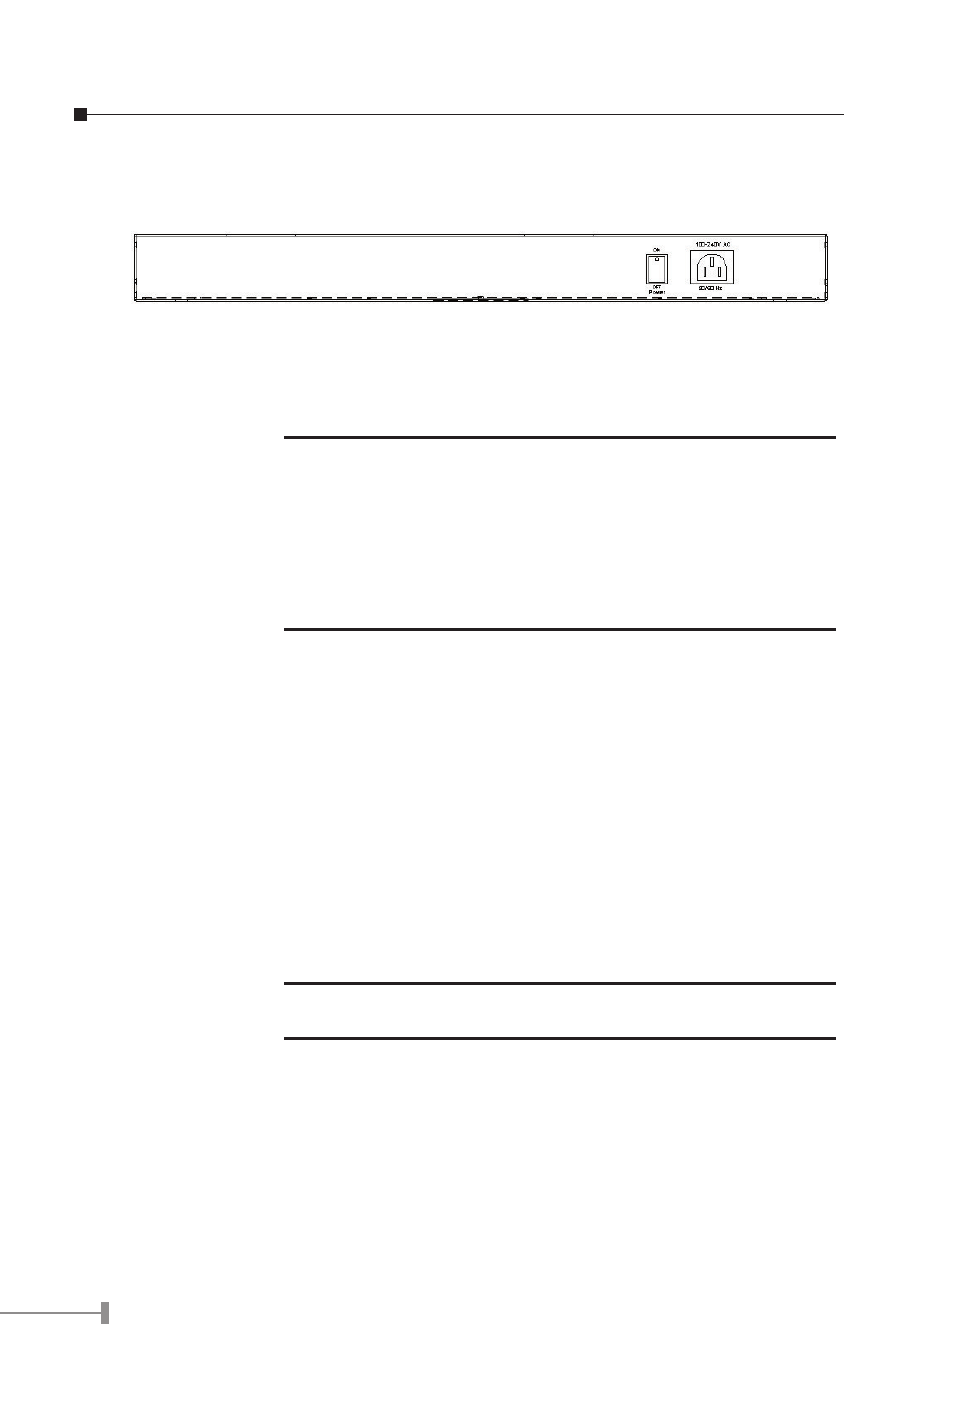
2.2 Rear Panel
The Rear Panel of the Switch is indicates an AC 3 pronged power socket and I/O power
switch. This switch will work with AC in the range 100-240V AC, 50-60Hz
Figure 2-2 Rear Panel of FGSW-2402RS
Power Receptacle
For the compatibility with electric service in most of areas, FGSW-2402RS’s power supply
can automatically adjust line power in the range 100-240V AC, 50-60Hz.
NOTE:
The Switch is a power-required device, it means, the Switch
will not work until it is powered. If your networked PCs will
need to transmit data all the time, please consider vuse an UPS
(Uninterrupted Power Supply) for your Switch. It will prevent you
from network data loss.
In some area, installing a surge suppression device may also help
to protect your Switch from being damaged by unregulated surge
or current to the Switch or the power adapter
2.3 Hardware installation
The Switch can be placed on desktop or mounted on rack. If this Switch is used as
standalone standard, the user can immediately use most of the features simply by
attaching the cables and turning the power on
Desktop installation
To install the Switch on a desktop or shelf, simply complete the following steps:
Step1: Attach the rubber feet to the recessed areas on the bottom of the Switch.
Step2: Place the Switch on a desktop or shelf near an AC power source.
Step3: Keep enough ventilation space between the Switch and the surrounding
objects
NOTE:
Do not obstruct any vents at the sides of the case and keep
water off.
Rock-mount installation
To install the Switch in a 19-inch standard rack, follow the instructions described below.
Step1: Place the Switch on a hard flat surface, with the front panel positioned
towards your front side.
Step2: Attach a rack-mount bracket to each side of the switch with supplied
screws attached to the package. Figure 2-3 shows how to attach brackets
to one side of the switch.